 Skip to content
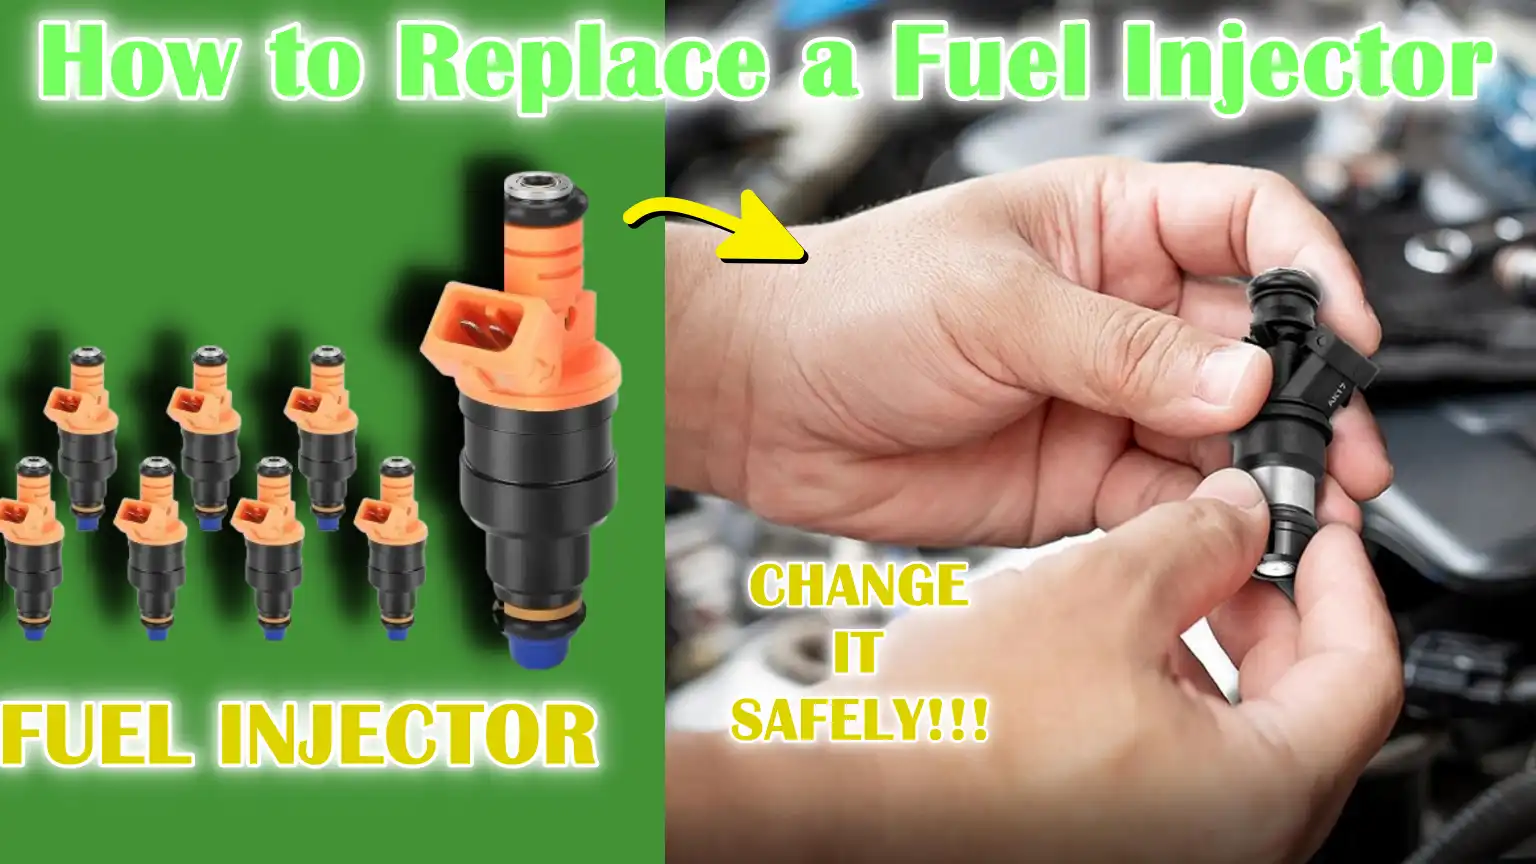
Written By: Don Dodi
Fact Checked By: Kristen Brown
Reviewed By: Diego Rosenberg
So, basically Fuel Injector has the specific kind of job that it does effortlessly if it is not clogged but totally clean, as it spray the right amount of fuel into the engine’s cylinders and because of this the car runs in the smooth way and more efficiently.
And it is see that over the period of time, the fuel injectors can get clogged or simply they can start leaking as well and that creates a problems such as: rough idling, poor acceleration, engine can misfires as well and it literally increases the fuel consumption or even you can face difficulty to just start your car.
Plus, when you replace that faulty fuel injector then it not only restores your car’s performance but it also helps you to save the fuel and reduces the harmful emissions as well.
Additionally, because this guide is specifically focuses on How to Replace a Fuel Injector, so that you can easily understand about necessary tools, safe steps so that you can proceed this task yourself.
Tools
| Tools / Materials | Description | Why It’s Needed |
|---|---|---|
| Socket Set and Ratchet | A set of sockets that fit various bolt sizes with a ratchet handle. | For removing and tightening bolts that hold the fuel rail and other engine parts. |
| Screwdriver | Flathead and Phillips head screwdrivers. | For removing screws from engine covers, clamps, or connectors. |
| Wrench | Open-end or box-end wrench. | For loosening or tightening nuts and bolts in tight spaces. |
| Fuel Line Disconnect Tool (if applicable) | A special tool for safely disconnecting fuel lines. | For removing fuel lines without damaging them or causing a leak. |
| Replacement Fuel Injectors | New fuel injectors designed for your specific car model. | For replacing old or defective injectors and restoring proper fuel flow. |
| O-rings and seals | Rubber rings to fit around the injectors and fuel rail. | To prevent fuel leakage and ensure a strong seal. |
| Shop towels and safety gloves | Absorbent towels and protective gloves. | To clean up spilled oil and protect your hands from fuel and sharp parts. |
| Safety glasses | Protective eyewear. | To protect your eyes from fuel splashes or debris. |
| Fuel pressure gauge (optional) | A device for measuring fuel system pressure. | To check that fuel pressure is correct before and after replacing injectors. |
What are The Safety Precautions
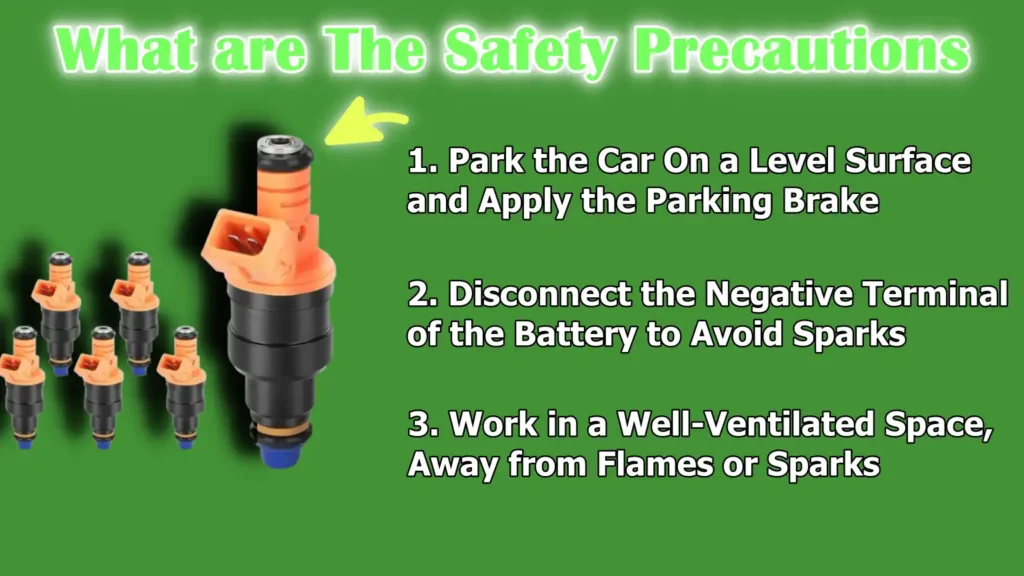
1. Park the Car On a Level Surface and Apply the Parking Brake
Before starting any work on your fuel injectors, it is extremely important to ensure that your car is parked on a level and stable surface.
This prevents sudden tipping or moving of the car while you work.
Applying the parking brake adds an extra level of safety and ensures that your vehicle remains completely stationary, keeping both you and the car safe from accidents.
2. Disconnect the Negative Terminal of the Battery to Avoid Sparks
Fuel systems are highly sensitive and flammable.
Before touching any fuel lines or injectors, you should disconnect the negative terminal of your car’s battery.
This prevents accidental sparks or electrical short circuits that could ignite fuel vapors.
Even a small spark near fuel can be extremely dangerous, so this step is essential for safe work.
Safely reduce fuel system pressure before removing fuel lines
Your car’s fuel system operates under high pressure.
Trying to remove fuel lines without reducing this pressure can result in fuel spraying, which is dangerous and can cause burns or fire.
To do this safely, follow the manufacturer’s instructions for reducing pressure from the fuel system.
This step protects you from injuries and prevents fuel leaks that can damage your engine bay.
3. Work in a Well-Ventilated Space, Away from Flames or Sparks
Fuel vapors are highly flammable and can easily catch fire.
Always perform fuel injector work in a place where air flows freely, such as a garage with open doors or an outdoor space.
Keep the workplace free from any flames, sparks or smoky materials.
Proper ventilation ensures that harmful fumes do not accumulate, protecting your health and reducing the risk of accidents.
At First, How to Locate the Fuel Injectors
1. Identify whether your car has a fuel rail setup or a direct injection system
Before locating the fuel injectors, it’s important to know what type of fuel injection system your car uses.
Most modern cars have either a traditional fuel rail system or a direct injection system.
In a fuel rail system, the fuel injectors are mounted on a common rail on top of the intake manifold, spraying fuel into the intake ports.
In a direct injection system, the injectors spray fuel directly into the engine’s cylinders at high pressure.
Knowing your system type will help you understand where to look and how to safely remove and replace the injectors.
2. Remove the engine cover, if necessary
Many modern engines have plastic or metal covers on top that protect and hide engine parts.
Removing this cover makes it much easier to access the fuel rail and injectors.
Covers are usually held in place by bolts or clips that can be removed with simple tools like a socket set or screwdriver.
Carefully removing the cover prevents damage and gives you a clear view of the injector area.
3. Locate the fuel injector rail attached to the intake manifold
After removing the cover, locate the fuel rail, which is a metal or plastic tube that supplies fuel to the injectors.
Fuel injectors are attached to this rail and mounted directly on the intake manifold.
They usually have electrical connectors to control fuel flow.
Carefully inspecting the fuel rail and injectors will help you understand how they are mounted and plan to safely remove and replace them.
How to Remove Parts for Access
1. Remove any obstructing parts, such as the air intake assembly, throttle body, or cover
To safely access the fuel injectors, you often have to remove parts that are in the way.
Parts such as the air intake assembly, throttle body and engine cover can block your view and make it difficult to reach the fuel rail and injectors.
The air intake assembly delivers air to the engine and the throttle body controls air flow, so it’s important to handle them carefully to avoid damage.
Removing these parts usually requires basic tools such as a screwdriver or socket set and doing so carefully ensures that no hoses, clamps, or sensors are accidentally broken.
2. Label or photograph the connections for ease of reassembly
When removing engine parts, there are often many connectors, hoses and bolts that need to be removed.
Labeling each part or taking clear pictures makes it much easier to put everything back in the right place later.
This simple step can save time and hassle, prevent mistakes and ensure that the engine works properly after replacing the fuel injectors.
It also reduces the risk of any loose connections that could cause a leak or engine problem.
Then, How to Disconnect the Fuel Injectors
1. Unplug the electrical connector from the injector
Fuel injectors are controlled by electrical signals coming from the engine control unit (ECU).
Before removing the injector, it is important to disconnect the electrical connector.
This ensures that no power is delivered to the injector and prevents accidental sparks or short circuits.
Most connectors have a clip or tab that can be pressed or lifted to safely unplug it without damaging the wires or the injector.
2. Carefully Remove the Fuel Rail Mounting Bolts
The fuel rail holds all the injectors in place and is usually attached to the intake manifold by several bolts.
Using the correct size socket or wrench, carefully remove these bolts one at a time.
Doing so slowly and evenly prevents the fuel rail from being bent or damaged, which could cause leakage or injector misalignment when reinstalled.
3. Gently Lift the Fuel Rail to Remove the Injectors
After removing the mounting bolts, the fuel rail can be gently lifted to remove the injectors from the intake manifold.
It is important to lift the rail evenly and slowly to avoid damaging the injector tips or O-rings.
Injectors are tightly sealed to prevent fuel leakage, so a little resistance is normal.
Carefully lifting the rail ensures that the injectors come out safely and are ready for inspection or replacement.
How to Remove the Old Fuel Injector
1. Twist the injector out of the fuel rail or manifold
After the fuel rail is lifted, the old fuel injector can be removed from the rail or intake manifold.
Fuel injectors are usually tightly sealed with O-rings, so twisting gently while pulling helps remove them without damaging them.
Too much force could break the injector or damage the injector seat, causing a fuel leak when installing the new injector.
Handling the injector carefully ensures that it comes out safely and prepares the seat for replacement.
2. Inspect and Remove Old O-Rings or Seals
Fuel injectors have rubber O-rings or seals that prevent fuel leakage at the connection points.
It is important to completely remove these old O-rings and inspect the injector ports for any damage or debris.
Old, broken or hardened O-rings can cause fuel leaks and engine performance problems if not replaced.
Replacing these seals with new ones ensures a strong fit and proper functioning of the new injector.
3. Clean the injector port with a lint-free cloth
Before installing a new injector, it is important to thoroughly clean the injector port in the fuel rail or manifold.
Using a lint-free cloth prevents fibers or debris from entering the fuel system, which could clog the new injector or damage engine parts.
Proper port cleaning ensures that the new fuel injector fits perfectly, works efficiently and maintains smooth engine performance.
How to Install the New Fuel Injector
1. Apply a light coat of clean engine oil to the new O-ring to ensure proper sealing
Before installing a new fuel injector, it is important to properly prepare the O-rings.
Applying a light coat of clean engine oil to the new O-rings makes them more flexible and easier to fit into place.
This prevents them from tearing or bending during installation, which could cause fuel leaks or poor engine performance.
Properly lubricated O-rings ensure a secure seal between the injector and the fuel rail or manifold.
2. Insert the new injector into the fuel rail/manifold until it is properly seated
Once the O-rings are prepared, the new fuel injector should be carefully installed into the fuel rail or intake manifold.
It is important to push the injector straight in and make sure it is fully seated.
A properly seated injector ensures proper fuel flow to the engine and prevents leaks.
Careful installation can prevent damage to injector tips or seals.
3. Reinstall the fuel rail and tighten the mounting bolts evenly
After all injectors are installed, place the fuel rail back on the intake manifold and align it properly.
Tighten the mounting bolts evenly using the correct torque specified by the manufacturer.
Tightening the bolts evenly prevents stress on the fuel rail and ensures that all injectors are installed correctly.
This step is essential to maintaining proper fuel flow, engine performance and safety.
How to Reassemble the Parts
1. Install the electrical connectors for each injector
After installing the new fuel injectors, the first step is to reassemble the electrical connectors.
Each injector has a specific connector that enables the engine control unit (ECU) to precisely control fuel flow.
Ensuring that each connector is properly installed prevents misfires, poor fuel delivery, or engine warning lights.
A secure connection also helps maintain consistent engine performance and prevent damage to the electrical system.
2. Reassemble any removed parts (air intake, cover, etc.)
After connecting the injectors, it is important to reassemble any parts that were removed for access, such as the air intake assembly, throttle body, or engine cover.
Reassembling these parts returns the engine to its original state and ensures that air and fuel flow in the correct direction.
Proper reassembly also protects delicate engine parts and helps maintain optimum performance and efficiency.
3. Carefully reconnect the fuel lines
Finally, the fuel lines must be reconnected to the fuel rail or manifold.
Fuel lines carry high-pressure fuel, so it’s important to make sure they’re installed correctly and secured with the proper fittings or clamps.
Careful reconnection prevents leaks, which can be dangerous and ensures that fuel is regularly delivered to each injector.
Double-checking the connections at this stage helps maintain safety and reliable engine operation.
How to Test the Installation – Non- Negligible
So, it is proven by this research on University of Birmingham, as it shows that deposits actually form on the gasoline direct-injection which is GDI nozzles, so deposits really change the spray shape and even the flow rate and that’s why it increases misfires, particulate the emissions and thus result it into the poor fuel economy, which is why it is really important to replace the fuel injectors when it gets clogged.[¹]
1. Reconnect the Battery
After all the components have been reinstalled and the fuel lines secured, the first step in testing the fuel injector installation is to reconnect the negative terminal of the battery.
This restores electrical power to the vehicle, allowing the fuel system and engine control unit to operate normally.
Carefully reconnecting the battery ensures that all electrical systems are ready for the next steps without any sparks or short circuits.
2. Turn the ignition “ON” to pressurize the fuel system
Before starting the engine, turn the ignition key to the “ON” position a few times without actually starting the car.
This action allows the fuel pump to pressurize the fuel system, filling the fuel rail and injectors with fuel.
Pressurizing the system before starting helps to safely identify any leaks or problems, reducing the risk of fuel spilling under pressure when the engine is running.
3. Check for leaks around injectors and fuel rails
After pressurizing the fuel system, carefully inspect the area around each injector and fuel rail for any signs of fuel leakage.
Even small leaks can be dangerous and affect engine performance or create a fire hazard.
Complete inspections at this step to ensure the installation is secure and the injectors are properly installed.
4. Start the engine and listen for smooth operation
Finally, start the engine and see how it runs.
The engine should run smoothly without interruptions, misfires, or unusual sounds.
A properly installed fuel injector will deliver fuel evenly, ensuring consistent performance and fuel efficiency.
Listening and watching the engine sound at this step confirms that the replacement was successful and the vehicle is ready for normal driving.
Read More:
Final Steps
1. Double Check for Fuel Leaks
After the engine has been started and checked, it’s important to carefully inspect the area around the fuel injectors and fuel rail once again for any signs of leakage.
Even a small leak can be dangerous, posing a fire hazard or reduced engine performance.
Double checking ensures that all O-rings, seals and fuel line connections are secure, giving you confidence that the installation was done safely and correctly.
2. If Necessary, Clear All Diagnostic Trouble Codes with an OBD-II Scanner
Replacing fuel injectors can sometimes activate diagnostic trouble codes (DTCs) in the vehicle’s engine control system.
Using an OBD-II scanner to clear these codes ensures that the car’s computer recognizes the new injectors and operates without any false warnings.
This step helps maintain accurate engine monitoring and prevents unnecessary warning lights from distracting the driver.
3. Take a short test drive of the vehicle to confirm smooth performance
After all checks are completed, taking a short, careful test drive of the vehicle helps verify that the fuel injectors are working properly under actual driving conditions.
The engine should accelerate smoothly, idle steadily and maintain proper fuel efficiency.
Observing the car’s performance on the road confirms that the installation was successful and that the engine is running efficiently and safely.
Conclusion – How to Replace a Fuel Injector
You actually need to maintain the fuel injectors as they should be really clean so that your engine can work flawlessly.
A properly installed fuel injector ensures that your engine receives the correct amount of fuel, improving engine performance and fuel efficiency while reducing harmful emissions.
By carefully following each step, from installing the injector to checking it, you not only save money on costly repairs, but also gain a better understanding of how your car’s engine works.
Clean and properly functioning fuel injectors help prevent engine misfires, erratic idling and poor acceleration, keeping your car running smoothly and reliably.
Regular inspection and maintenance of the fuel system, as well as correct installation procedures, can significantly extend the life of your engine and provide peace of mind while driving.
Now, that’s all from this guide and if you still have confusion about this topic please write that down in the comment box.
Frequently Asked Questions
Q1. What is a fuel injector and why is it important?
Answer: A fuel injector is a small but vital part of a car’s engine that delivers the right amount of fuel to the engine cylinders. It ensures that the engine runs smoothly and efficiently. If a fuel injector becomes jammed, leaks or does not work properly, the engine may experience misfiring, reduced engine power or higher-than-normal fuel consumption. Keeping injectors clean and working properly is important for good engine performance and fuel efficiency.
Q2. How do I know if my fuel injectors need to be replaced?
Answer: There can be many symptoms of a bad fuel injector. Common symptoms include poor idling, misfiring, poor acceleration, low fuel efficiency or problems starting the engine. Sometimes, a check engine light may appear on the dashboard, indicating a problem with fuel delivery. Checking the injector and listening for irregular engine sounds can help identify a bad injector.
Q3. Can I replace fuel injectors myself, or do I need a mechanic?
Answer: If you have basic mechanical skills, the right tools and you carefully follow safety precautions, replacing fuel injectors can be done at home. This involves relieving the fuel system pressure, disconnecting the battery, removing the fuel rail and safely handling the fuel injectors. Although this may seem difficult for beginners, step-by-step guidance and patience can make it easier. If you have any doubts, it is always better to consult a professional mechanic.
Q4. How long does it take to replace fuel injectors?
Answer: The time it takes to replace fuel injectors depends on your experience and the vehicle model. For most cars, it usually takes one to two hours. This includes removing the obstructing parts, safely disconnecting the fuel system, replacing the injectors and testing the installation. Some cars have a more complex engine layout, so planning and patience are a must.
Q5. Do I have to replace all fuel injectors at once?
Answer: Not necessarily. You only need to replace injectors that are clogged, leaking or worn. However, if your car has high mileage or multiple injectors are failing, replacing them all at once can ensure an even supply of fuel and prevent future problems. It is also important to use new O-rings and seals each time to prevent leakage.
Q6. What tools and materials do I need to replace fuel injectors?
Answer: To replace fuel injectors, you will need tools such as a socket set, ratchet, screwdriver and wrench. You may also need a fuel line disconnect tool, replacement injectors, O-rings and seals, safety gloves, shop towel and safety glasses. An optional fuel pressure gauge can help check the fuel system before and after replacement. Having all the tools ready makes the process easier and safer.
Q7. Is it safe to drive immediately after replacing fuel injectors?
Answer: Before driving, it is important to check for leaks, properly connect all electrical connectors and fuel lines and inspect the engine. Start the engine and listen for smooth engine operation. Taking a short test drive ensures that the injectors are working properly and there are no leaks or performance issues. Driving without checking can be dangerous and can damage the engine.
References:
[1] University of Birmingham, Fuel injector deposits in direct-injection sparkignition engines
https://pure-oai.bham.ac.uk/ws/files/42435840/Injector_deposit_review.pdf

Guys, I’m a car audio enthusiast and customization expert and I love clear sound and clean installation. Plus, I have spent years helping people build their dream audio setups. And whenever I’m working on cars, I probably listen to music and thinks about the next big upgrade.
