Written By: Don Dodi
Fact Checked By: Kristen Brown
Reviewed By: Diego Rosenberg
Now-a-days, when you wanted to change the looks & overall style of your car then you don’t have to go for the expensive paint options, as vinyl wrap actually makes it affordable, ideally stylish and don’t forget this is truly reversible as well.
It is true, that traditional repainting job can actually cost you anywhere from $500 to $1000 for a roof only, so with the high quality vinyl wrap you can done this work in very less that makes it budget-friendly option.
So, basically vinyl wrap films are made with advanced polymers that really allows them to stretch, conform and that can resist fading from UV rays for up to 5 to 7 years if you maintain it in a proper way.
Not only this, according to the automotive customization reports, there are more than 60% of the car owners actually choose the vinyl wraps for personalization as they are ideally reversible: which literally means that you can peel them off without damaging the factory paint anytime.
Along with this, there’s another benefit of wraping the roof as it adds a protective layer that guards against stone chips, minor abrasions and scratches as well, that means it extends the life of your car’s original paint.
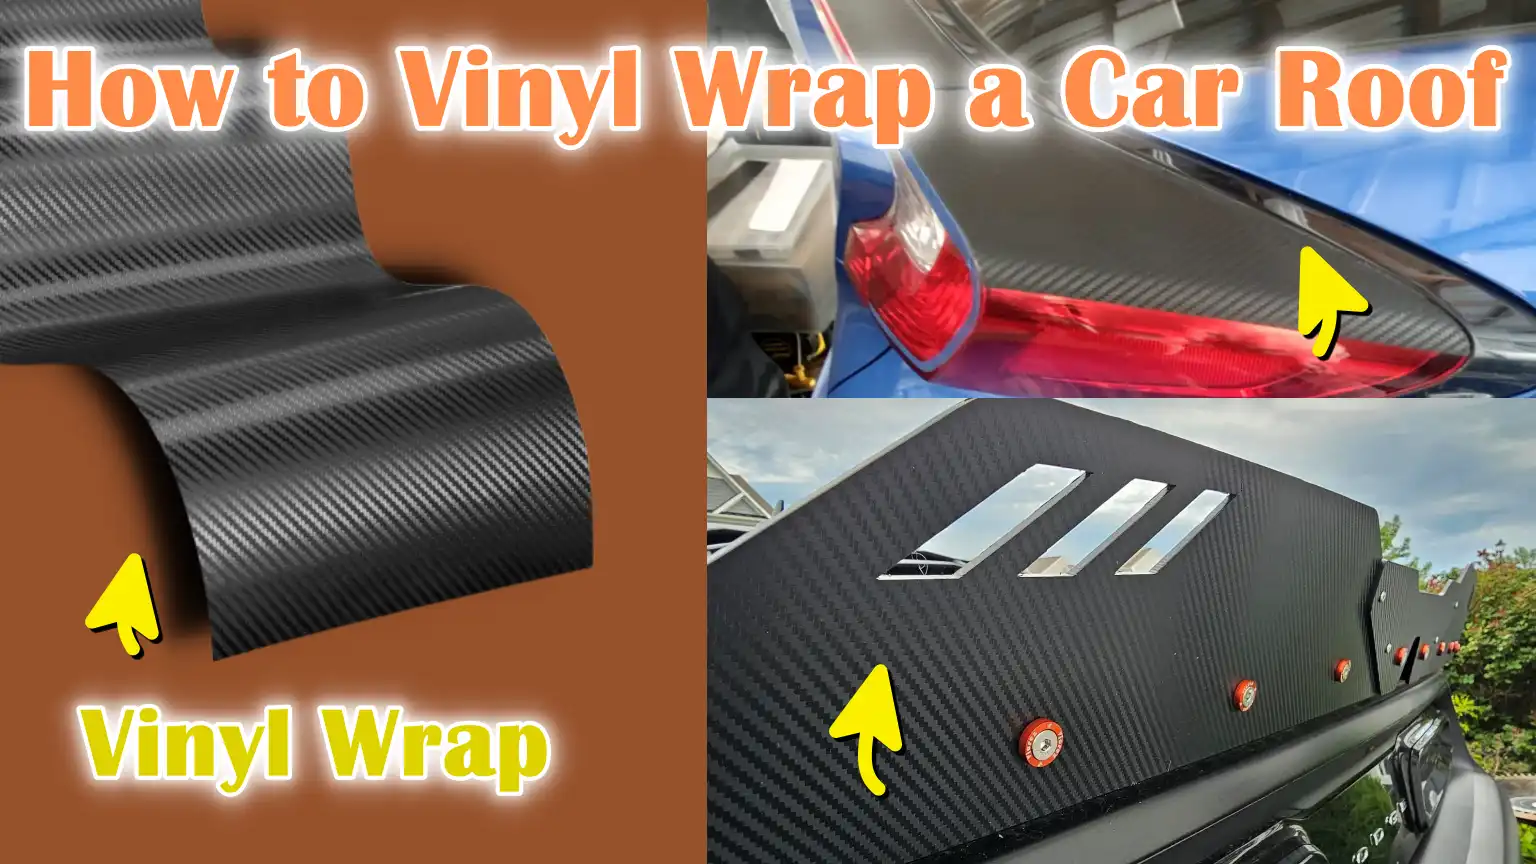
Also, there are lots and lots of designs are available so that you can give your vehicle any style you wanted such as: gloss, matte, carbon fiber and metallic textures as well.
So, this guide is all about How to Vinyl Wrap a Car Roof, so that you can easily design and get the perfect finish.
Tools
| Tools/Materials | Purpose | Tips/Notes |
|---|---|---|
| Vinyl Wrap (High-Quality, Heat-Stretchable Film) | The main material that covers your car’s roof and gives it a new look. | Choose a film with UV protection and stretch. Add an extra inch when cutting. |
| Squeegee with Felt Edge | To smooth the vinyl, remove air bubbles and ensure even adhesion. | Always use the felt side to avoid scratching the vinyl. Work from the center outward. |
| Heat Gun or Hair Dryer | To soften the vinyl, making it pliable for bends and edges. | Keep it moving to avoid overheating or damaging the vinyl. Hair dryers work for small areas. |
| Utility Knife/Precision Blade | To trim excess vinyl from edges, trims and moldings. | Make shallow cuts first; cut slowly along the edges for a clean finish. |
| Masking tape and magnets (optional) | Help hold the vinyl in place when aligning before gluing. | Use small pieces to avoid leaving residue; magnets can help with metal surfaces. |
| Surface cleaner (isopropyl alcohol) | Removes dirt, grease and wax from the ceiling to ensure proper adhesion. | Clean thoroughly and let it dry completely before applying vinyl. |
| Microfiber towels | To clean the surface and wipe away residue without scratching. | Soft, lint-free towels are best. Avoid rough cloths. |
| Gloves | To keep fingerprints, dirt and oil off the vinyl. | Nitrile or cotton gloves work well. |
How to Prepare the Car Roof Firstly
1. Wash the Car Thoroughly
Before you begin vinyl wrapping, it’s important to thoroughly clean the car’s roof.
Dirt, dust and debris can prevent the vinyl from sticking properly and cause bubbles or wrinkles.
Use mild car soap and plenty of water to wash the roof.
Be sure to thoroughly wash any dust that may accumulate, including corners and edges.
Washing not only removes visible dirt but also removes small particles that can damage or stain the vinyl.
2. Degrease the Roof with Isopropyl Alcohol
After washing, the next step is to remove grease, oil, or wax from the surface.
Even if the roof appears clean, these substances can prevent the vinyl from sticking properly.
Use a microfiber cloth and isopropyl alcohol to wipe down the entire roof.
This ensures there is no residue left on the surface.
A degreased surface helps the vinyl adhere evenly and last longer, reducing the risk of peeling over time.
3. Remove or Tape Roof Accessories
If your car has any accessories on its roof, such as an antenna, roof rack, or trim, you should remove or carefully tape them down.
These accessories can interfere with vinyl application and create uneven areas.
Taping the fixed parts will secure them and make it easier to wrap the surrounding parts properly.
This step ensures that the vinyl fits snugly and easily onto the roof, without any gaps or obstructions.
4. Ensure the Surface is Smooth and Completely Dry
Finally, it’s important to ensure the roof surface is completely dry and smooth before applying the vinyl.
Any remaining moisture on the surface can cause bubbles and prevent the vinyl from sticking properly.
Check the roof for scratches, dents, or rough areas, as these imperfections can show through the vinyl.
The smooth surface allows the vinyl to fit evenly, creating a clean, professional-looking finish.
How to Measure and Cut the Vinyl
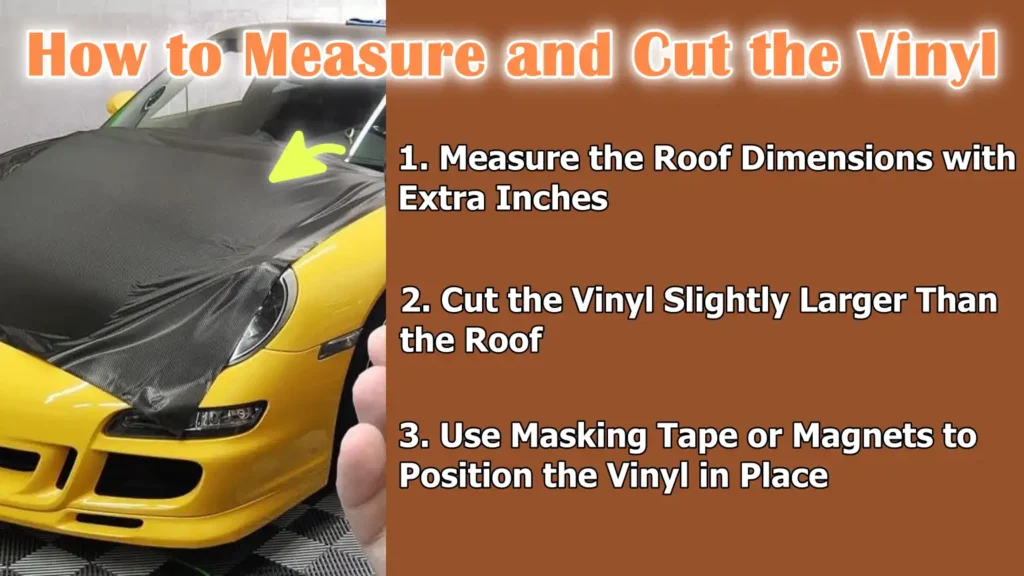
1. Measure the Roof Dimensions with Extra Inches
Accurately measuring your car’s roof is the most important step before cutting the vinyl.
Carefully measure the length and width of the roof, including any bends, edges, or overhangs.
It’s recommended to add extra inches—usually about 3 to 5 inches—on all sides.
These extra margins make it easier to wrap without running out of material at edges, bends and trims.
Accurate measurements help prevent mistakes that could damage the vinyl or cause uneven coverage, ensuring the wrap fits smoothly over the entire surface.
2. Cut the Vinyl Slightly Larger Than the Roof
Once the measurements are complete, cut the vinyl to the dimensions, including the extra margins.
Cutting the vinyl slightly larger than the roof allows for adjustments during application and ensures that the edges fit snugly under trim pieces or molding.
It’s essential to use a sharp utility knife or precision blade when cutting to create straight, clean lines.
This careful preparation reduces the risk of the vinyl tearing or stretching incorrectly during installation.
3. Use Masking Tape or Magnets to Position the Vinyl in Place
Before fully applying the vinyl, it’s helpful to apply it to the ceiling to check its alignment.
You can use small pieces of masking tape or magnets to temporarily hold the vinyl in place.
This allows you to adjust the position and ensure the wrap is centered and correctly aligned with the ceiling’s edges.
Correct positioning at this stage prevents wrinkles, misalignment, or uneven coverage, making the actual installation process more smooth and professional.
How to Apply Vinyl Wrap
1. Start from the Center of the Roof and Work Outward
When applying vinyl wrap, it’s best to begin in the center of the roof.
Starting from the center ensures that the vinyl spreads evenly across the surface and avoids mismatches or wrinkles at the edges.
By working outward toward the edges, you can more precisely control the vinyl’s position and maintain symmetry on both sides of the roof.
This method also reduces the risk of air getting trapped under the vinyl, which can cause bubbles and uneven surfaces.
2. Use a Squeegee to Press and Smooth the Vinyl
A squeegee with a felt edge is essential for pressing the vinyl to the roof and smoothing out air bubbles.
Work slowly from the center toward the edges, applying light pressure to remove air bubbles and ensure strong adhesion.
Proper squeegee technique not only removes trapped air but also ensures that the vinyl adheres evenly, preventing future peeling or tearing.
Using a felt edge prevents scratches and gives the vinyl surface a smooth and professional look.
3. Apply gentle heat to stretch the film around bends and edges
Vinyl wrap is designed to stretch, but applying gentle heat from a heat gun or hair dryer makes it more flexible and easier to apply around bends, corners and edges.
Heat softens the vinyl, allowing it to fit snugly around rounded surfaces without tearing.
It’s important to keep the heat source moving and not focus on one area for too long, as excessive heat can damage the vinyl or create bubbles.
Proper heat ensures a clean, wrinkle-free finish on complex ceiling areas.
4. If you notice any wrinkles, carefully lift them up and reapply them
Don’t panic if you notice any wrinkles or small bubbles during application.
By carefully lifting and reapplying the vinyl, you can remove any imperfections before they fully adhere.
This step is crucial for a professional finish, as pressing the vinyl too hard on wrinkles can stretch or tear it.
Patience and careful adjustment during this step ensures an even and long-lasting wrap.
How to Wrap Edges and Trims
1. Apply vinyl under rubber trims, moldings and edges with a thorough heating
After applying the vinyl to the main surface of the ceiling, the edges and trims require careful attention.
Use gentle heat from a heat gun or hair dryer to soften the vinyl, making it pliable enough to be applied under rubber trims, moldings and ceiling edges.
Properly applying vinyl ensures a clean, seamless look and prevents edges from fraying over time.
Evenly applying heat allows the vinyl to adhere easily to bends and corners without stretching or wrinkling, which is essential for both beauty and durability.
2. Use an Exacto Knife to Cut Off Excess Vinyl
After properly applying the vinyl, it’s important to cut off any excess material for a clean and professional finish.
A sharp Exacto knife or utility blade works best for this task.
Cut edges, trims and seams slowly and carefully to avoid chipping the car’s paint.
Proper trimming prevents the vinyl from lifting, forming bubbles, or sticking to foreign objects, which can damage the wrap and shorten its life.
3. Reinstalling Removed Accessories, Such as Antennas or Racks
If antennas, roof racks, or other removable parts were removed before wrapping, now is the time to reinstall them.
Carefully reinstall each item without damaging the vinyl or roof surface.
Positioning the accessories correctly ensures that the wrap remains intact around these parts and maintains a smooth, professional look.
This final step completes the installation and helps the vinyl wrap look like a factory-finished modification.
Basic Post-Installation Process
1. Re-Check for Air Bubbles and Smooth Them Out
After applying the vinyl and smoothing down the edges, it’s important to carefully check the ceiling for any air bubbles or imperfections.
Even small bubbles can expand over time and cause the vinyl to lift or wrinkle.
Starting from the center of the bubble, use a squeegee or soft cloth to gently remove any trapped air.
If necessary, lift the vinyl slightly to remove stubborn air particles.
This step ensures that the vinyl adheres completely to the surface and looks smooth and professional.
2. Apply Mild Heat to the Entire Surface to “Set” the Vinyl
After all bubbles have been removed, applying mild heat evenly to the ceiling ensures that the vinyl adheres completely to the surface.
This process, called “setting,” softens the adhesive slightly, allowing it to adhere more firmly to the paint.
Keep the heat gun or hair dryer running continuously and avoid overheating any one area, as excessive heat can damage the vinyl.
The correct setting increases the lifespan of the wrap and ensures it holds its shape at bends and edges.
3. Allow the vinyl to dry completely for 24 hours
After smoothing and setting the vinyl, it’s important to let it dry for at least 24 hours before exposing the roof to moisture, sunlight, or physical contact.
Drying allows the adhesive to fully adhere to the car’s surface, making the vinyl more resistant to peeling, peeling, or movement.
During this time, avoid washing the car or applying pressure to the vinyl.
Following this step carefully ensures that your roof wrap is strong, durable and long-lasting.
Read More:
How to Maintain Wrapped Roof Properly
1. Hand Wash Only with Mild Soap and Water
To maintain the beauty and durability of a vinyl-wrapped roof, it’s important to clean it gently.
Always use mild car soap diluted in water and a soft microfiber cloth or sponge.
Automatic car washes with harsh detergents or harsh chemicals can damage the vinyl, fade the color, or weaken the adhesive.
Regular hand washing removes dirt, dust and road grime from the surface and maintains the wrap’s finish and flexibility.
2. Do Not Use Abrasive Brushes and High-Pressure Washers on Seams
When cleaning, it’s important to avoid using abrasive brushes, scrub pads, or high-pressure washers, specially on the edges and joints of the wrap.
Strong pressure or rough brushes can scratch or tear the vinyl.
Maintaining gentle contact during cleaning ensures that the vinyl remains firmly adhered to the roof and prevents peeling or bubbles from forming over time.
As well as, there’s top-brands available which used advanced adhesive and air-release technologies, such as: 3M’s 2080 – which actually makes the positioning and smoothing the film much easier. As an example: you should not wash it for at least 72 hours and choose the gentle cleaning methods, as it actually helps to protect the seams and extends the life as well.[¹]
3. Keep away from harsh chemicals or solvents
Vinyl wrap is sensitive to harsh chemicals, such as paint thinner, gasoline, or strong cleaning solvents.
Contact with these substances can cause discoloration, shrinkage, or damage the adhesive.
Always use cleaning products specifically designed for cars or vinyl surfaces and rinse thoroughly with clean water to remove any residue.
Protecting the wrap from chemical damage is essential for a long-lasting and shiny finish.
4. Regularly check for lifted edges and fix them promptly
Even with careful application and cleaning, the edges or corners of vinyl wrap can sometimes begin to lift over time.
Regularly inspecting the roof can help you catch minor problems before they become serious.
If you notice any lifting or peeling, gently press the edge or apply a heat gun to reactivate the adhesive.
Timely maintenance prevents major damage and helps keep the wrap safe and flawless for years.
Conclusion – How to Vinyl Wrap a Car Roof
When you upgrade your car roof with vinyl wrap then it means you’ll have stylish armour that actually protects, transforms the looks and lasts for years as well.
By carefully following steps like surface preparation, measuring and cutting the vinyl, applying it correctly, properly wrapping the edges and taking proper care after application, you can achieve a professional-looking finish without spending thousands on repainting.
Maintenance plays a vital role in keeping the wrap fresh and extending its life and simple habits like washing gently, avoiding harsh chemicals and checking the edges for fraying can make a big difference.
Whether you choose a glossy, matte, metallic, or textured finish, vinyl wraps offer a reversible and customizable solution that allows you to showcase your personal style while maintaining your car’s value.
With patience, the right tools and careful technique, anyone can confidently transform their vehicle’s appearance while enjoying the protective benefits of a high-quality vinyl wrap.
Frequently Asked Questions
Q1. What is vinyl roof wrapping?
Answer: Vinyl roof wrapping involves covering the roof with a thin, flexible film made of vinyl. This film can change the color or finish of your car without having to paint it. It can be glossy, matte, metallic, or textured. Unlike paint, vinyl wraps are reversible, so you can remove or replace them without damaging the original paint underneath. It also protects the roof from scratches, sun damage and minor wear.
Q2. Do I need professional help to wrap my car’s roof?
Answer: No, you don’t always need a professional, but experience is helpful. With patience, the right tools and careful steps, beginners can wrap their car’s roof at home. Professionals can achieve clean edges and fast results, specially for complex curves or trims, but a well-planned DIY method can also yield excellent results and save money.
Q3. How much vinyl do I need for a car roof?
Answer: You’ll need enough vinyl to cover the entire roof, plus an extra inch all around. Typically, leaving 3 to 5 inches of extra space around the roof ensures you can wrap properly around edges and bends. This space prevents undercutting during installation and helps you properly apply the vinyl under trim and molding.
Q4. Can I wrap over a dirty or sticky roof?
Answer: No, it’s very important to thoroughly clean the roof before applying vinyl. Dirt, dust and grease can prevent the vinyl from sticking properly and cause bubbles or wrinkles. Washing with car soap and water and then wiping with isopropyl alcohol removes dirt and grease. A clean, dry surface is essential for long-term adhesion.
Q5. How do I deal with bends and edges on the roof?
Answer: Vinyl wrap is designed to stretch slightly, but applying gentle heat from a heat gun or hair dryer makes it flexible enough to fit around bends and edges. Starting from the center of the roof and working outward, use a squeegee to smooth the vinyl. Carefully work around the edges under trim and molding and use an Exacto knife to cut off excess material. Patience and careful adjustments are essential for a smooth and wrinkle-free finish.
Q6. How long does a vinyl wrap on a car roof last?
Answer: If properly maintained, a high-quality vinyl wrap can last 5 to 7 years. Factors such as sunlight, washing methods and local climate can affect its lifespan. Regular cleaning with mild soap and water, avoiding harsh chemicals and checking the edges for wear will keep the wrap in good condition for years.
References:
[1] 3M™ Wrap Film Series 2080
https://multimedia.3m.com/mws/media/1733396O/product-bulletin-2080-series.pdf

Guys, I’m a car audio enthusiast and customization expert and I love clear sound and clean installation. Plus, I have spent years helping people build their dream audio setups. And whenever I’m working on cars, I probably listen to music and thinks about the next big upgrade.