Written By: Don Dodi
Fact Checked By: Kristen Brown
Reviewed By: Diego Rosenberg
It is true that even a small bubbles of air which is trapped inside your car’s cooling system can stop the coolant from flowing properly and that leads to the engine overheat somehow.
So, understand this simple fact that whenever air pockets form inside the radiator, hoses or heater core then they just interrupt the normal flow of the coolant and actually stops it from absorbing and transferring heat efficiently.
That’s why, this leads to the overheating, weak heater performance and even it can damage the engine over the period of time.
And studies and automotive repair data also shows that one of the most common causes of engine from being overheating even after coolant job is done or repair is that there can be “AIR” that wansn’t properly removed from the system.
Not only this, the cooling system is basically designed to work as a sealed, pressurized circuits, that’s why if there’s any trapped air then it prevents that pressure from building in the correct point, then it causes boiling and poor heat circulation as well.
Yes, now-a-days most of the modern vehicles that are even equipped with bleeder valves or self-bleeding systems, but many still requires you to do this “Burping” thing manually to release trapped air in a complete way.
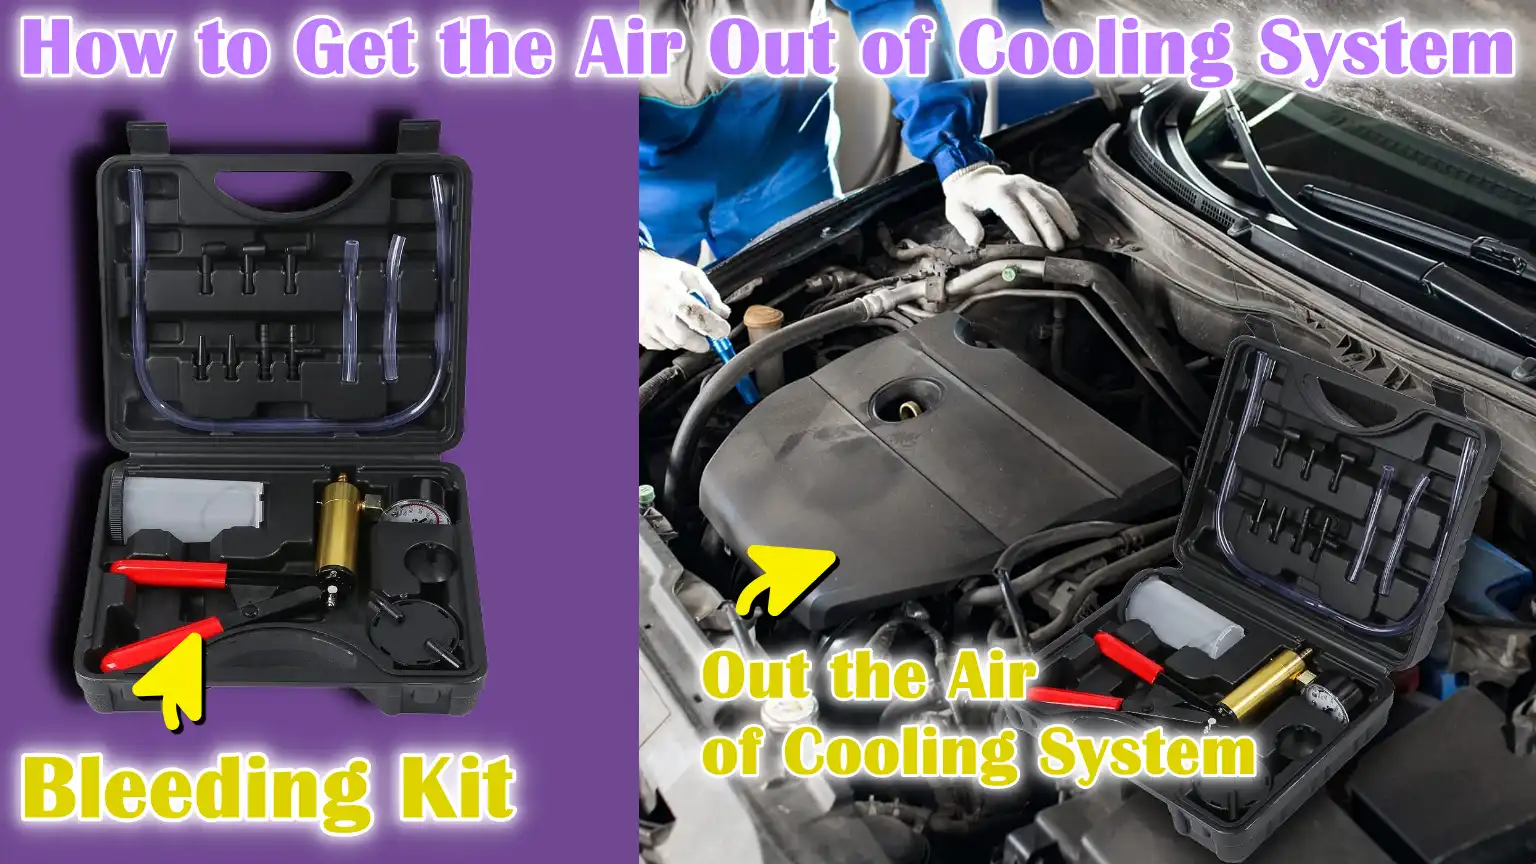
At last, this is the guide that shows you How to Get the Air Out of Cooling System, so that you can maintain a stable operating temperature of your engine and other lifespan of the vital components such as: water pump, radiator and head gasket as well.
How to Ensure Safety First
1. Ensure the Engine is Completely Cool
Before beginning any work on the cooling system, ensure the engine is completely cool.
Working on a hot engine can cause serious burns, as coolant and metal parts can reach extremely high temperatures.
Waiting until the engine cools down protects both you and your vehicle from accidents.
2. Wear Gloves and Eye Protection
Always wear protective gloves and safety glasses.
Coolant is toxic and can cause irritation to your skin or eyes.
Even small splashes can be harmful, so wearing gloves and glasses when handling coolant, hoses, or the radiator cap provides safety.
3. Have Coolant Containers and Clothing Ready
Have containers and clothing ready to catch any spilled coolant so you can quickly clean up the mess.
Coolant is slippery and can damage paint or floors and it is toxic to pets and the environment.
Being prepared ensures that spilled fluids are handled safely and efficiently.
4. Follow Safety First
These precautions are essential to ensure a safe and smooth process.
Prioritizing safety prevents injuries, keeps your car safe and allows you to focus on properly removing air from the cooling system without worry.
Tools
| Tool/Material | Purpose / Use | Notes / Tips |
|---|---|---|
| Funnel | Helps add coolant to the radiator or reservoir without spilling it. | If possible, use a spill-free funnel for clean filling. |
| Coolant | The fluid that cools the engine and prevents it from overheating. | Use the type recommended in your car’s manual. |
| Radiator Cap | Seals the radiator and maintains pressure in the cooling system. | Make sure it is in good condition and properly tightened after work. |
| Drain Pan | Catches old coolant while draining water from the system. | Prevents spills and protects the environment. |
| Bleeder Valve Tool | Used to open the bleeder valve to release trapped air. | Only necessary if your car has a bleeder valve; check your manual. |
| Vacuum Bleeder (Optional) | Helps in quick air removal and clean refrigerant filling. | This makes the process easier, but it is not necessary for all cars. |
| Gloves | Protects your hands from hot surfaces and toxic coolants. | Always wear gloves when using coolant. |
| Safety Glasses | Protects your eyes from splashes. | Important for injury prevention. |
| Rags or Towels | Cleans up any coolant or dirt spilled around the work area. | Carry extra clothes for protection and cleaning. |
How to Locate Cooling System Components
1. Identify the Radiator
The radiator is the central part of the cooling system and is usually located at the front of the engine bay, just behind the grill.
Its main function is to transfer heat from the engine’s coolant to the outside air.
Radiators are made of metal or plastic with thin fins that increase the surface area for cooling.
Knowing the exact location of the radiator helps you safely remove the radiator cap, monitor coolant flow and properly vent trapped air.
2. Locate the Overflow Tank
The overflow tank, sometimes called the coolant reservoir, is a small plastic container connected to the radiator by a hose.
It holds excess coolant that expands when the engine heats up and returns it to the radiator when the system cools down.
Identifying the overflow tank is important because it allows you to check and maintain the proper coolant level without opening the radiator under pressure.
3. Locate the Upper and Lower Radiator Hoses
The upper and lower radiator hoses connect the engine to the radiator, allowing coolant to circulate.
The upper hose typically carries hot coolant from the engine to the radiator, while the lower hose carries cold fluid back to the engine.
It’s important to identify these hoses because clamping or checking them during the bleeding process removes trapped air and ensures smooth coolant circulation.
4. Check the Bleeder Valve – If It is Available
Some vehicles have a bleeder valve near the radiator or thermostat housing.
This valve is specifically designed to safely remove trapped air from the cooling system.
Knowing whether your car has a bleeder valve and its location, makes it easier to efficiently remove air without the need for advanced tools.
5. Understanding the Layout
By correctly locating all the main components—the radiator, overflow tank, upper and lower hoses and bleeder valve—you can gain a clear understanding of the coolant flow in your vehicle.
This knowledge is essential for safely venting air, maintaining proper coolant levels and preventing engine overheating or engine damage.
Familiarity with these components also helps with routine maintenance and troubleshooting cooling system problems.
How to Drain and Refill Coolant
1. When to Drain Coolant
Draining the coolant is necessary when the existing fluid is old, contaminated, or the cooling system has been repaired.
Over time, coolant loses its ability to prevent corrosion and boiling, which can reduce engine efficiency and cause engine overheating.
Replacing old coolant with new, properly mixed fluid keeps the engine at the correct operating temperature and prevents damage to the radiator, hoses and water pump.
2. How to Drain Old Coolant
To drain the coolant, first ensure the engine is completely cool to avoid burns.
Place a drain pan under the radiator drain plug or petcock to safely drain the old fluid.
Unscrew the plug slowly and allow the coolant to drain completely.
It is important to handle used coolant carefully, as it is toxic to humans, pets and the environment.
Dispose of it according to local regulations.
3. Preparing New Coolant
After draining the coolant, you need to refill the system with the correct coolant mixture recommended by the vehicle manufacturer.
Most cars require a 50/50 mixture of antifreeze and distilled water, but it’s important to consult the owner’s manual for exact information.
Using the correct type of coolant ensures proper heat transfer, prevents corrosion and protects the seals and gaskets in the cooling system.
4. Refilling the Radiator or Tank
Slowly pour the prepared coolant into the radiator or overflow tank using a funnel to avoid spillage.
Fill until the radiator or tank reaches the maximum recommended level.
This step prevents air pockets from forming and ensures the system is fully prepared to circulate coolant efficiently.
5. The Importance of Proper Refilling
Properly draining and refilling coolant not only maintains optimal engine temperature but also ensures long-term engine health.
Incorrect or incomplete filling can trap air, reduce cooling efficiency and cause overheating or component failure.
Taking the time to do this ensures a smooth and reliable vehicle run.
How to Use the Bleeder Valve – If Equipped
1. Purpose of the Bleeder Valve
A bleeder valve is a small, specially designed valve installed in the cooling system of some vehicles to help remove trapped air.
Air pockets within the system can prevent proper circulation of coolant, leading to overheating, poor heater performance and uneven engine temperatures.
Using a bleeder valve ensures that all trapped air is removed, allowing the cooling system to function efficiently.
2. Opening the Bleeder Valve
To use the bleeder valve, first place it on the radiator or near the thermostat housing.
As you fill the radiator or overflow reservoir with coolant, slowly open the bleeder valve.
This releases the trapped air from the system and allows the coolant to replace it.
It is normal to see bubbles with the coolant initially.
3. Observing Coolant Flow
Keeping the bleeder valve open, continue filling with coolant until you see a steady stream of liquid without any bubbles.
The absence of bubbles indicates that the air has been completely expelled and the coolant can now flow properly throughout the engine.
4. Closing the Bleeder Valve
When the coolant begins to flow steadily without bubbles, carefully close the bleeder valve.
Closing it too quickly can trap air, reducing cooling efficiency.
A properly closed valve ensures that the system maintains the correct pressure and prevents future overheating.
5. The Importance of Bleeding Air
Removing air from the cooling system is essential to maintaining stable engine temperature and preventing damage.
A properly bleeding system will circulate the coolant evenly, protect engine components like the water pump and head gasket and improve heater performance.
Using a bleeder valve correctly is a simple but important step in cooling system maintenance.
How to Burp the Cooling System – Manually
1. Purpose of Burping the Cooling System
Even after draining, refilling and using the bleeder valve, some air bubbles may remain in the cooling system.
These trapped air bubbles can prevent proper coolant circulation, leading to engine overheating and uneven engine temperature.
Manually burping the cooling system ensures that all remaining air is removed, allowing coolant to flow smoothly and maintain the engine at the correct operating temperature.
2. Safely Starting the Engine
First, start the engine and leave it idling with the radiator cap removed.
It is important to keep the engine at idle speed and avoid accelerating, as sudden acceleration can cause coolant to splash.
Keeping the engine slow and steady allows the thermostat to gradually open, allowing coolant to flow into the radiator and engine block.
3. Monitoring for Air Bubbles
As the engine warms up and the thermostat opens, you’ll see air bubbles rising from the radiator or reservoir.
This is normal and indicates that trapped air is being released from the system.
Continuous monitoring ensures there are no large air pockets that could block proper coolant flow.
4. Adding Coolant as Needed
During the burping process, the coolant level may drop as the system fills the voids created by the expelled air.
It’s important to add coolant slowly to maintain the proper level and prevent new air pockets from forming.
Slow and consistent filling ensures a complete and efficient bleed of the system.
5. Pressing the Upper Radiator Hose
Gently pressing the upper radiator hose can help push stubborn air pockets toward the radiator or bleeder valve.
This manual action helps release trapped air quickly, ensuring the system is completely purged.
Care should be taken to press gently to avoid damaging the hose.
6. Importance of Manual Burping
Manual burping is a crucial step in cooling system maintenance.
A properly burped system prevents overheating, improves heater performance and protects vital components such as the water pump, thermostat and head gasket.
Performing this step carefully ensures the long-term reliability and efficiency of the vehicle’s cooling system.
Just, Pay Attention to Air Bleeding Signs
1. Understanding the Importance of Air Bleeding
Even small amounts of trapped air in the cooling system can reduce coolant circulation, overheat the engine and affect heater performance.
Inspecting the system while it’s running ensures that all air bubbles are removed and the coolant can flow smoothly.
Properly venting air can prevent pressure and potential damage to critical components like the radiator, water pump and thermostat.
2. Identify Bubbling or Gurgling Sounds
As the engine warms up and coolant circulates, carefully inspect the radiator neck or overflow reservoir.
Bubbling or gurgling sounds are common signs that trapped air is being expelled from the system.
These visual and auditory signs are essential indicators that the cooling system is purging properly and that coolant is filling all voids left by air pockets.
3. Wait for Stability
Monitor the coolant until the bubbling stops completely and the level stabilizes.
This indicates that all air has been expelled and the coolant is flowing efficiently.
Rushing this step or closing the radiator cap too quickly can trap air, which can cause the engine to overheat, reduce efficiency and damage the engine.
4. Ensure Complete Air Flushing
Looking for signs of air leaks is a crucial step in cooling system maintenance.
Careful inspection and waiting ensures that the system is completely flushed, the engine is safe and the vehicle is running at optimal temperature.
Consistently following this step helps prevent future cooling problems and maintain long-term engine reliability.
How to Reinstall the Radiator Cap and Check the Coolant Level
1. Properly Closing the Radiator Cap
After all air has been removed from the cooling system and the coolant level has stabilized, it is important to reinstall the radiator cap correctly.
The radiator cap is designed to maintain pressure in the cooling system, increase the boiling point of the coolant and ensure efficient heat transfer.
A loosely fitted or damaged cap can cause coolant to leak, reduce system pressure and cause the engine to overheat.
To avoid these problems, ensure the cap is properly tightened.
2. Filling the Overflow Tank
The overflow tank, or coolant reservoir, must also be filled to the correct level according to the markings on the container.
The overflow tank allows the coolant to expand when heated and contract when cooled, maintaining proper pressure in the system and preventing air pockets from forming.
Keeping the tank at the proper level ensures that there is always enough coolant in the system for efficient circulation and temperature control.
3. The Importance of Proper Levels
Maintaining the correct coolant level in both the radiator and overflow tank is crucial to engine health.
Low coolant levels can cause hot spots in the engine, increase wear on the water pump and strain the thermostat.
By checking and topping up the coolant, you can prevent overheating, protect engine components and ensure consistent heater performance.
4. Final Checks Before Operation
After installing the radiator cap and filling the overflow tank, inspect the system for any signs of leaks.
Starting the engine and monitoring the temperature gauge ensures that the coolant is flowing correctly and the system is functioning as expected.
Completing this step correctly ensures that the cooling system is fully prepared to operate the engine safely and efficiently.
Read More:
How to Test the Cooling System
As well as, the International Journal of Heat and Mass Transfer study shows that air and coolant actually move through the vehicle’s cooling circuits and if there’s any trapped air then it literally creates hotspots and that even reduces the cooling efficiency, also the physical flow patterns that actually cause the air pockets to form and that’s why correct bleed procedures are necessary to have steady coolant circulation and heat transfer time-to-time.[¹]
1. Run the Engine at Normal Temperature
After completing the steps to bleed air and fill coolant, start the engine and allow it to reach its normal operating temperature.
This ensures that the thermostat opens, coolant flows fully to the engine, radiator and heater core and the system reaches the necessary pressure for proper operation.
Inspecting the engine while it is warm helps identify any immediate problems with coolant flow or temperature control.
2. Monitor the Temperature Gauge and Heater Output
While the engine is running, carefully monitor the temperature gauge on the dashboard.
A steady reading within the normal range indicates that coolant is flowing properly and the engine is cooling effectively.
Also check the heater output inside the vehicle; consistent heat from the heater confirms that coolant is reaching the heater core and that there are no air pockets left in the system.
3. Check for Leaks
While the engine is running and after it has cooled down, check for leaks in the radiator, hoses, radiator cap and overflow tank.
Leaks can cause a lack of system pressure, a lack of coolant and engine overheating.
Early detection can prevent engine damage and ensure reliable system operation.
4. Recheck the Coolant Level After Cooling Down
After the engine has completely cooled down, recheck the coolant level in both the radiator and overflow tank.
As the system cools down, coolant may settle and may require minor adjustments to maintain the proper level.
Ensuring the correct coolant level after testing ensures long-term efficiency, prevents air re-entry into the system and prevents engine overheating.
5. Importance of System Testing
Testing the cooling system is the final and crucial step in maintaining engine health.
This confirms that all air has been removed, coolant is flowing properly and there are no leaks or pressure problems.
Completing this step correctly ensures reliable engine performance, efficient heating and long-term durability of cooling system components.
Additional Helpful Tips
1. Use a Spill-Free Funnel Kit
A spill-free funnel kit is a useful tool when adding or refilling coolant.
It allows you to pour coolant into the radiator or tank without mess or fluid loss.
Using this kit not only keeps your engine bay clean but also ensures that the correct amount of coolant enters the system, preventing air buildup and improving the efficiency of the bleeding process.
2. Use Vacuum Bleeding Tools
Vacuum bleeding tools can remove air from the cooling system faster and more efficiently.
These tools create a vacuum that draws coolant into the system and removes trapped air.
Although not required for all vehicles, using a vacuum bleeder reduces the risk of air buildup in hard-to-reach places and ensures a fully ventilated system, preventing engine overheating and improving long-term performance.
3. Check the coolant level regularly
After completing the air-bleed and refill process, it’s important to monitor the coolant level for the next few days.
Small amounts of air or coolant may accumulate, causing the level in the radiator or overflow tank to drop slightly.
Regularly checking the levels ensures the cooling system remains fully filled, maintains proper pressure and continues to operate efficiently, preventing engine overheating and protecting engine components.
4. The Importance of Following Additional Tips
Following these additional tips not only makes the cooling system air-bleed process easier but also ensures long-term reliability.
Small steps like using proper tools and monitoring the coolant level reduce the risk of future problems, protect engine components and help maintain optimal operating temperatures.
Following these steps improves the engine’s overall health and efficiency.
Conclusion – How to Get the Air Out of Cooling System
When we talk about the coolant then every drop of it counts, so just make sure that it flows without any kind of interruption by removing the air from it, as it can literally transform your car’s performance and protects vital components as well.
Trapped air can prevent coolant from circulating properly, causing engine overheating, reduced heater performance and even long-term damage to critical components like the water pump, radiator and thermostat.
By carefully following steps like draining and refilling coolant, using a bleeder valve, manually ventilating the system and monitoring air exhaust, you ensure the engine remains at the correct operating temperature.
Regularly checking coolant levels and using accessories like a spill-free funnel or vacuum bleeder increases accuracy and reduces errors.
Taking the time to maintain a fully prepared and properly filled cooling system not only prevents immediate problems but also extends the lifespan of your engine, improving reliability.
So, that’s all from this guide and if you still have confusion about anything related, please comment.
Frequently Asked Questions
Q1. Why is there air in the cooling system?
Answer: Air can enter the cooling system after draining and refilling coolant, leaking hoses or radiators, or repairing the cooling system. Trapped air prevents coolant from flowing properly, which can lead to overheating and poor heater performance. Over time, even small air particles can reduce the efficiency of the cooling system and damage the engine.
Q2. What happens if air is not removed from the cooling system?
Answer: If air is not removed, it forms particles that block the circulation of coolant. This can cause the engine to overheat, cause heater failure and in severe cases, damage the water pump, thermostat, radiator, or even the head gasket. Trapped air prevents the cooling system from maintaining proper pressure, reducing its ability to transfer heat efficiently.
Q3. What tools will I need to bleed air from the cooling system?
Answer: To bleed air, you’ll need basic tools like a funnel, fresh coolant, a drain pan, gloves and eye protection. Some vehicles also have a bleeder valve that requires a small wrench or specialized tools. Optional tools like a spill-free funnel or vacuum bleeder make this process faster and cleaner, but they aren’t necessary for every car.
Q4. Can I bleed air from the cooling system without a bleeder valve?
Answer: Yes, most vehicles can be bleed manually, even if they don’t have a bleeder valve. This process involves removing the radiator cap and running the engine, inspecting the coolant circulation, gently pressing the hose to expel trapped air and adding coolant if necessary until bubbles no longer appear. This method is sometimes called “burping” the cooling system.
Q5. How long does it take to remove air from the cooling system?
Answer: This time depends on the engine size and the method used. Using the manual burping method typically takes about 10 to 20 minutes, while using a vacuum bleeder may be faster. The important thing is to continue until all air bubbles are removed and the coolant level stabilizes, ensuring the system is fully filled and pressurized.
References:
[1] A review on air flow and coolant flow circuit in vehicles’ cooling system
https://www.researchgate.net/publication/256718727_A_review_on_air_flow_and_coolant_flow_circuit_in_vehicles%27_cooling_system

Guys, I’m a car audio enthusiast and customization expert and I love clear sound and clean installation. Plus, I have spent years helping people build their dream audio setups. And whenever I’m working on cars, I probably listen to music and thinks about the next big upgrade.