Written By: Don Dodi
Fact Checked By: Kristen Brown
Reviewed By: Diego Rosenberg
It is not just to shine the engine, but it helps your car to deal with some unnoticed problems that would be hiding behind the dirt and grease.
Simply, when you clean your car engine then in return it gives you vehicle’s health, performance and longevity back.
As it is 100% true that over the period of time, it is completely nature that dust, oil residue and road grime builds up under the hood as well, that even traps heat and makes it harder for the engine to be cool in a proper way.
So, basically dirty engine can even hide next big things under it, as there could be corroded parts, small leaks or worn-out seals that can later leads to the some expensive repairs as well, so it is better to notice way more earlier at the starting point of the problems.
Even it extend the lifespan of the important components such as: belts, sensors and electrical connections as wel.
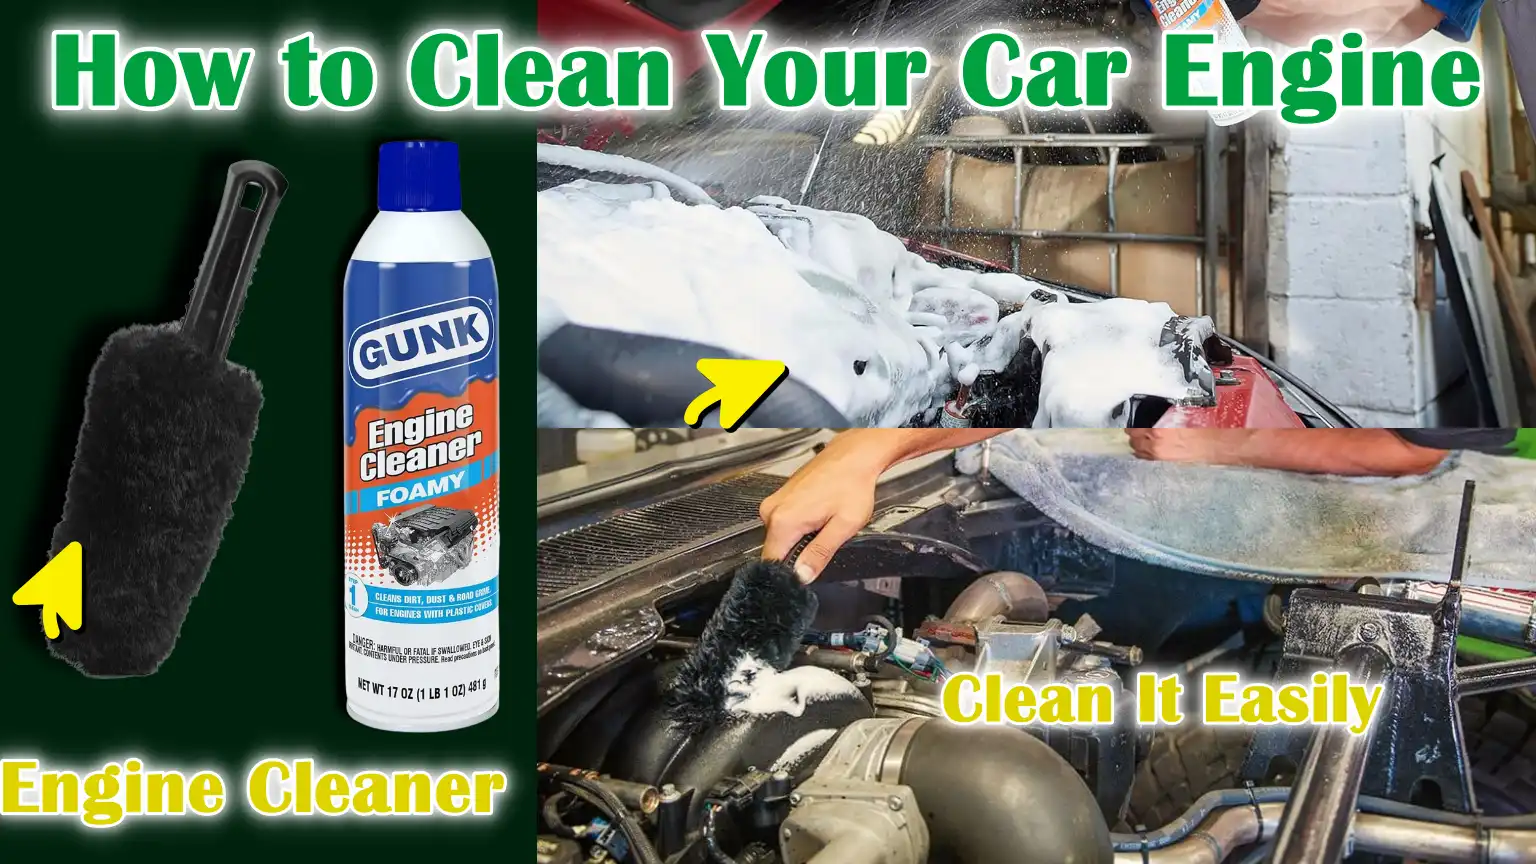
Now, this guide actually shows you How to Clean Your Car Engine in the most modest way by protecting your engine by all means.
How to Ensure Safety Before Having Engine Cleaned
Cleaning your car’s engine may seem simple, but it can be risky if you don’t take proper safety measures.
Following these precautions ensures the safety of both you and your vehicle, as well as ensuring that the cleaning process is effective.
1. Engine Cool Down
Always ensure your engine is completely cool before starting.
A hot engine can cause serious burns if you accidentally touch metal parts or hoses.
Furthermore, cleaning products applied to a hot engine can evaporate very quickly, reducing their effectiveness and leaving residue.
Waiting for the engine to cool ensures both safety and better cleaning results.
2. Removing the battery
Removing the battery before cleaning is an important safety step.
This prevents accidental sparks, short circuits, or electrical damage to sensitive components such as sensors, the ignition system, or the alternator.
By eliminating the risk of electrical accidents, you protect both yourself and your car’s delicate electronic components.
3. Covering Sensitive Electrical Components
Even after the battery is disconnected, it’s important to protect sensitive parts like the alternator, air intake, battery terminals and exposed wiring.
Covering these areas with plastic wrap or protective covers can prevent corrosion, short circuits, or long-term damage from water or cleaning chemicals.
4. Working in a Well-Ventilated Area
Always clean the engine in a well-ventilated area.
Fumes from cleaning chemicals and degreasers can be harmful if inhaled in a confined space.
Adequate ventilation ensures that fumes are safely dispersed, keeping the air comfortable while working and making the cleaning process more comfortable.
Tools
| Tool / Material | Purpose | Helpful Tip |
|---|---|---|
| Plastic Bags or Wrap | Protect sensitive electrical parts such as battery terminals, sensors and alternator from water and cleaning chemicals. | Use thick plastic or cling wrap and tie it tightly with a rubber band. |
| Degreaser or Engine Cleaner | Breaks down grease, oil and dirt on the engine surface. | Choose a product labeled safe for car engines and follow the instructions. |
| Soft Brush or Detailing Brush | Helps clean stubborn dirt and grease without scratching metal or plastic surfaces. | Use a small brush for tight spaces and a larger brush for larger areas. |
| Water Hose or Low-Pressure Washer | Safely rinses away degreaser and dirt without harming engine parts. | Avoid applying the high-pressure washer directly to electrical parts or sensors. |
| Microfiber Towels | After cleaning, dry the surfaces and wipe away any residue. | Use a clean, soft towel to avoid scratching the engine surface. |
| Safety Gloves and Goggles | Protect hands from chemicals and eyes from splashes. | Choose chemical-resistant gloves and comfortable glasses for complete protection. |
How to Prepare & Ensure Safety Before Going to Clean Engine
Proper preparation is the foundation of a safe and effective engine cleaning process.
Taking the right steps before using any cleaner ensures your engine remains safe, prevents damage to sensitive parts and helps cleaning products work efficiently.
Taking the time to prepare makes cleaning faster, safer and more thorough and helps you avoid costly mistakes.
1. Removing Loose Debris Using Compressed Air or a Vacuum Cleaner
The first step in preparing your engine bay is to remove any loose debris, such as leaves, dust, or small twigs.
Using compressed air or a vacuum cleaner allows you to safely clean hard-to-reach areas without pushing dirt further into the engine.
Removing this debris before using any cleaning product ensures that dirt does not mix with the water or degreaser, which could create a sticky residue or block small components like vents and drain holes.
2. Cover the alternator, air intake, battery terminals and sensors with plastic wrap
After cleaning up loose debris, it’s essential to protect sensitive engine components.
Covering the alternator, air intake, battery terminals and any exposed sensors with plastic wrap or protective covers can prevent electrical short circuits or corrosion from water and cleaning chemicals.
This simple step protects critical parts that frequently require repair and ensures the cleaning process doesn’t harm engine performance.
3. Check for oil or fluid leaks before proceeding
Before using any cleaning solution, check the engine for oil, coolant, or other fluid leaks.
Identifying leaks early allows you to fix them before cleaning, as applying water or degreaser to the leaking area can worsen the problem or spread contaminants.
Checking for leaks also helps you monitor your engine’s health, making it easier to detect emerging problems and keep your vehicle in good condition.
How to Apply Engine Degreaser
Using engine degreaser correctly is one of the most important steps in cleaning your car’s engine.
Degreasers are specially formulated solutions designed to remove stubborn grease, oil and dirt that accumulates on engine parts over time.
Proper application not only removes dirt but also helps prevent damage to metal and plastic surfaces and makes engine inspection and maintenance easier.
1. Spray evenly on dirty or greasy areas
First, apply the degreaser evenly to grease and dirt-prone areas.
Focusing on high-traffic areas, such as valve covers, the engine block surface and around belts, ensures the chemical reaches the most contaminated areas.
Even spraying is essential, as applying too much degreaser can result in uneven cleaning, while missing areas can leave dirt behind, leading to further buildup.
2. Let it sit for a few minutes to loosen the deposits
After spraying, let the degreaser sit on the surface for several minutes.
During this waiting period, the chemicals penetrate and soften grease, oil and carbon deposits.
Allowing the degreaser to work for the recommended time ensures that scrubbing will be more effective, reducing the risk of excessive force that could damage delicate parts.
It’s important to follow the manufacturer’s scheduling instructions for both safety and effectiveness.
3. Avoid applying to hot surfaces or sensitive wiring
Never apply degreaser to a hot engine or directly to exposed electrical components.
High temperatures can cause the chemicals to evaporate quickly, reducing their effectiveness and potentially releasing fumes that can be harmful to inhalation.
Spraying on sensitive wiring, sensors, or connectors can cause corrosion or short circuits, leading to costly repairs.
Always ensure the engine is cool and sensitive equipment is properly covered before applying degreaser.
How to Clean Stubborn Stains
Even after applying a degreaser, some engine parts may still have stubborn grease or dirt that chemicals alone cannot remove.
Carefully cleaning these areas keeps the engine clean, prevents harmful deposits and makes future maintenance easier.
Using the right technique and tools protects engine parts while ensuring thorough cleaning.
1. Use a soft-bristled brush to remove stubborn dirt
A soft-bristled brush is ideal for cleaning metal or plastic parts without scratching them.
Its bristles help remove grease and dirt from surfaces without damaging delicate parts.
Hard brushes or abrasive tools can scratch or wear down engine parts, so using a soft brush helps ensure effective cleaning while protecting the engine.
2. Pay special attention to valve covers, hoses and metal surfaces
Pay special attention to areas prone to dirt accumulation, such as valve covers, hoses and exposed metal surfaces.
These areas often accumulate oil leaks, road dust and carbon deposits over time.
Thoroughly cleaning these areas not only improves engine performance but also ensures better heat dissipation and reduces the risk of premature wear on hoses and metal components.
3. Reapply degreaser if necessary
For more stubborn grease or oil, it may be necessary to reapply the degreaser before scrubbing again.
Let the degreaser sit for a few minutes to soften the grease before using a brush.
This step ensures that dirt is easily removed without excessive force, protecting hoses, wires and painted surfaces while also providing a deeper clean.
How to Rinse It Gently
Rinsing the engine after cleaning is an essential step to remove loose dirt, grease and remaining degreaser.
Doing so carefully ensures effective cleaning and prevents water damage to sensitive components.
Using the correct technique protects electrical components, prevents corrosion and keeps the engine running safely.
1. Use Low-Pressure Water to Rinse Out Dirt and Degreaser
Always rinse the engine with a gentle, low-pressure stream of water, rather than a high-pressure hose or washer.
Low-pressure water is powerful enough to rinse away dirt and degreaser without invading electrical connections, sensors, or other delicate parts.
High-pressure streams can damage hoses, seals and small fittings and push dirt deeper into engine crevices.
2. Avoid spraying directly onto electrical components
Even after covering sensitive parts, avoid pouring water directly onto electrical components, connectors, or the alternator.
Excessive water in these areas can cause short circuits, corrosion, or sensor failure, leading to costly repairs or engine performance issues.
Washing carefully from a distance or at an angle reduces these risks and ensures effective cleaning.
3. Ensure no water accumulates around spark plugs or sensors
After washing, check the engine bay for any areas of water accumulation around spark plugs, sensors, or connectors.
Stagnant water can seep into electrical components or insulation and cause problems later.
Wiping away excess water with a microfiber towel or lightly wiping with compressed air prevents moisture-related problems and ensures the engine is safely and completely dry.
How to Dry the Engine Bay
Properly drying the engine after cleaning is as important as the cleaning itself.
Moisture left in the engine bay can cause corrosion, electrical problems, or mold, affecting engine performance and lifespan.
A careful drying process ensures your engine runs safely and all components remain in good condition.
1. Remove Protective Covers
After washing is complete, carefully remove all plastic or protective covers from sensitive parts such as the alternator, battery terminals and sensors.
Leaving covers on during drying can trap water, increasing the risk of corrosion or short circuits.
Removing these covers allows air to circulate freely in critical areas, making the drying process faster and safer.
2. Use microfiber towels or compressed air to dry surfaces
Wipe the engine bay with a clean microfiber towel to absorb excess water from metal, plastic and rubber surfaces.
Microfiber towels are ideal because they are soft, non-abrasive and highly absorbent.
In hard-to-reach areas, using compressed air can force water out of tight crevices, around hoses and near connectors, reducing the chance of trapped moisture that could cause damage later.
3. Allow the engine to air dry completely before reconnecting the battery
After wiping and removing the water, allow the engine to air dry completely for at least 30-60 minutes, depending on the humidity and temperature.
Ensuring the engine is completely dry before reconnecting the battery can prevent short circuits, corrosion and sensor malfunction.
This final step ensures your engine is safe, clean and ready to operate efficiently without damaging electrical or mechanical components.
Final Steps to Ensure Proper Engine Cleanliness
After cleaning and drying the engine, applying final steps not only improves its appearance but also protects vital components.
These final steps ensure that hoses, plastic covers and metal surfaces remain in good condition, extending their lifespan and giving the engine bay a streamlined appearance.
A clean and protected engine is easier to inspect, reduces the risk of future damage and gives your car a professional look.
1. Apply Plastic or Rubber Protectant to Hoses and Plastic Covers
Applying plastic or rubber protectant to hoses, plastic covers and other non-metallic parts restores their natural shine and prevents cracking or discoloration caused by heat and UV rays.
Protectants form a thin protective layer that repels dirt, moisture and grime, making future cleaning easier and extending the lifespan of rubber and plastic parts.
Applying the product evenly and wiping off excess product ensures a smooth, clean surface without any sticky residue.
2. Wipe Metal Parts for a Polished Look
After cleaning plastic and rubber, wiping exposed metal parts like the engine block, brackets and valve covers enhances the engine’s overall appearance.
A clean, polished metal surface not only looks attractive but also helps identify leaks, rust, or corrosion more easily in the future.
Using a soft microfiber cloth ensures that the metal surface is polished without scratching, giving the engine bay a professional and well-maintained finish.
How to Reconnect and Inspect
The final step in cleaning your car’s engine is to reconnect it and inspect it to make sure everything is working properly.
Even after a thorough cleaning, it’s important to ensure that no water, debris, or loose parts are causing problems.
These checks protect your engine, prevent potential damage and ensure your vehicle is safe to drive.
1. Reconnect the Battery
After the engine is completely dry, carefully reconnect the battery terminals.
Make sure the connections are strong and secure to ensure proper electrical flow.
Reconnecting the battery restores power to all electronic systems, including sensors, the ignition system and the vehicle’s computer, which are essential for the engine to start and function properly.
2. Start the Engine to Make Sure Everything Runs Smoothly
Once the battery is connected, start the engine and let it idle for a few minutes.
Inspect engine performance, listen for smooth operation and check that belts, hoses and fans are functioning normally.
Starting the engine evaporates any remaining moisture and ensures that all systems are functioning properly after the cleaning process.
3. Check for unusual sounds or warning lights
While the engine is running, carefully monitor for unusual sounds such as knocking, hissing, or creaking, which may indicate loose parts or hidden problems.
Also monitor dashboard warning lights, which may indicate electrical or mechanical problems.
Addressing any irregularities promptly prevents potential damage, ensures safe operation and confirms that the engine cleaning process was successful and safe.
Read More:
How to Maintain Cleanliness of Car’s Engine

Keeping your engine clean after a thorough cleaning is essential for long-term performance, efficiency and durability.
Regular maintenance not only preserves the beauty of your engine bay but also prevents costly repairs and makes it easier to detect problems early.
Adopting simple and regular habits ensures your engine remains in good condition and runs safely.
As well as, if you keep the engine neat & clean or just avoid any kind of contamination that actually reduces friction and wear, which even helps to extend the life of the components and keep the performance up, so yes even research shows that when contaminants build up in engine oil or surfaces, the friction and wear rise which is why it is really important to keep the engine clean, that additionally reduces heavy engine costs as well.[¹]
1. Wipe Regularly
A quick wipe-down of your engine bay every few weeks helps prevent dust, dirt and light grease buildup.
Using a clean microfiber cloth or a soft brush to remove surface dirt keeps hoses, covers and metal surfaces clean for longer.
Regular wiping reduces the need for heavy cleaning and keeps your engine looking well-maintained.
2. Check for Fluid Leaks Regularly
Any oil, coolant, or other fluid leaks should be identified and repaired immediately.
Ignoring a leak can cause dirt and grime to stick to wet surfaces, increasing the risk of rust and damage to belts, hoses and metal components.
Repairing leaks promptly maintains engine performance and prevents minor problems from turning into costly repairs.
3. Don’t Overuse Degreasers
Although degreasers are effective, excessive use can strip the protective coating from hoses, wires and plastic parts.
Excessive use can also leave dirt residue, making the engine appear dirtier over time.
Using degreasers only when necessary ensures the protection of engine components and provides a safe and effective cleaning.
4. Get the Engine Cleaned Every Few Months
Deep cleaning the engine every few months, or as needed depending on your driving conditions, maintains overall engine health.
Regular cleaning prevents grease and dirt buildup, improves cooling efficiency and makes it easier to detect developing problems.
Regular cleaning ensures that your engine stays in good condition and continues to perform efficiently for years.
Conclusion – How to Clean Your Car Engine
When you truly care and make efforts to keep the engine clean then you can easily and successfully prevent some hidden issues from turning into big giant that cause big chunk of money out of your pocket.
Basically, a well-maintained engine runs cooler, wears less on belts and hoses and makes it easier to detect leaks or mechanical problems before they become costly issues.
By following safe procedures, using the right tools and products and practicing regular maintenance habits, you not only protect your investment but also ensure your car runs efficiently.
Regular cleaning and care extends your engine’s life, improves fuel efficiency and increases overall reliability.
Ultimately, taking the time to clean and maintain your engine is a proactive step toward safer, smoother and more reliable driving.
You can comment down for more information.
Frequently Asked Questions
Q1. How often should I clean my car’s engine?
Answer: Depending on your driving conditions, it’s recommended to clean your car’s engine every few months. If you drive in dusty, muddy, or salty environments, you may need to clean it more often. Regular cleaning prevents the buildup of grease, dirt and debris, which can cause rust, reduce engine performance and hide leaks or worn parts. Regular maintenance also makes it easier to detect problems early, saving money on repairs in the long run.
Q2. Is it safe to clean your car’s engine yourself?
Answer: Yes, if you follow the right precautions, cleaning your car’s engine yourself can be safe. Before starting, ensure the engine is completely cool, disconnect the battery and cover sensitive parts like the alternator, air intake, sensors and battery terminals. Use a suitable engine degreaser, a soft brush for scrubbing and low-pressure water for rinsing. Following these steps ensures that you can effectively clean your engine without damaging any parts
Q3. Can water damage my engine during cleaning?
Answer: If water gets into sensitive electrical components, sensors, or connectors, it can damage your engine. To avoid this, always use low-pressure water when washing the engine, avoid spraying directly on electrical components and cover delicate parts with plastic wrap. After washing, thoroughly dry the engine with a microfiber towel or compressed air and let it dry completely before reconnecting the battery. This prevents short circuits, corrosion and other water-related damage.
Q4. Which products are best for cleaning a car engine?
Answer: The best products for cleaning a car engine include water-based degreasers or engine-specific cleaners labelled safe for all engine parts. Avoid harsh chemicals that could damage hoses, wires, or plastic covers. A soft-bristled brush helps remove stubborn dirt, while microfiber towels are ideal for drying and polishing surfaces. Using the right products ensures effective cleaning without damaging delicate parts.
References:
[1] Effect of Lubricant Contaminants on Tribological Characteristics During Boundary Lubrication Reciprocating Sliding
https://arxiv.org/abs/1710.04448

Guys, I’m a car audio enthusiast and customization expert and I love clear sound and clean installation. Plus, I have spent years helping people build their dream audio setups. And whenever I’m working on cars, I probably listen to music and thinks about the next big upgrade.