 Skip to content
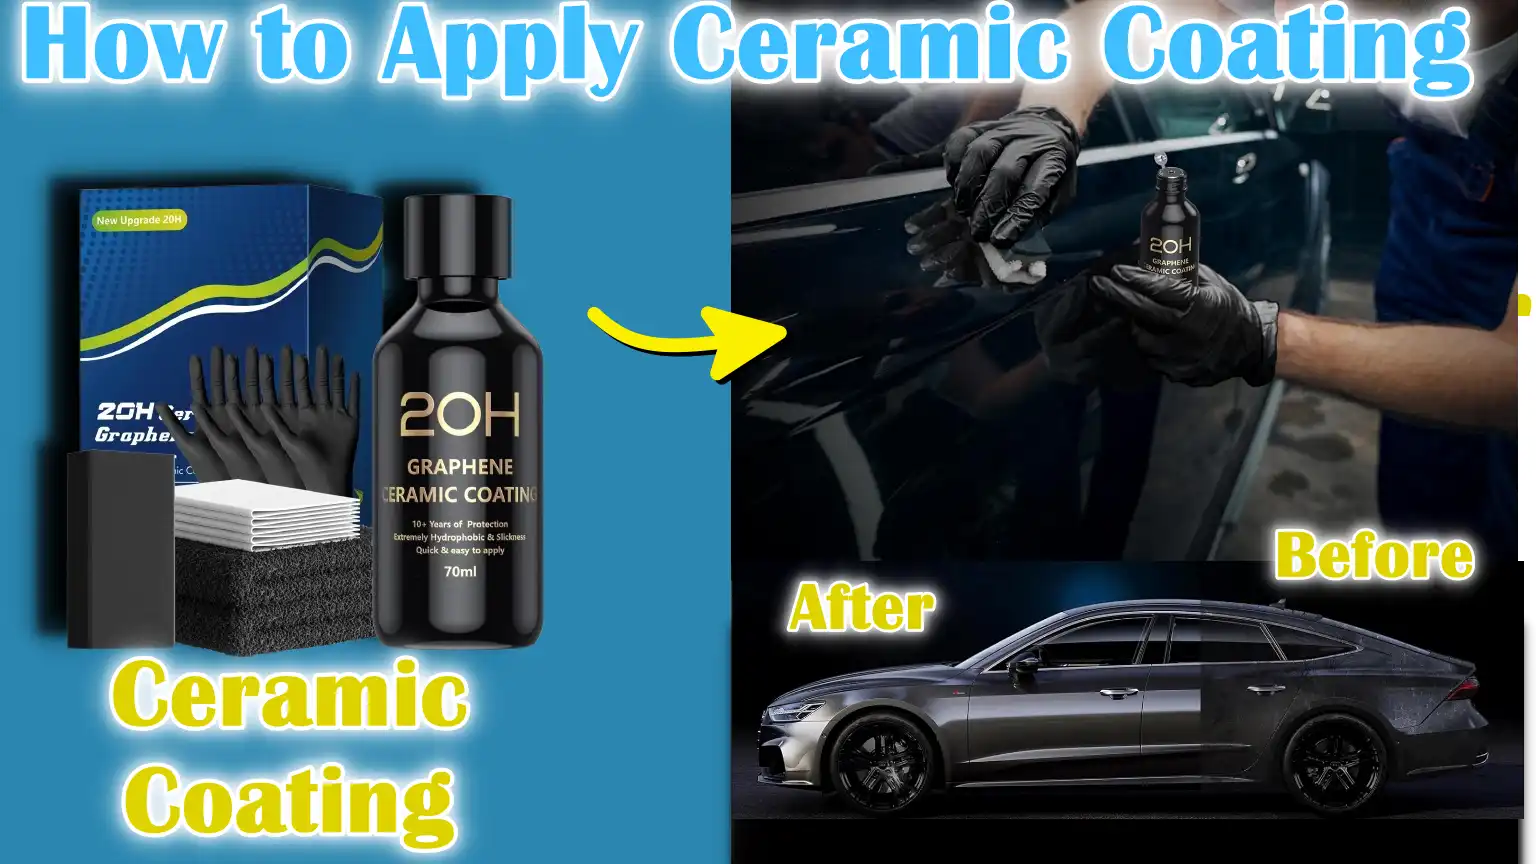
Written By: Don Dodi
Fact Checked By: Kristen Brown
Reviewed By: Diego Rosenberg
Basically the ceramic coating acts just like the sunscreen for your car with a mirror shine, as it is actually the one of the most advanced forms of car paint protection which is available today.
As well as, it literally offers durability that can even last for years instead of months like that traditional wax methods.
And it is actually made from liquid polymers which contains silica dioxide and it is the same material which actually found in the glass and quartz as well: as it chemically bonds with your car’s clear coat and that creates a hard and transparent shield; and this shield literally repels water, resists UV damage and provide the ultimate protection against dirt, road salt, harsh chemicals and bird droppings as well.
It is seen that if you applied the ceramic coating properly then it can actually reduce the need for frequent washes by up to 50% as the dirt doesn’t stick as easily and even it maintains a showroom level of shine for years with minimal maintenance.
So, the rule is that you have to know How to Apply Ceramic Coating, as you have to done the things in the right manner and that’s when you actually have the professional-level of results at home.
First Let’s Understand About Ceramic Coatings
1. What Ceramic Coatings Are Made Of
Ceramic coatings are a liquid product made from special materials like silica dioxide (SiO₂) or titanium dioxide (TiO₂).
Silica dioxide is the same mineral found in quartz and glass, which is why ceramic coatings create such a hard, glass-like surface.
Titanium dioxide is another strong material often used in sunscreens because it blocks harmful UV rays.
When these ingredients are mixed in liquid form, they can be applied to a car’s paint to create a protective layer that is both transparent and incredibly durable.
2. How It Bonds to Your Car’s Clear Coat
When you apply a ceramic coating, it doesn’t simply adhere to the surface like wax or sealant.
Rather, it goes through a process called chemical bonding.
This means that the coating forms a microscopic bond with the car’s clear coat, filling in tiny pores and imperfections.
Once set, this bond forms a hydrophobic layer, meaning water and dirt stick to the surface for longer.
This makes cleaning easier as well as providing an extra layer of protection from everyday wear, sunlight, chemicals and environmental pollution.
3. How long does a ceramic coating last
The lifespan of a ceramic coating can vary depending on the quality of the product, preparation before application and care.
On average, a good quality ceramic coating can last two to five years.
Some premium coatings, when applied by professionals and properly cared for, can last up to seven years.
However, poor surface preparation or negligence can significantly reduce the lifespan.
Regular washing with pH-neutral shampoos and avoiding abrasive cleaners can help maintain the coating’s performance and shiny appearance throughout its lifetime.
Tools
| Tool / Material | What It Is | Why It’s Important | Helpful Tip |
|---|---|---|---|
| Ceramic Coating Kit (bottle + applicator pad) | A liquid coating solution and a small foam or suede applicator, which is used to spread the product evenly. | This is the main product that forms a protective layer on your car’s paint. Its applicator ensures smooth and even coverage. | Shake the bottle before use and work in small sections for best results. |
| Microfiber Towels | Soft, lint-free cloth made from very fine fibers. | Used to wipe away excess coating without scratching the paint. Microfiber is gentle but highly absorbent. | Use separate towels for polishing and drying to avoid cross-contamination. |
| Clay Bar or Clay Mitt | A soft, putty-like substance or glove that removes small dust particles that stick to paint. | This prepares the surface by removing any contaminants that may be embedded in it so the coating can adhere properly. | Always use clay mixed with clay lubricant or car shampoo to avoid scratches. |
| Car Shampoo (pH Neutral) | Specially formulated soap which is neither acidic nor alkaline. | Cleans the car without damaging the paint or removing protective layers. | Do not use household detergents as they can damage paint and coatings. |
| Isopropyl Alcohol (IPA) or Panel Wipe Solution | A liquid used to remove oil, wax and polish residues from paint. | This ensures the surface is completely clean so the ceramic coating can bond directly to the clear coat. | Wipe gently in straight lines, not circular motions, to avoid micro-scratches. |
| Protective Gloves and Mask | Safety equipment to protect your skin and lungs. | Prevents skin irritation and avoids inhaling any strong vapors released from the coating or cleaner. | For best protection use nitrile gloves and if working indoors use a mask suitable for organic vapors. |
Preparation Steps – Really Important Step
1. Wash the Car Thoroughly with a pH-Neutral Shampoo
The very first step is to wash your car thoroughly and carefully with a pH-neutral car shampoo.
This type of shampoo is specially formulated to be gentle on the paint and safe for any existing protective coating, whereas harsh household soaps can strip waxes or damage the finish.
The pH-neutral formula removes dust, dirt and road grime without leaving harmful residue.
Washing your car thoroughly at this stage ensures that any loose dirt will not interfere with the coating process or cause scratches in later stages.
2. Clay Bar Treatment to Remove Adherent Contaminants
Even after a proper wash, small particles of dirt, brake dust, tree sap and industrial waste may remain stuck to the paint.
These particles are called adherent contaminants and can be felt if you lightly run your fingers over the surface.
A clay bar or clay mitt is designed to gently remove these particles from the clear coat without damaging it.
This step leaves the surface feeling smooth to the touch, which is important for the ceramic coating to adhere evenly and last a long time.
3. Paint Correction to Remove Swirls and Scratches
Over time, car paint can develop fine scratches, swirls and oxidation that can cause it to lose its shine.
Paint correction is the process of polishing the surface with a machine polisher and special compounds to produce a smooth, shiny finish.
This is a very important step because once the ceramic coating is applied, it seals the current condition of the paint.
If scratches or discolorations are not repaired first, they will be visible for years underneath the coating.
Proper paint correction not only improves the appearance, but also helps the coating adhere better to the paint.
4. Wipe with Isopropyl Alcohol (IPA) Solution
After washing the paint, applying the clay and drying it, the final preparation step is to wipe the entire surface with an IPA solution or panel wipe.
This removes any remaining oil, wax, or polish residue that may prevent the coating from adhering directly to the clear coat.
The IPA should be wiped off with a clean, soft microfiber towel and the wiping motion should be in straight lines rather than in a circular motion to avoid microscopic scratches.
A completely clean and oil-free surface provides maximum strength to the ceramic coating, giving it the durability and protection it is known for.
How to Apply Ceramic Coating – Perfect Method
1. Shake the Ceramic Coating Bottle Well
Before you begin, it’s important to shake the ceramic coating bottle well.
Ceramic coating solutions contain active ingredients such as silica dioxide or titanium dioxide and these can settle inside the bottle over time.
Shaking ensures that the product is well mixed so you get a consistent formula when applying.
If the coating is not mixed properly, it can lead to uneven coverage or weak protection.
2. Apply a Few Drops to an Applicator Pad
Once the bottle is ready, place a few drops of the coating liquid on the provided applicator pad.
The goal is to have enough product to create a thin, even layer without wasting it or making it too thick.
Applying too much product at once can make polishing difficult and cause streaks or high spots on the paint.
3. Work in small sections
It’s best to coat the car in small sections, about two feet by two feet, at a time.
Working in small sections allows you to apply the coating evenly and polish at the right time before it hardens.
If you try to cover a large area at once, some parts of the coating may dry quickly, making them difficult to level and causing marks.
4. Use a crosshatch pattern
The most efficient way to spread the coating is to use a crosshatch pattern.
This means applying the product first with horizontal strokes and then with vertical strokes over the same area.
This technique ensures that every part of the surface is covered from multiple angles, reducing the risk of missed spots and providing an even finish.
Along with this, according to 3M procedure it gives actionable technique as it recommends that you should work in a small area 2 ft × 3 ft and you have to use a cross-hatch pattern which is north/south, then east/west, so that you won’t miss any spot and you should keep shine it roughly 1 to 2 minutes per section before levelling it.[¹]
5. Allow flash time
After the coating has been applied to an area, it needs a little time to adhere to the paint before it can be polished.
This is called flash time and it can range from 30 to 90 seconds depending on the product and the temperature of the area where you are working.
During this stage, the coating often shows a rainbow-like effect or haze on the surface, indicating that it is ready for the next step.
6. Lightly polish with a clean microfiber towel
The final step in each section is to lightly polish the excess coating with a clean, soft microfiber towel.
This evens out the coating and prevents high spots or streaks from drying on the surface.
The microfiber towel should be dry and used only for this purpose to avoid contamination.
Polishing should be done with light pressure so as not to damage the adhered layer of paint.
The Curing Process
1. Avoid water contact for at least 24 hours
After applying a ceramic coating, a process called curing begins, in which the liquid layer hardens and chemically bonds with the paint.
During the first 24 hours, the coating is still very fragile and vulnerable to damage.
It is extremely important to keep the car completely dry during this time, as water can leave mineral deposits or streaks beneath the surface.
Light rain, morning dew or even accidental splashes can interfere with the coating’s bonding process, reducing its durability and shine.
2. Allow full curing time for maximum hardness
Although the coating may look dry after a few hours, full curing takes longer.
Most ceramic coatings take five to seven days to achieve their maximum hardness and chemical resistance.
During this time, the coating’s microstructure is still forming and strengthening, giving it the ability to repel water, resist UV rays and withstand chemicals.
Rushing the process or exposing the car to harsh conditions too early will prevent the coating from lasting its full life.
3. Keep the vehicle in a shady, dust-free area during curing
The environment the car is kept in during curing plays a key role in the end result.
Ideally, the vehicle should be kept in a shady, enclosed and dust-free area, such as a clean garage.
Direct sunlight can cause the coating to cure too quickly on the surface, leading to uneven hardening.
Dust, pollen or debris that settles on the paint during curing can cause the coating to become embedded in the coating layer.
By keeping the car protected in a controlled environment, you give the coating the best chance of adhering properly and delivering a flawless, long-lasting finish.
Read More:
How to Care and Maintain Ceramic Coating
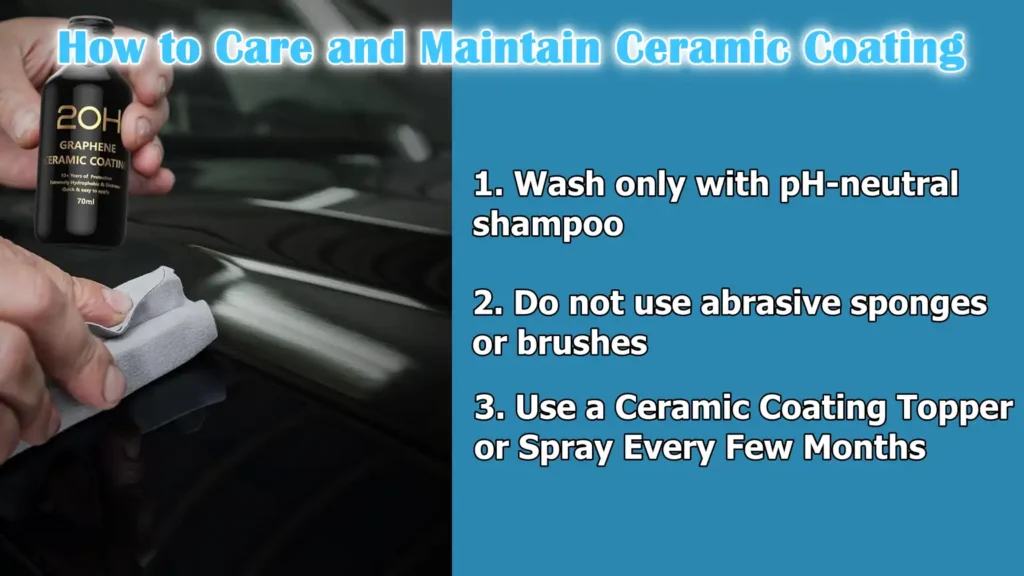
1. Wash only with pH-neutral shampoo
To keep a ceramic coating performing at its best, regular washing is essential, but the choice of cleaning product is also important.
pH-neutral shampoo is gentle on the coating and does not reduce its protective properties.
Strong alkaline or acidic cleaners, such as household detergents, can gradually weaken the coating’s hydrophobic effect and shorten its life.
Using a pH-neutral shampoo maintains the coating’s ability to repel water and dirt while maintaining the deep shine it was designed for.
2. Do not use abrasive sponges or brushes
The ceramic coating forms a hard protective layer, but its surface can be scratched or stained if the wrong cleaning tools are used.
Abrasive sponges, rough brushes or dirty wash mitts can leave fine marks on the coating, reducing its shine and luster.
Instead, soft microfibre wash mitts and drying towels should be used for both washing and drying.
Keeping these tools clean and free of dirt will prevent microscopic scratches that can dull the surface over time.
3. Use a Ceramic Coating Topper or Spray Every Few Months
Although ceramic coatings are durable, their performance can be improved and enhanced with maintenance products called toppers or booster sprays.
These are specially formulated solutions that add an extra smooth, hydrophobic layer over the existing coating.
Applying a topper every few months repels water droplets, deepens the gloss and strengthens the protective layer against contaminants.
While the primary coating provides long-term protection, these boosters help the surface look and function like a new coating for years.
What are The Common Mistakes To Avoid
1. Applying ceramic coating without drying the paint
One of the most common mistakes is applying ceramic coating without drying the paint.
If there are swirls, scratches or faded spots on the surface, the coating will stick to them forever.
As ceramic coating is transparent and glossy, imperfections underneath will become even more visible once the coating dries.
Properly drying the paint by machine polishing before coating ensures that the surface is smooth, flawless and ready for long-lasting protection.
2. Applying too much product
Many people think that applying more ceramic coating will provide better protection, but this is not true.
The coating looks best in thin and uniform layers.
Applying too much product can cause streaks, raised spots or uneven drying.
It also complicates the polishing process and can ruin expensive material.
A small amount of product is all it takes to create a strong bond with the paint and achieve the desired result.
3. Not removing residue in time
After a ceramic coating is applied, it takes a little time to harden, called flash time.
If the excess product is not polished off during this time, it can leave visible spots or stubborn stains that are very difficult to remove.
Polishing immediately when obvious signs of shine, such as iridescent sheen or haze, appear ensures a smooth and even surface without any spots or blemishes.
4. Working in direct sunlight or on hot panels
Temperature and sunlight have a great effect on the hardening of a ceramic coating.
Applying the product on hot panels or in direct sunlight can cause it to dry too quickly, causing streaks or not sticking properly.
Best results are achieved when working in a shady, cool and dust-free environment.
This allows the coating to spread evenly, allows enough time for proper leveling and ensures that it adheres completely to the painted surface.
Conclusion – How to Apply Ceramic Coating
Now, you have clearly understood that how beneficial the ceramic coatings are as it locks that shine like a time capsule and keeps your car safe from sun, rain and grime.
By forming a strong, transparent layer made of silica dioxide or titanium dioxide, it provides long-lasting resistance to UV rays, oxidation, dirt, chemicals and water.
The real secret to its success lies in its preparation and application process.
Proper washing, claying, paint correction, careful application and patient curing all combine to ensure that the coating adheres at a microscopic level and provides maximum durability.
With proper care, such as light washing and periodic application of toppers, ceramic coatings can maintain their performance and shine for years, reducing the need for frequent detailing and keeping your car looking showroom-like.
Although it requires time, patience and attention to detail, the result is a deep, mirror-like finish and a level of protection that far outlasts traditional waxes or sealants.
For car owners who value both appearance and long-term protection, ceramic coatings aren’t just a smart investment—they’re the future of automotive paint care.
So, it is the time to ask some questions in the comment section below.
Frequently Asked Questions
Q1. How long should you leave a ceramic coating on a surface before wiping it off?
Answer: How long you should leave a ceramic coating on a surface before wiping it off is called the “flash time” and depends on the product you are using, the temperature and humidity of your work area. In most cases, flash time is between thirty seconds and ninety seconds, but some coatings may take a little longer or shorter. During this short period, the coating begins to adhere to the paint, and you will see a visual change such as an iridescent effect, haze or a slight oily color. This is an indication that the coating is now ready to be leveled or polished with a clean microfiber towel. If you wipe too early, the coating will not adhere completely, and if you wait too long, it may harden unevenly, leaving streaks or high spots. Always read the instructions provided with your ceramic coating and test a small area first to see how it reacts to your environment.
Q2. What is the best surface preparation for ceramic coatings?
Answer: The best surface preparation for ceramic coatings is a multi-step process designed to ensure that the paint is completely clean, smooth and flawless before the coating is applied. It begins with a thorough washing with a pH-neutral car shampoo to remove loose dust and grime. After washing, a clay bar or clay mitt is used to remove contaminants embedded in the paint that cannot be removed by washing alone. The next step is paint correction, which involves polishing the surface to remove swirl marks, scratches and oxidation. This step is critical because the ceramic coating absorbs everything that is on the surface, whether it is perfect or flawed. Finally, the paint should be wiped down with isopropyl alcohol or a panel wipe solution to remove any oil or residue left after polishing. This final step ensures that the coating can adhere directly to the paint without any interference. Following this thorough preparation process gives you the best chance of a flawless finish and the longest lasting protection from your ceramic coating.
References:
[1] 3M™ Ceramic Coating Application
https://multimedia.3m.com/mws/media/1993947O/3m-ceramic-coating-application-sop.pdf

Guys, I’m a car audio enthusiast and customization expert and I love clear sound and clean installation. Plus, I have spent years helping people build their dream audio setups. And whenever I’m working on cars, I probably listen to music and thinks about the next big upgrade.
