 Skip to content
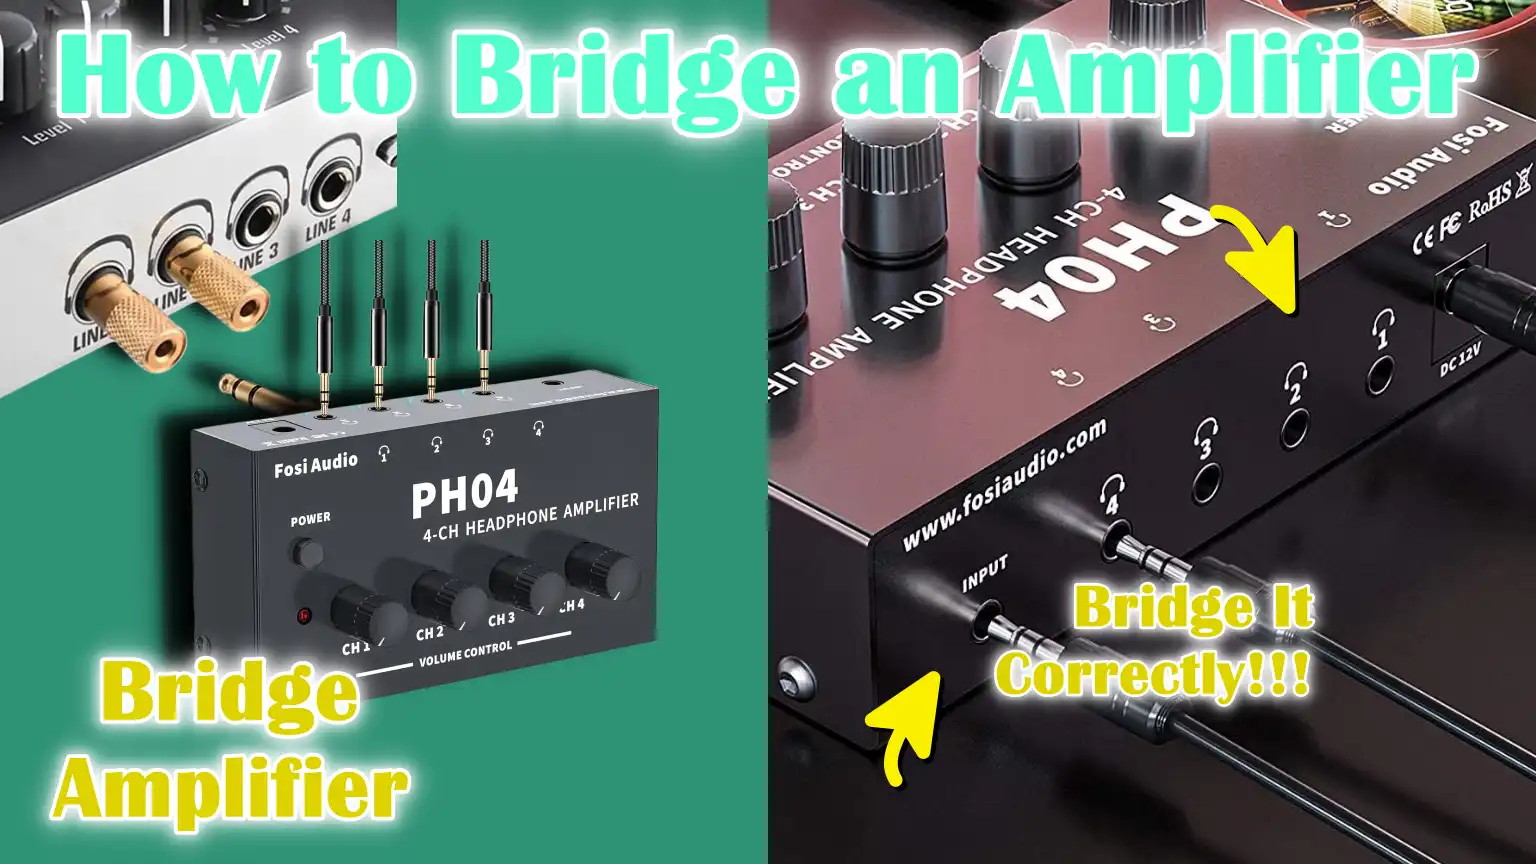
Written By: Don Dodi
Fact Checked By: Kristen Brown
Reviewed By: Diego Rosenberg
Yes, it is the basic thinking that when you need louder sound that means you have to have a new equipment, but when you re-routes your AMP’s energy then by doing this you can actually maximize the performance easily.
As bridging an amplifier is actually one of the most common methods that car and home audio enthusiasts uses to unlock that extra power from their existing equipment.
Simply, bridging ideally combines two separate channels of an amplifier into the one stronger channel and in that way it effectively doubles the voltage sent to a speaker or subwoofer and then simply this results in much higher wattage output and that really makes it ideal for powering bass-heavy subwoofers that demand more energy than standard speakers.
As an example: a 2-channel 100-watt amplifier which is the 50 watts per channel can actually deliver around 200 watts when you bridge them: and that easily gives you nearly four times the power per speaker.
However, don’t think that bridging is just about more volume, but it is more about having the efficiency and maximizing the true potential of your audio system.
Also, according to audio engineering basics: bridging actually works by using one channel to push the speaker cone forward and on the other hand the other pulls it back, that ensures a stronger signal with greater impact.
Yes, you also have to figure out about your amplifiers as not all the amplifiers are bridgeable and when you mismatch the wrong speaker impedance then it can literally damage the both your speaker and amp as well.
Which is why you should understand How to Bridge an Amplifier and this guide includes everything from understanding the process, to checking the specifications and then wiring them in the correct way is also critical thing before attempting it.
First, Understand About Amplifier Bridging
1. Definition of Bridging
Amplifier bridging is the process of combining two separate amplifier channels into a single channel to provide more power to speakers.
Instead of each channel sending its own signal to separate speakers, bridging combines the channels so that a single speaker receives a more powerful signal.
This technique is often used to drive high-powered subwoofers or speakers that require more power than a single channel can provide.
Essentially, bridging allows you to make better use of your existing amplifier without purchasing a larger amplifier.
2. Technical Explanation
In a bridged amplifier, one channel pushes the speaker cone forward while the other channel pulls it back, creating a push-pull effect.
Technically, the amplifier outputs are wired in opposite polarity, meaning the positive terminal of one channel connects to the positive speaker terminal and the negative terminal of the other channel connects to the negative speaker terminal.
This increases the voltage at the speaker by approximately twice that of a single-channel output, increasing the wattage delivered to the speaker.
As a result, the sound output is more powerful, specially in the low-frequency range, making the bass more powerful and clear.
3. Advantages and Disadvantages of Bridging
Bridging an amplifier can significantly increase the power delivered to the speaker, resulting in a louder and more dynamic sound.
It is cost-effective because it efficiently utilises the existing amplifier and is specially useful for subwoofers that require more power.
However, it also has limitations.
Bridging reduces the minimum speaker impedance an amplifier can safely handle, so connecting the wrong speakers can overheat or damage the amp.
Additionally, if the amplifier is not designed for bridging, connecting it too loudly can cause distortion, poor sound quality, or permanent damage.
4. Important Note
Not all amplifiers are designed for bridging.
Some amplifiers only support standard stereo operation and attempting to bridge them could damage both the amplifier and speakers.
Always check the manufacturer’s manual or label for bridgeable channels and the recommended wiring method.
Understanding specifications, speaker compatibility and proper wiring is essential to safely bridge an amplifier and achieve the desired sound output.
Basic Safety Precautions for Bridging the Amplifier
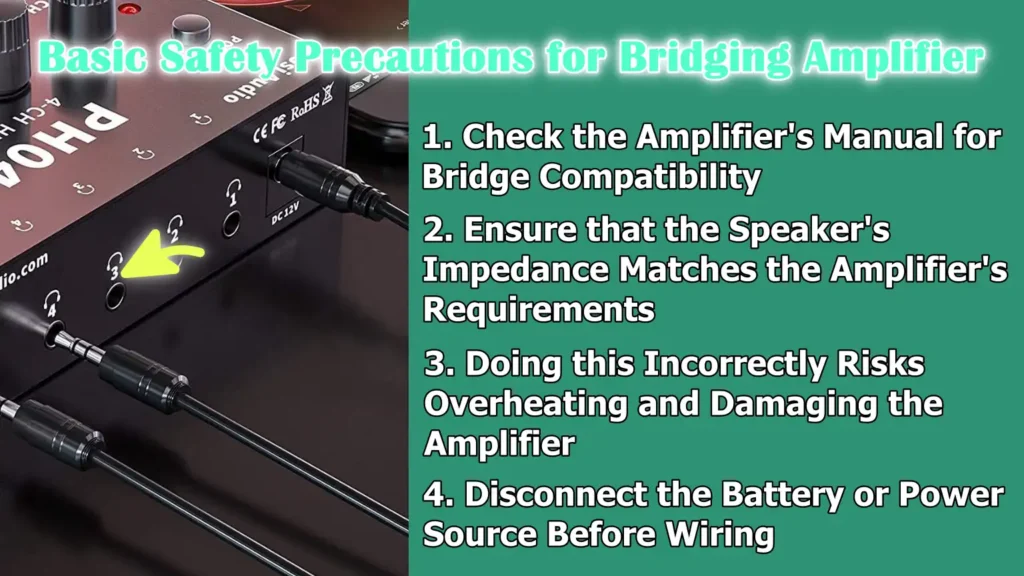
1. Check the Amplifier’s Manual for Bridge Compatibility
Before attempting to bridge an amplifier, it’s essential to check the amplifier’s manual or technical specifications.
Not every amplifier is designed to support bridging and connecting an incompatible amplifier in bridged mode can cause permanent damage.
The manual usually provides information on which channels can be bridged and the correct wiring configuration.
Following the manufacturer’s instructions ensures that the amplifier operates safely and delivers the correct amount of power to the speakers.
2. Ensure that the Speaker’s Impedance Matches the Amplifier’s Requirements
Speaker impedance plays an important role when bridging an amplifier.
Impedance is measured in ohms and determines how much electrical resistance the speaker offers to the amplifier.
Most amplifiers have a minimum impedance threshold for bridged operation, typically 4 ohms.
Using speakers with too low an impedance can force the amplifier to work beyond its design capacity, leading to overheating, distortion, or permanent damage.
Always adjust speaker impedance to the amplifier’s specifications to ensure safe and efficient performance.
3. Doing this Incorrectly Risks Overheating and Damaging the Amplifier
Bridging the amplifier incorrectly can generate excessive heat and damage internal components.
When the wiring or impedance is incorrect, the amplifier may draw more current than intended, tripping protection circuits, reducing sound quality, or even burning out the amplifier completely.
Overheating not only damages the amplifier but can also affect nearby electronic devices and speakers.
Understanding correct wiring and power limits helps prevent these problems and extend the life of your audio system.
4. Disconnect the Battery or Power Source Before Wiring
For safety reasons, always disconnect the battery or power source before making any connections to the amplifier.
Working on an energized circuit could cause electric shock, a short circuit, or sparks that could damage equipment or cause injury.
Disconnecting power ensures a safe working environment and reduces the risk of accidental damage when setting the amplifier in bridged mode.
Tools
| Tools/Materials | Purpose | Helpful Tips |
|---|---|---|
| Amplifier Manual | Provides instructions for wiring and bridging. | Always read the manual first to ensure the amplifier supports bridging. |
| Speaker/Subwoofer (Compatible Impedance) | The device that will receive the amplified sound. | Make sure the speaker matches the amplifier’s impedance (usually a minimum of 4 ohms). |
| Quality Speaker Wire | Carries the audio signal from the amplifier to the speaker. | Use thick, high-quality wire to prevent signal loss and overheating. |
| Screwdriver and Wire Stripper | The screwdriver tightens the terminals; the wire stripper removes insulation from the wires. | Use the correct screwdriver size and carefully strip the wires without cutting them. |
| Multimeter (Optional) | Measures voltage, resistance and continuity to ensure correct connections. | Useful for checking polarity and avoiding wiring mistakes. |
How to Bridge an Amplifier – Complete Process
1. Check the Specifications
Before attempting to bridge an amplifier, review the manufacturer’s manual or specifications to confirm that your amplifier supports bridging.
Not all amplifiers can be safely bridged and using an incompatible amp can cause damage.
Next, check the power handling and impedance of your speakers or subwoofer.
The speaker must be able to handle the increased wattage generated in bridged mode and its impedance must meet the amplifier’s minimum requirements, usually 4 ohms.
Ensuring these specifications are correct is essential for the safety of both amplifier and speaker.
2. Locate the Amplifier Terminals
Identify the positive and negative terminals of both channels of your amplifier.
Most amplifiers have clearly marked terminals and the correct terminals for bridging are often highlighted in the manual or printed near the output connectors.
Refer to a “bridged” wiring diagram, which shows which positive and negative terminals should be used when connecting channels.
Understanding the terminal layout is crucial to avoiding wiring mistakes that could damage your system.
3. Connect the Speaker Wires
Connect the speaker wires according to the bridged configuration.
The speaker’s positive wire typically connects to the bridged positive terminal, often channel 1, while the speaker’s negative wire connects to the bridged negative terminal, usually channel 2.
Ensure the wires are fully seated in the terminals and the connections are clean and secure.
Correct wiring ensures the amplifier delivers maximum power to the speakers without distortion or the risk of a short circuit.
4. Secure the Connections
Tighten all terminal screws firmly to hold the wires in place, but avoid overtightening as this could damage the wires or terminals.
Double-check that no wires are loose or touching other terminals, as loose connections can cause a short circuit, distortion, or malfunction in the amplifier.
Properly secured connections not only improve safety but also maintain stable sound quality.
5. Power On and Test
Reconnect the power supply or battery to the amplifier.
To check the connections and ensure everything is working properly, start by playing audio at low volume.
Listen carefully for any distortion, buzzing, or unusual sounds.
Gradually increase the volume while monitoring performance, ensuring the amplifier doesn’t overheat and that the speakers handle the output smoothly.
Testing slowly helps prevent accidental damage and ensures that the bridging process is successful.
Troubleshooting
1. What to do if there’s distortion or no sound
If you notice distortion or no sound after bridging your amplifier, first stop using it and carefully check the connections.
Distortion can occur when the speaker is receiving too much or unbalanced power, or if the wiring is incorrect.
No sound often indicates a loose connection, a blown fuse, or inconsistent coupling between the amplifier and speaker.
Always start testing at low volume to avoid damage while identifying the problem.
2. Checking Wiring Polarity
Wiring polarity is important when bridging an amplifier.
The positive wire coming from the speaker should be connected to the correct bridged positive terminal and the negative wire to the correct bridged negative terminal.
Reversing the wires can cause phase issues, leading to weak sound, distortion, or damage to the speaker and amplifier.
Using a multimeter to check polarity before turning on the power ensures a secure and accurate connection.
3. Checking Speaker Impedance
Another common cause of problems is a mismatch in speaker impedance.
Bridged amplifiers typically require a minimum impedance, often 4 ohms.
Using speakers with lower impedance can overstress the amplifier, cause overheating, or activate protection circuits.
To maintain safe operation and reliable performance, check the speaker specifications and ensure they meet the amplifier’s requirements.
4. Ensuring Amplifier Settings Are Correct
Incorrect amplifier settings can also cause problems such as distortion, clipping, or uneven sound.
Ensure that the gain, crossover and other controls are adjusted according to the speaker’s specifications and manufacturer’s recommendations.
Many amplifiers have bridged-mode settings that must be activated for proper operation.
Checking these settings helps achieve clean, high-quality sound while protecting your equipment from damage.
Additional Tips
As well as, in a class D amplifiers: bridging is a technique which is used to enhance the output power, as by connecting the load between two half-bridged outputs, which is one in-phase and the other out-of-phase and because of this output voltage swing is effectively doubled. And this method literally allows for increased power delivery to the load and that’s the way that you can easily optimise the amplifier’s efficiency and performance without the need for additional channels.[¹]
1. Do not bridge multiple speakers unless rated for this purpose
Bridging an amplifier is designed to power a single speaker or subwoofer.
Connecting multiple speakers to a bridged output can reduce sound quality, overstrain the amplifier, or even damage the equipment.
Use multiple speakers only if the amplifier and speakers are rated for such a setup and always ensure that the combined impedance meets the amplifier’s minimum requirements.
Following this guideline ensures safe operation and prevents overheating or distortion.
2. Use the appropriate gauge speaker wire for high-power outputs
The thickness, or gauge, of speaker wire plays a crucial role in delivering power efficiently.
High-power outputs from bridged amplifiers require thicker wires to minimize resistance and prevent energy loss.
Using thinner wires can cause voltage drops, weak sound and potentially overheating.
For most bridged setups, at least 12 to 16 gauge wiring is recommended, depending on the distance from the amplifier to the speakers.
3. Consider installing a fuse or circuit breaker for safety
Installing a fuse or circuit breaker in the speaker or amplifier circuit is an important safety precaution.
These devices protect your equipment from power surges, short circuits, or accidental overloads.
In the event of a fault, a fuse or breaker with the appropriate rating will interrupt the circuit, preventing damage to the amplifier, speakers and connected wiring.
This simple step can save both money and equipment in the long run.
4. Cooling Considerations (Fans, Proper Ventilation)
Bridged amplifiers generate more heat due to their high power output.
Proper ventilation is essential to keep the amplifier cool and maintain performance.
Place the amplifier in a well-ventilated area and, if necessary, consider using a cooling fan.
Avoid covering the amplifier with materials that trap heat and ensure that airflow around the unit is not blocked.
Efficient cooling reduces the risk of overheating, protects internal components and increases the lifespan of your amplifier.
Read More:
Conclusion – How to Bridge an Amplifier
Simply when you properly bridge an amplifier then it literally unlocks the full potential of your speakers and in that way it gives you richer and more impactful sound.
By combining two channels into one, bridging enables your speakers or subwoofer to receive a stronger signal, resulting in deeper bass, clearer sound and a more dynamic listening experience.
Understanding amplifier specifications, speaker impedance and proper wiring methods is crucial to avoiding damage and ensuring safe operation.
Observing safety precautions, using the right tools and carefully testing the system can prevent overheating, distortion and electrical problems.
With the right knowledge and careful setup, bridging an amplifier becomes a practical and cost-effective way to improve your audio system, allowing you to enjoy louder, clearer and more precise sound while also protecting your equipment for long-term performance.
So, that’s it from this guide and if you still wanted to ask something, then comment section is open for you.
Frequently Asked Questions
Q1. What does it mean to bridge an amplifier?
Answer: Bridging an amplifier means combining two separate channels into a single, stronger channel that delivers more power to a speaker or subwoofer. This gives the speaker a higher voltage signal, producing a louder sound and deeper bass. Essentially, bridging helps the amplifier work more efficiently so it can drive a single speaker with greater impact.
Q2. Can I bridge any amplifier?
Answer: Not all amplifiers can be bridged. Some amplifiers are designed only for normal stereo operation and attempting to bridge them could damage the amp or speaker. You should always check the amplifier’s manual or technical specifications to see if it supports bridging. Using the correct amplifier ensures safe operation and better performance.
Q3. Why is speaker impedance important when bridging?
Answer: Speaker impedance, measured in ohms, indicates how much resistance a speaker offers to the amplifier. When bridging an amplifier, the speakers must meet the amp’s minimum impedance requirement, usually 4 ohms or higher. Using speakers with lower impedance can cause the amplifier to overheat, distort, or even malfunction. Correct impedance ensures that the amplifier and speakers work together safely.
Q4. What if I connect the wires incorrectly when bridging?
Answer: If the speaker wires are connected incorrectly, such as reversing the positive and negative terminals, the sound may be weak, distorted, or out of phase. In some cases, incorrect connections can even damage the amplifier or speakers. To avoid these problems, it’s important to carefully follow the manufacturer’s wiring diagram.
Q5. Do I need special tools to bridge an amplifier?
Answer: You don’t need many special tools, but having some makes the process safer and easier. Common tools include the amplifier manual, the speaker or subwoofer, good-quality speaker wire, a screwdriver, a wire stripper and a multimeter to check voltage and polarity. Using the right tools ensures clean and secure connections.
Q6. Can I bridge an amplifier with multiple speakers?
Answer: Bridging is typically for a single speaker or subwoofer. Connecting multiple speakers to a bridged output can overload the amplifier, resulting in reduced or degraded sound quality. Only connect multiple speakers if the amplifier and speakers are rated for that setup and ensure the combined impedance meets the amplifier’s requirements.
References:
[1] Bridging Class D Amplifiers
https://www.infineon.com/assets/row/public/documents/60/42/infineon-audio-classd-an1198-bridging-classd-applicationnotes-en.pdf

Guys, I’m a car audio enthusiast and customization expert and I love clear sound and clean installation. Plus, I have spent years helping people build their dream audio setups. And whenever I’m working on cars, I probably listen to music and thinks about the next big upgrade.
