Written By: Don Dodi
Fact Checked By: Kristen Brown
Reviewed By: Diego Rosenberg
The ugly truth about rust is: it slowly eats away your car’s metal and weakens its safety.
Undoubtedly, rust is one of the most common problems, but you should’ve be more seriously consider it to fix, as it can damage vehicle’s strength, safety and have the capability to lower the overall car value as well.
And according to the American Automobile Association, the rust-related damage costs drivers in the United States over $3 Billion every year and these are mostly caused by road salt, moisture and also if the owner neglected paint damage.
Along with this, the rust literally begins when the protective paint layer is scratched or chipped off, it just need a exposed metallic part to the oxygen and water and rust will have their home in even a tiny spots and that can quickly grow into larger issues such as: it can eat through panels, frames and even it can go through the important safety components.
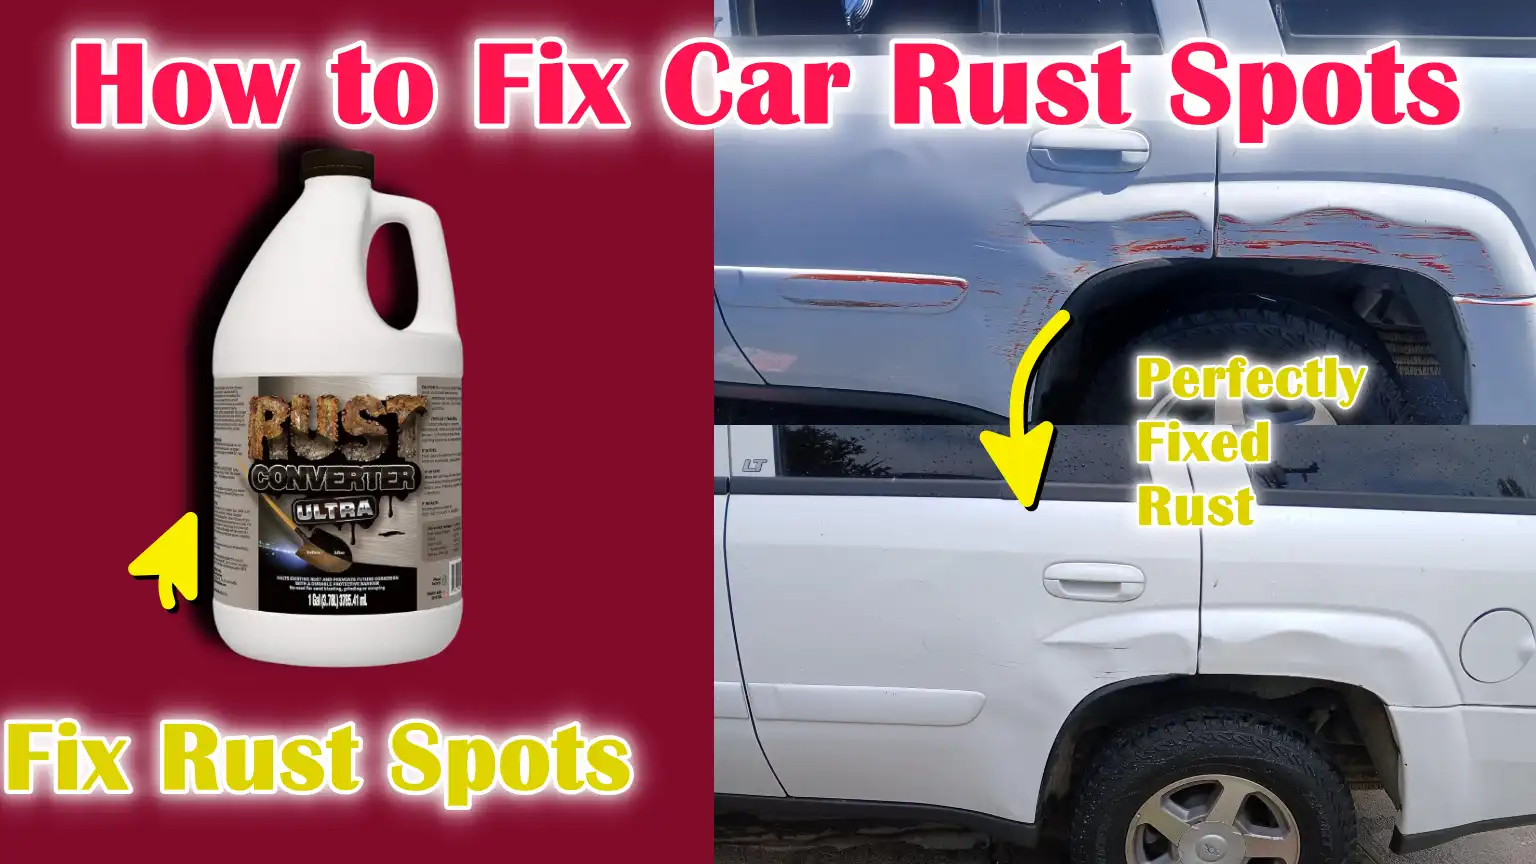
But the good thing is that: you can easily stop the rust as this guide is all about How to Fix Car Rust Spots, so that you’ll know affordable methods such as: sealing the bare metal and protect it with the primer and paint.
Tools
| Tool/Material | Purpose / Use | Notes / Tips |
|---|---|---|
| Gloves | Protect your hands from chemicals, sharp edges and rust particles. | Use strong, chemical-resistant gloves. |
| Goggles | Protect your eyes from dust, paint and debris. | Wearing safety glasses or full goggles is recommended. |
| Dust Mask | Prevent inhalation of rust dust, paint particles and chemicals. | For protection, use a mask or respirator to avoid inhaling fine dust. |
| Sandpaper (various grits) | Remove rust, smooth the metal and prepare the surface for painting. | Start with a coarse grit (80-120) to remove rust, then use a finer grit (220-400) to smooth. |
| Sanding Block / Grinder | Helps to sand surfaces evenly and reach small areas. | Sanding block for manual control, grinder for stubborn rust or large areas. |
| Rust Remover / Rust Converter | Chemically removes or neutralizes rust. | Follow the instructions carefully; rust converter prevents rust from spreading. |
| Body Filler | Fills deep pits or holes caused by rust. | Mix and apply according to the instructions, then smooth out. |
| Automotive Primer | Prepares the metal surface for paint and prevents future rusting. | Apply thin layers and let dry completely. |
| Matching Car Paint | Restores the color of the car and blends the repair area. | Use the exact color code provided by your car’s manufacturer for best results. |
| Clear Coat | Provides shine and protection to the paint. | Spray in several thin coats for durability and a smooth finish |
| Clean Cloths | Wipe down surfaces, remove dust and prepare them for painting. | Use a lint-free cloth for best results. |
| Masking Tape | Protect the areas around the repair with paint and primer. | Use automotive masking tape for straight lines and easy removal. |
| Plastic Sheets | Cover a large area to prevent overspray. | Use a lightweight, flexible sheet for easy positioning. |
Let’s Do Preparation First
1. Park in a clean, ventilated and shady area
Before beginning any rust repair work, it’s crucial to choose the right location.
Working in a clean area prevents dirt and debris from contaminating the repair surface, which can affect the paint’s finish and durability.
A well-ventilated area is essential because sanding, rust removers and paint fumes can be harmful if inhaled over time.
Using a shady area or working indoors also protects the car from direct sunlight.
Sunlight can cause primer and paint to dry too quickly, leading to uneven surfaces, cracks, or peeling.
Choosing the right environment ensures a safe repair process and professional-looking results.
2. Wash and dry the car thoroughly
Cleaning the car is essential before repairing rust spots.
Dirt, grease, salt and leftover debris can prevent the primer, paint, or filler from properly adhering to the surface.
Use mild car wash soap and water to remove all contaminants, paying special attention to the area around the rust spot.
After washing, dry the car thoroughly with a clean cloth or microfiber towel.
Moisture left on the surface can react with the metal and paint, causing rust to continue to spread even after repair.
Proper cleaning and drying creates a smooth and clean surface, which is the foundation for successful rust treatment and painting.
3. Cover surrounding areas to protect them from sanding dust and paint overspray
Once the car is clean and dry, the next step is to cover the areas around the repaired area.
Sanding the rusted areas can create a lot of fine dust and spray painting may accidentally reach areas you don’t want to cover.
Carefully cover the windows, trim, tires and panels around the rusted area with masking tape and plastic sheeting.
This prevents accidental damage, keeps the repaired area clean and ensures the paint blends in properly without affecting the rest of the car.
Proper masking not only protects your vehicle, but also makes the final finish look professional and smooth.
How to Remove Rust
1. Scuff Rust Spots with Coarse Sandpaper or a Grinder
The first step in rust removal is to physically remove the rusted metal from the surface.
Using coarse sandpaper or a grinder allows you to reach deep into the affected area and remove all visible rust.
It’s important to sand until you see bare, clean metal, as residual rust can continue to spread beneath the paint.
Be careful to work evenly over the rusted area to avoid creating an uneven surface that could affect the finish later.
Coarse sanding is necessary because rust penetrates the metal over time and simple surface cleaning will not stop its growth.
2. Use a Rust Remover or Rust Converter for Pitted Areas
Some rust spots can cause small pits or holes in the metal.
In such cases, sanding alone is not enough.
A rust remover or rust converter can be used to chemically neutralize the remaining rust.
Rust removers work by dissolving the rust, while rust converters transform it into a stable compound that prevents further oxidation.
To ensure the metal is completely treated, it’s important to carefully follow the product instructions.
Properly treating pitted areas not only prevents the rust from spreading but also prepares the surface for smooth application of filler, primer and paint.
3. Ensure the surface is smooth and free of loose debris
After rust removal and treatment, the metal surface must be completely clean and smooth.
Remaining dust, rust particles, or debris can interfere with the bonding of filler, primer, or paint.
Wiping the area with a clean, dry cloth or tack cloth ensures that no loose particles remain.
A smooth and clean surface is crucial for achieving a professional-looking repair and preventing rust from returning.
Taking extra time on this step creates a strong base for all subsequent repair steps and helps the paint adhere properly.
How to Repair Surface
1. If rust has caused deep pits or holes, apply body filler
After rust removal, some metal parts may have deep pits or small holes where rust has damaged the surface.
Body filler is a specially designed substance that fills these areas and restores the shape of the car panel.
It is made from a mixture of resin and hardener that hardens quickly, providing a solid base for sanding and painting.
Properly applying the filler ensures that the repaired area remains level with the surrounding metal and maintains the structural integrity of the panel.
Filling these areas properly prevents water and dirt from accumulating in the pits, which can cause rust to reappear.
2. Smooth the filler and blend it with the surrounding surface
Once the body filler has completely hardened, the next step is sanding.
Sanding smooths the filler and blends it well with the surrounding surface of the car.
Start with coarse sandpaper to remove excess filler and then use a finer grit to create a flat surface without scratches or bumps.
A smooth finish is crucial as it allows primer and paint to adhere evenly and gives the repaired area a professional look.
Taking time to carefully sand and shape the filler ensures that the final repair looks natural and matches the rest of the car.
3. Wipe Clean with a Tack Cloth
After sanding, it’s important to thoroughly clean the repaired area before applying primer or paint.
Using a tack cloth removes any dust, particles, or debris left after sanding.
This step is crucial because even small particles can interfere with primer adhesion and paint coverage, leading to uneven texture or peeling over time.
Thoroughly wiping the surface ensures a smooth, clean foundation for the next steps of the repair, improving the durability and appearance of the finished work.
How to Prime the Area
1. Apply Thin, Even Coats of Automotive Primer
After surface repairs, applying automotive primer is the next crucial step.
Primer acts as a protective layer between the metal or body filler and the paint, preventing rust and ensuring proper paint adhesion.
Using thin, even coats is essential, as thick coats can cause uneven surfaces, streaks, or bubbles in the finish.
A proper primer coat also helps fill in minor imperfections, creating a uniform base that improves the durability and smoothness of subsequent paint applications.
Applying multiple light coats is more effective than a single heavy coat, as this reduces the risk of cracking and improves overall adhesion.
2. Allow Complete Drying Between Coats
Each coat of primer should be given adequate time to dry completely before applying the next coat.
Drying times may vary depending on the type of primer and environmental conditions such as temperature and humidity.
Allowing the primer to dry completely ensures a strong and stable coat, preventing problems like peeling or uneven paint in subsequent stages.
Patience is crucial during this step, as rushing can diminish the finish and durability of the repair, requiring additional work or touch-ups.
3. Lightly Sand for a Smooth Base
After the primer has dried, lightly sand the area to create a perfectly smooth surface for painting.
Use fine-grit sandpaper to remove any minor imperfections, dust particles, or rough spots in the primer layer.
This step helps the paint flow evenly, prevents texture problems and results in a professional-looking finish.
Wiping the area clean after sanding ensures no debris remains, providing a flawless base for the paint to adhere properly and achieve an even sheen.
Proper primer sanding is essential for a durable and visually appealing repair.
How to Paint & Blend
1. Spray the car paint in light, even layers
Once the primer is ready and smooth, the next step is to apply the car paint.
To ensure that the repaired area blends naturally with the rest of the car, it’s essential to use the exact color code for your vehicle.
Spray the paint in light, even layers to avoid splashes, drips, or uneven color.
Applying thin layers allows the paint to set slowly, creating a smooth, professional-looking surface.
It’s important to hold the spray can or spray gun at the correct distance, usually about six to twelve inches from the surface, to achieve even coverage without creating thick spots that could later crack or peel.
2. Blend the paint into the surrounding area for a seamless finish
Blend the paint into the surrounding area is key to making the repair invisible to the naked eye.
This technique involves gradually spreading the paint from the repaired area to the surrounding panels, creating a smooth transition between the old paint and the new layer.
Proper blending can prevent sharp lines or color mismatches that draw attention to the repair.
Blending also ensures that sunlight, reflections and environmental conditions don’t expose the repaired area.
Taking time to smooth edges and maintaining a consistent spray speed enhances the overall appearance and gives the car a factory-like finish.
3. Let each coat dry before applying the next layer
It’s important to let each coat of paint dry completely before applying additional layers.
Drying time depends on factors such as temperature, humidity and the type of paint used.
Waiting ensures each coat adheres properly, reduces the risk of streaks or bubbles and strengthens the final finish.
Rushing the process can result in peeling, uneven texture, or visible brush marks.
Proper patience during this step helps create a durable, long-lasting paint job that protects the car from rust and maintains an attractive, smooth surface.
How to Apply a Clear Coat
1. Spray a Clear Coat on the Painted Area for Shine and Protection
After the paint has been applied and completely dried, it’s important to apply a clear coat to protect the new paint and give it a shiny finish.
The clear coat acts as a protective layer that protects the paint from harmful elements like sun, rain, dirt and chemicals.
It also enhances the depth and shine of the car’s color, leaving the repaired area looking smooth and polished.
Using a uniform spray technique ensures that the clear coat is applied evenly to the painted surface, preventing streaks, bubbles, or faded spots.
2. Apply Multiple Thin Coats, Allow Drying Time in Between
Instead of applying a single thick coat, it’s important to apply multiple thin coats of clear coat.
Thinner coats dry faster, adhere better and reduce the risk of leaks, drips, or cracks.
Allowing each coat to dry completely before applying the next coat ensures a smooth and durable surface.
This process creates a strong protective layer and maintains a uniform shine that blends seamlessly with the surrounding car.
3. Let the Clear Coat Dry Completely
After applying all layers of clear coat, the final step is to let the finish dry completely.
Curing is the process by which the clear coat hardens and forms a long-lasting protective layer over the paint.
This can take from several hours to a few days, depending on the type of clear coat, temperature and humidity.
Proper curing is crucial for durability, as untreated clear coats can be scratched, chipped, or chemically damaged.
Ensuring the coat dries completely provides maximum protection, enhances the car’s beauty and ensures that the repair lasts for years without fading or peeling.
Read More:
How to Polish and Give It Finishing Touch
1. Use light wet sanding if needed for an even finish
After the clear coat has completely dried, wet sanding can be used to remove minor imperfections such as dust particles, uneven surfaces, or orange peel.
Wet sanding involves using very fine-grit sandpaper with water to gently smooth the surface without scratching the paint.
This step is important because it prepares the surface for a flawless finish and helps the clear coat reflect light evenly.
Being careful during wet sanding ensures that the repaired area blends well with the surrounding panels and maintains a professional look.
2. Buff and polish the area to restore shine
Once the surface is smooth, buff and polish the area to restore the shine and depth of the paint.
Polishing involves applying a polishing compound with a machine or hand applicator to remove any minor scratches and enhance the glossy finish.
Polishing improves the overall appearance, making the repaired area less visible from the rest of the car.
This step also enhances the protective properties of the clear coat, ensuring that the paint remains shiny and smooth for a long time.
3. Car Waxing for Additional Protection
The final step in this process is waxing the entire car or the repaired area.
Waxing provides an additional protective layer that protects the paint from environmental factors such as UV rays, dirt, water and road salt.
Regular waxing helps maintain the car’s appearance, extend the life of the repair and prevent future rust or corrosion.
Using a high-quality wax and applying it correctly ensures that the car’s surface remains smooth, shiny and completely protected from everyday wear and tear.
How to Prevent Future Rust
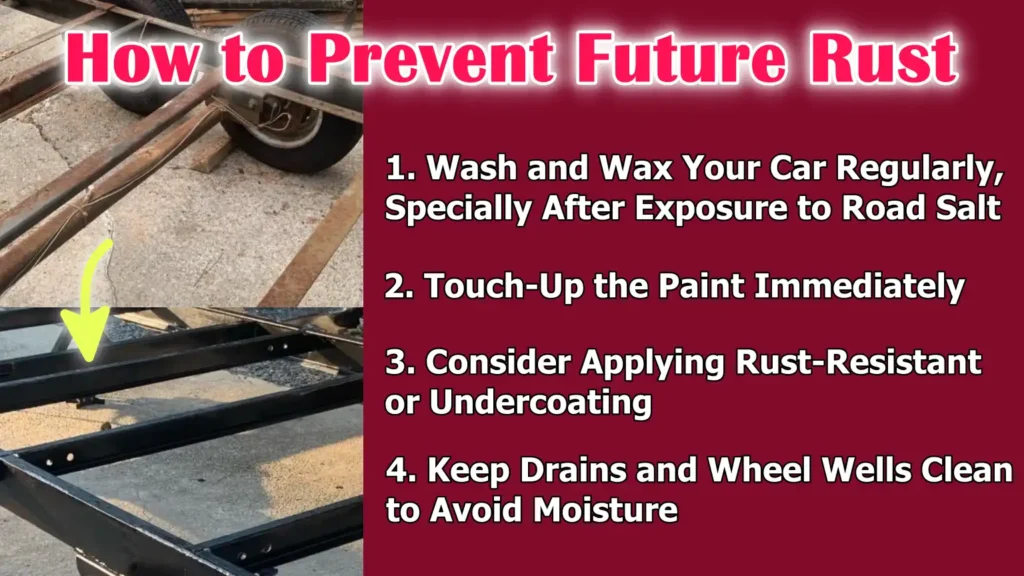
1. Wash and Wax Your Car Regularly, Specially After Exposure to Road Salt
Regular cleaning and waxing are essential to prevent rust on your vehicle.
Dirt, road salt and grime can trap moisture on metal surfaces, accelerating the rusting process.
Thoroughly washing your car, specially during the winter months or after driving on salted roads, removes these harmful elements.
Waxing creates a protective layer on the paint, which absorbs water and helps prevent oxidation.
Regular maintenance keeps your car looking new and significantly reduces the risk of future rust.
2. Touch-Up the Paint Immediately
Even minor scratches or chipped paint can expose the bare metal underneath, increasing the risk of rust.
Applying touch-up paint immediately to these areas prevents moisture and oxygen from reaching the metal and prevents rust.
Repairing minor damage immediately is much easier and less expensive than repairing major rust spots later.
Paint maintenance is an important step in protecting your car’s body and maintaining its value.
3. Consider Applying Rust-Resistant or Undercoating
Rust-resistant treatments and undercoating provide long-term protection to areas most prone to rust, such as wheel wells, undercarriage and interior panels.
These coatings protect against water, salt and debris, reducing the likelihood of rust.
Professional application ensures even coverage and maximizes the lifespan of the protective coating.
Investing in a rust-resistant coating helps maintain the car’s structural integrity and avoid costly repairs in the future.
4. Keep Drains and Wheel Wells Clean to Avoid Moisture
Water can accumulate in hidden areas of the car, such as drains, seams and wheel wells, creating an ideal environment for rust.
Keeping these areas clean and free of leaves, mud and debris ensures proper drainage and prevents moisture buildup.
Regularly inspecting and cleaning these areas keeps the car’s body in good condition and reduces the risk of hidden rust forming in hard-to-reach areas.
Proper care of these areas protects both the car’s appearance and its structural strength.
Conclusion – How to Fix Car Rust Spots
Yes, it is very much possible that even smallest rust spot can become headache as it can weaken your car over time, that’s why you need to stop the corrosion before it causes some serious damage to your vehicle.
Also, there’s research by AAA: which shows that liquid road de-icers also contribute heavily to the vehicle corrosion and it cost drivers about $3 billion a year in just rust repairs; that’s the real reason that you should act as soon as you see exposed areas and fix that small chips or corrosive spots quickly, as they are the cheapest way to prevent large, costly rust failures later on.[¹]
Rust starts with small, nearly invisible damage, but it can spread quickly, damaging your car’s metal panels, frame and vital components.
By understanding the rust formation process and taking timely action—cleaning, sanding, treating, priming, painting and protecting—you can prevent rust from becoming a costly problem.
From preparation to final waxing, every step plays a vital role in ensuring that the repair lasts and looks professional.
Regular maintenance, such as washing, waxing and checking for chips or scratches, prevents new rust from forming.
Taking the time to properly repair rust not only extends your vehicle’s lifespan, but also maintains its safety, reliability and resale value, giving you confidence on the road for years to come.
If you still have questions in mind, then please comment down.
Frequently Asked Questions
Q1. Why do cars rust?
Answer: Cars rust when metal surfaces come into contact with water, oxygen and sometimes salt. Scratches, chips, or worn paint can leave the metal unprotected, allowing oxidation to occur. Road salt, rain and humid environments accelerate the rusting process. If not treated promptly, even small rust spots can grow over time and weaken the car’s body.
Q2. Can small rust spots be repaired at home?
Answer: Yes, small rust spots can be repaired at home with basic tools and materials. The process involves cleaning the area, removing the rust, applying body filler if needed, priming, painting and finally, applying a protective clear coat. With patience and proper precautions, home repairs can be durable and professional-looking.
Q3. What tools do I need to remove rust from my car?
Answer: To repair car rust spots, you’ll need safety equipment like gloves, goggles and a dust mask, sanding materials like sandpaper or a sanding block, rust remover or rust converter, body filler for deep pits, automotive primer, matching car paint, clear coat, a clean cloth, masking tape and plastic sheets. Each tool plays a specific role in cleaning, repairing, protecting and finishing the surface.
Q4. How do I remove rust safely?
Answer: To safely remove rust, first sand the affected area until you get clean metal. For deep or pitted spots, a rust remover or rust converter can be applied to neutralize the remaining rust. It’s important to wear protective equipment to avoid inhaling dust or chemicals. After removing the rust, ensure the surface is smooth and free of loose particles before applying filler or paint.
Q5. Do I need body filler for every rust repair?
Answer: Body filler is only needed if rust has caused deep pits or holes in the metal. For shallow rust spots, sanding and priming may be sufficient. This filler helps restore the surface to its original shape and ensures a smooth base for primer and paint, resulting in a professional-looking finish.
References:
[1] ROAD DE-ICERS AND RUST-RELATED VEHICLE DAMAGE.
https://newsroom.aaa.com/wp-content/uploads/2017/02/Road-De-icers-and-Rust-Damage-Fact-Sheet-FINAL.pdf

Guys, I’m a car audio enthusiast and customization expert and I love clear sound and clean installation. Plus, I have spent years helping people build their dream audio setups. And whenever I’m working on cars, I probably listen to music and thinks about the next big upgrade.