 Skip to content
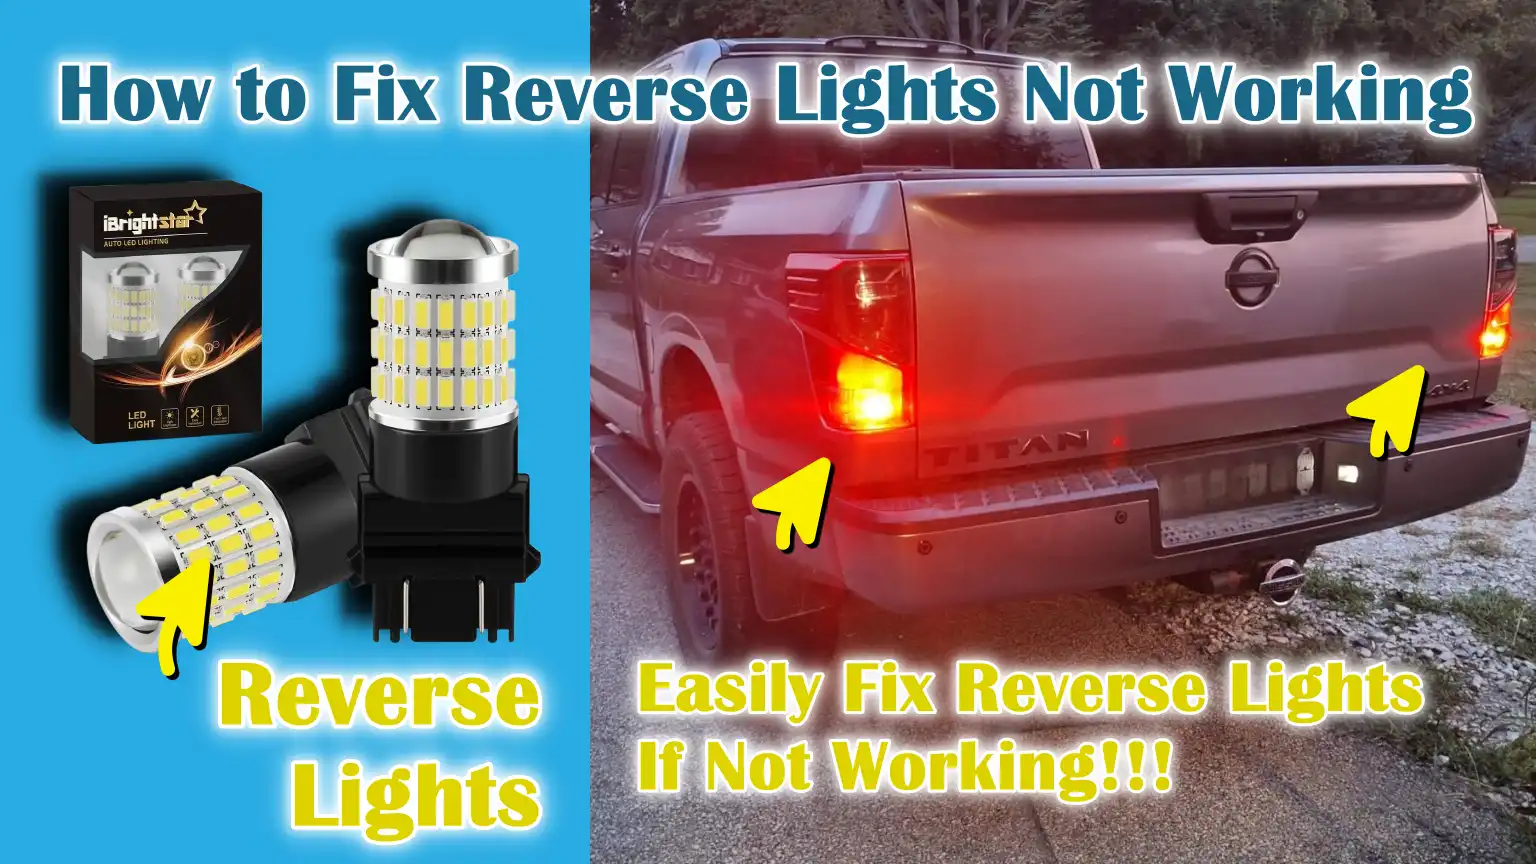
Written By: Don Dodi
Fact Checked By: Kristen Brown
Reviewed By: Diego Rosenberg
It is true that reverse lights are legally required for the safety purpose in almost every state, as it enhances the overall safety of your vehicle and others as well.
As, it literally the foam of alerting other drivers and pedestrians that your car is moving backward direction.
But, whenever these lights stop working, then it not only violates the traffic rules but also increases the risk of possible accidents, specially during the night or when you reverse in the crowded areas.
Also, you need to understand there are several common causes of failure of reverse light such as: blown bulbs, damaged wiring, faulty fuses and it could be malfunctioning reverse light switches as well.
Along with this, some vehicles relies on the gear selector mechanism to activate the lights, which can also wear out over the period of time and usage.
Now, this is the complete guide on How to Fix Reverse Lights Not Working, so that you can understand about the potential issue and easily follow the instructions and be sure about the restoration of reverse lights safely and effectively again.
How to Check the Reverse Light Bulb
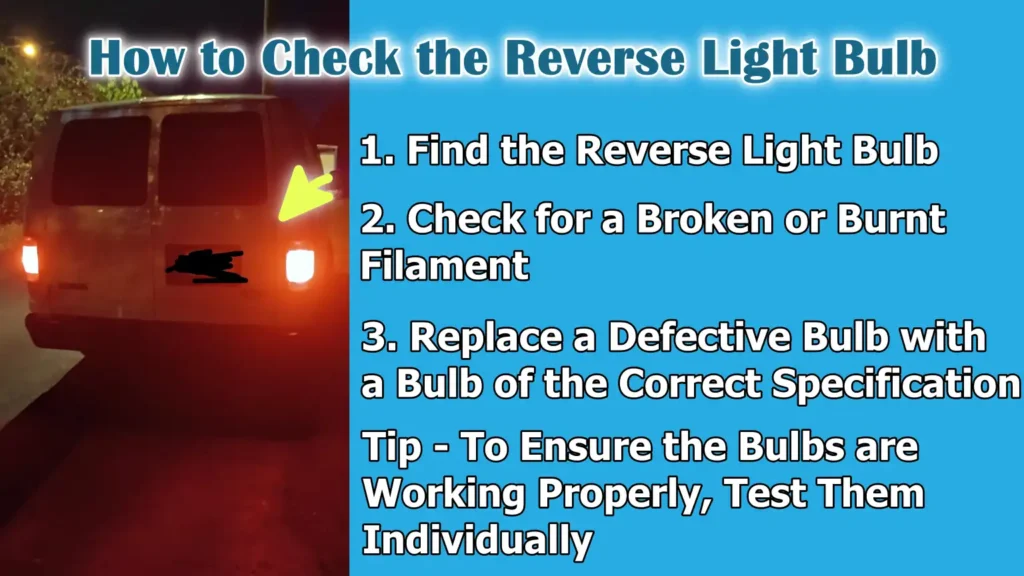
1. Find the Reverse Light Bulb
The first and most common reason for a reverse light not working is a burned-out bulb, so the first step is to find the reverse light bulb in your vehicle.
In most cars, the reverse lights are built into the rear taillight assembly, located near the trunk or rear hatch.
These lights usually turn on automatically when the gear lever is shifted into reverse.
To access the bulb, you may need to open the trunk or rear hatch and remove a small internal panel behind the taillight housing.
In some vehicles, the bulb can be removed directly from inside the trunk, while in others, you may need to remove some screws or clips to pry the taillight assembly out slightly.
It’s important to carefully identify the correct bulb, as the same housing may also house the brake light, turn signal and parking lights.
2. Check for a Broken or Burnt Filament
After removing the reverse light bulb from its socket, examine it carefully.
Traditional car bulbs have a thin metal filament embedded inside the glass.
When electricity passes through it, this filament heats up and glows, producing light.
If the filament is broken, burned, or blackened, the bulb will not work.
Black marks may also appear on the inside of the glass of a defective bulb, a common sign that the bulb is worn out.
In many vehicles, reverse light bulbs can last for many years, but vibration, heat and repeated use can eventually damage them.
A close inspection of the bulb in good light can quickly determine whether it is still in good condition or needs replacement.
3. Replace a Defective Bulb with a Bulb of the Correct Specification
If a bulb appears defective or burned out, replace it with a new one that meets your vehicle’s specifications.
Each car uses specific bulbs that vary in voltage, brightness and socket design.
Installing the wrong bulb can cause lighting problems or cause it to not fit properly in the socket.
The correct bulb type is usually listed in the vehicle’s owner’s manual, or a code may be printed on the base of the old bulb.
When installing a new bulb, ensure it fits snugly into the socket to ensure proper electrical contact.
A properly installed bulb should be securely in place, without any looseness or bending.
Tip – To Ensure the Bulbs are Working Properly, Test Them Individually
After replacing or reinstalling a bulb, it’s important to test the reverse lights before disassembling the taillight assembly.
Turn the ignition key to the accessory or on position, apply the parking brake and put the vehicle in reverse.
If possible, have someone stand behind the vehicle and check if the lights are working properly.
Testing the bulbs individually can ensure that each bulb is working properly and that the problem is with a faulty bulb, not the wiring or switch.
This simple testing step saves time and ensures the reverse lighting system is functioning properly before completing the repair.
How to Check Fuses and Relays
1. Locate the Vehicle’s Fuse Box
The next important step in diagnosing a faulty reverse light is to locate the vehicle’s fuse box.
The fuse box is a central space containing several small electrical fuses to protect the car’s various circuits.
These fuses act as a safety guard for the electrical system.
If excessive electrical current flows through a circuit, the fuse will blow, stopping the flow of electricity, preventing damage to wiring or electronic components.
Most vehicles have at least one fuse box under the dashboard on the driver’s side, while another fuse box may be located under the hood in the engine compartment.
Opening the fuse box cover usually reveals a diagram showing the location of each fuse and the system it protects.
Locating this fuse box is the first step in checking whether the reverse light circuit is receiving proper power.
2. Identify the fuses associated with the reverse lights
After locating the fuse box, the next task is to identify the fuse that controls the reverse lights.
Each fuse in the box protects a specific electrical component, such as the headlights, brake lights, radio system, or power windows.
The easiest way to identify the correct fuse is to consult the vehicle’s owner’s manual, which usually contains a fuse diagram and information about each slot.
Some fuse box covers also have printed labels indicating which fuse is connected to the reverse lights or backup lights.
Identifying the correct fuse is important because removing or replacing the wrong fuse can affect other vehicle systems.
Take a moment to carefully read the diagram to ensure you’re checking the correct electrical circuit associated with the reverse lights.
3. Check if the fuse is blown and replace it if necessary
Once you’ve found the correct fuse, carefully remove it and inspect it.
A typical automotive fuse contains a thin metal strip inside a small plastic body.
This metal strip allows electricity to pass through the circuit.
If the strip is broken or melted, it means the fuse has blown and electrical current can no longer reach the reverse lights.
In many cases, a blown fuse is the simplest and most common cause of reverse lights not working.
If the fuse appears to be damaged, replace it with a new fuse with the same amperage rating.
The amperage number is usually printed on the fuse and indicates how much current it can safely handle.
Using the correct fuse rating is crucial, as using a higher rated fuse can cause electrical damage or overheating.
4. Test the reverse light relay, if applicable
Some vehicles also use a relay as part of the reverse lighting system.
A relay is an electrically controlled switch that helps manage large electrical loads without overstressing smaller switches or wiring.
In vehicles that use a relay for the reverse lights, this relay helps send power from the battery to the lights when the transmission is shifted into reverse gear.
If this relay fails, the reverse lights may fail even if the fuses and bulbs are in good condition.
To test the relay, it can sometimes be replaced with a similar relay from the fuse box to see if the lights work again.
If the lights work properly after replacement, it means the original relay is faulty and needs to be replaced.
Checking the relay is an important step because it ensures that the electrical signal is properly transmitted to the reverse lights when the vehicle is in reverse.
How to Test the Reverse Light Switch
1. Locate the Reverse Light Switch
The reverse light switch is a small but crucial component that controls when the reverse lights turn on.
This switch is designed so that the lights automatically turn on when the vehicle shifts into reverse gear.
In many vehicles, the reverse light switch is mounted on the transmission housing, while in some models it may be attached to the gear lever assembly inside or near the center console.
When the driver shifts the gear selector into reverse, an internal mechanism presses the switch and sends an electrical current to the rear reverse lights.
To locate the switch, you may need to look under the vehicle near the transmission or consult your vehicle’s service manual for its exact location.
Because this switch operates every time reverse gear is engaged, it can gradually wear out or develop internal defects over years of use.
2. Test the switch for continuous power using a multimeter
Once the reverse light switch is located, the next step is to test whether it is working properly.
The most reliable way to do this is to use a multimeter, a simple tool used to measure electrical current, voltage and continuity in a circuit.
Continuity testing checks whether electricity can flow through the switch when it is on.
To perform this test, carefully unplug the electrical connector connected to the switch.
Then, place the multimeter probes on the switch terminals.
When the gear selector is moved to reverse, the switch should close the circuit and the multimeter should show continuity, meaning electrical current can flow.
If the multimeter shows no continuity when the gear is in reverse, it means the switch’s internal contacts are worn or damaged.
This test helps confirm whether the switch is working properly or preventing power from reaching the reverse lights.
3. Replace the Switch If It Fails the Test
If the continuity test reveals that the reverse light switch is faulty, the best course of action is to replace it.
A faulty switch will prevent power from reaching the reverse lights, even if the bulb, wiring and fuse are all working properly.
Replacing the switch is usually an easy repair as it is usually threaded into the transmission housing or attached to a small mounting bracket.
Before removing the old switch, it is important to ensure the vehicle is off and properly secured to prevent movement.
The new switch must match the exact specifications of the original part so that it fits properly and works reliably.
Once the replacement is installed and the electrical connectors are reconnected, the system can be tested by turning on the ignition and putting the vehicle in reverse gear.
If the lights come on normally, this confirms that the cause of the problem was a faulty switch and the reverse lighting system is now working properly.
How to Check the Wiring and Connections
1. Look for damaged, worn, or corroded wires leading to the reverse lights
After checking the bulbs, fuses and switches, the next important step is to check the wiring that powers the reverse lights.
Every vehicle uses a network of wires to connect the battery, switches and lighting components.
These wires run from the fuse box through the vehicle’s body and finally reach the rear taillight assembly.
Over time, these wires can deteriorate due to vibration, moisture, heat, or physical wear.
For example, if the wires rub against metal parts of the car, they can become worn out, or their insulation can break down due to age.
In some cases, exposure to water or road salt can cause corrosion, which weakens the metal inside the wire and impedes the flow of electricity.
When electricity cannot flow properly through the wiring, the reverse lights may stop working even if the bulbs and switches are in good condition.
A close inspection of the wiring around the taillight housing and at the rear of the vehicle can help identify signs of damage, such as broken insulation, loose wires, or green corrosion on the metal.
2. Check the connectors on the bulbs, switches and fuse box
In addition to the wiring, it’s also important to check the electrical connectors that connect the various components of the reverse light system.
Connectors are small plastic plugs that allow wires to securely connect to components like the light bulb socket, reverse light switch and fuse box.
These connectors ensure a strong electrical connection so that current can flow smoothly through the system.
However, connectors can sometimes become loose, dirty, or rusted.
Dirt, moisture, or oxidation on the metal terminals inside the connector can block the electrical signal, preventing the reverse lights from turning on.
For this reason, every connector should be carefully inspected.
Ensure the plugs are fully seated and the internal terminals are clean and free of bends or damage.
Checking these connection points is very helpful, as loose or dirty connectors are often an easy way to quickly repair a lighting system.
3. Repair or replace faulty wiring and clean damaged contacts
If faulty wiring or bad connections are found during inspection, they should be repaired or replaced to restore proper power flow.
Sometimes minor damage to wiring can be repaired by cutting out the damaged section and reconnecting the wire using the correct electrical connector or protective insulation.
If a wire is severely worn or corroded, replacing that section with a new wire is usually the safest course of action.
Corroded connector terminals can often be gently cleaned with electrical contact cleaner or a small brush made for electrical parts.
Cleaning these contacts helps remove oxidation and restore smooth power flow.
After repairing the wiring or cleaning the connectors, all connections must be properly secured to prevent future problems caused by vibration or moisture.
It’s important to ensure that the wiring and connections are in good condition, as even a small break in the electrical circuit can prevent the reverse lights from working properly.
How to Check the Gear Selector Mechanism
1. Ensure the gear lever is properly engaged in reverse gear
In many vehicles, the gear selector mechanism plays a key role in activating the reverse lights.
When the driver moves the gear lever to the reverse position, a mechanical movement occurs within the transmission or gear assembly.
This movement depresses or activates the reverse light switch, providing power to the vehicle’s rear reverse lights.
If the gear lever is not fully engaged in the reverse position, the switch may not activate properly and the reverse lights may not turn on.
This can occur if the gear lever is loose, if the shift cable is slightly misaligned, or if parts within the gear linkage have worn out over time.
Checking that the gear lever is engaged smoothly and firmly in reverse is an important diagnostic step.
When the gear is engaged properly, the switch should engage immediately and the reverse lights should illuminate without delay.
2. If the reverse lights are malfunctioning only occasionally, adjust or repair the linkage
Sometimes, the reverse lights work, but sometimes they malfunction, which is often a sign that the gear selector linkage is slightly misaligned or worn.
The linkage is a set of mechanical connections that transfer the driver’s gear lever movement to the transmission.
Over time, constant use, vibration and normal wear can cause these parts to loosen or become slightly out of place.
When this happens, the gear lever may engage in reverse, but it won’t fully engage the reverse light switch, preventing the lights from activating consistently.
In such cases, adjusting the linkage or tightening loose parts can restore proper engagement.
In some vehicles, this adjustment is made near the transmission or at the shift cable connection point.
Ensuring that the linkage is properly aligned helps activate the switch every time reverse gear is selected, ensuring that the reverse lights operate reliably and provide the necessary safety signals to other drivers and pedestrians.
How to Test the System
As well as, there’s research for the rear vehicle lighting systems and that shows that the rear lights significantly improve the hazard detection and reaction time for following drivers, specially in the low-visibility conditions such as: night, fog and other weather calamity, as reverse lights indicate that the vehicle is moving backward, also it is really important to maintain them in proper and working condition to prevent the parking lot accidents and improving the driver awareness.[¹]
1. Turn on the ignition and engage reverse gear
After checking and repairing the bulbs, fuses, wiring, switches and gear selector mechanism, the next important step is to test the reverse lighting system to confirm that everything is working properly.
Start by turning the vehicle’s ignition to the ON position so that the electrical system receives power from the battery.
The engine does not need to be running, but the ignition must be active for the lighting circuit to function.
Once the ignition is on, carefully move the gear selector to the reverse position while applying the parking brake to prevent the vehicle from moving.
In many vehicles, shifting the gear lever to the reverse position activates the reverse light switch, sending electrical current to the bulbs in the rear taillight assembly.
This simple test simulates normal driving conditions and helps verify that the repair steps have repaired the lighting system.
2. Confirm that the reverse lights are on
After putting the vehicle in reverse gear, the next step is to confirm that the reverse lights are actually on.
The easiest way to check this is to have someone stand behind the vehicle and see if the lights are on properly.
If no one is available to help, the driver may sometimes see light reflected from a wall, garage door, or other nearby object behind the vehicle.
Reverse lights are typically bright white lights designed to improve visibility when reversing and to alert pedestrians and other drivers that the vehicle is reversing.
If the lights come on immediately and stay on, it means the electrical circuit is working properly and power is reaching the bulbs as expected.
This confirmation step is important because it ensures that the repair was successful and the vehicle’s safety system is functioning properly.
3. If the lights still don’t work, recheck each component
If the reverse lights still don’t work during the test, it’s important to carefully review each component previously checked.
The vehicle’s electrical system relies on many interconnected parts and a problem in any one of them can disrupt the flow of electricity.
This means that for the lights to work, the bulbs, fuses, relays, reverse light switch, wiring, connectors and gear selector mechanism all need to be working properly.
Rechecking each component step-by-step helps ensure nothing was missed during the inspection process.
Sometimes a connector may not be fully attached, a fuse may have been replaced with the wrong rating, or there may still be hidden damage in the wire that wasn’t visible during the first inspection.
Taking the time to carefully review each part of the system increases the chances of finding the exact cause of the problem and ensuring that the reverse lights will work properly whenever the vehicle is shifted into reverse.
Read More:
Conclusion – How to Fix Reverse Lights Not Working
Reverse lights are really useful and essential that protects both drivers and pedestrians in everyday traffic situations.
When the vehicle is in reverse gear, these lights automatically turn on, alerting pedestrians, cyclists and other drivers that the vehicle is about to reverse.
When reverse lights malfunction, they can reduce visibility while reversing and increase the risk of accidents, specially at night, in parking lots, or in crowded areas.
Therefore, a properly functioning reverse lighting system is not only a convenience but also an important safety responsibility for every driver.
The good news is that many reverse light problems are fairly easy to diagnose and fix.
In most cases, the problem is caused by common causes, such as a burnt-out bulb, a blown fuse, a faulty reverse light switch, or a loose electrical connection.
By carefully checking each part step-by-step, including bulbs, fuse boxes, wiring, connectors and the gear selector mechanism, drivers can often identify the exact cause of a problem without any advanced tools or advanced mechanical skills.
Following a logical troubleshooting process helps avoid unnecessary repairs, saving both time and money.
So, that’s it from this guide and you can ask questions in the comment box section.
Frequently Asked Questions
Q1. Why do reverse lights stop working?
Answer: Reverse lights can stop working due to several common reasons related to the vehicle’s electrical and mechanical systems. The most common cause is a burnt-out bulb, which occurs naturally over time as the filament inside the bulb weakens due to repeated heating and cooling. Another common cause is a blown fuse that blocks electrical current to the light. In some cases, the reverse light switch, which is responsible for turning on the light when the vehicle is in reverse gear, may be worn or damaged. Wiring problems such as loose connectors, bad terminals, or broken wires can also prevent power from reaching the bulb. Sometimes, the problem may be that the gear selector mechanism is not working properly in the reverse position, preventing the switch from turning on the light.
Q2. Is it safe to drive if the reverse light is not working?
Answer: Driving with faulty reverse lights is not recommended, as these lights perform an essential safety function. Reverse lights alert other drivers, pedestrians and cyclists that your vehicle is about to reverse. Without this warning signal, people behind you may not realize you’re reversing, increasing the risk of accidents. Reverse lights are specially important at night, in parking lots and in busy areas where visibility is low. In many areas, traffic regulations require vehicles to have their reverse lights on, so driving without them could result in a fine or even problems during a vehicle inspection.
Q3. How can I quickly check if my reverse light bulb is faulty?
Answer: The easiest way to check is to put the vehicle in reverse gear, turn on the ignition and ask someone standing behind the vehicle to look at the light. If the light doesn’t illuminate, the next step is to remove the bulb from the taillight housing and carefully examine it. A typical bulb has a thin filament that glows when electricity is passed through it. If the filament is broken or the inside of the bulb appears black or burned, the bulb is likely faulty and needs to be replaced. Replacing the reverse light bulb is usually an easy and inexpensive repair that can quickly fix the lighting system.
Q4. Where is the reverse light switch located in a vehicle?
Answer: The reverse light switch is typically located on the vehicle’s transmission or near the gear selector assembly. In many manual transmission vehicles, the switch is mounted directly on the transmission housing, where it can detect when reverse gear is engaged. In automatic vehicles, the switch may be integrated with the transmission range sensor or connected to the gear selector mechanism. When the driver puts the vehicle into reverse gear, the switch closes the electrical circuit and sends power to the reverse lights. Because the switch is activated every time reverse gear is engaged, it may eventually wear out and stop working properly.
References:
[1] The effect of taillight shapes and vehicle distance on rearward drivers’ hazard perception
https://www.sciencedirect.com/science/article/abs/pii/S1369847824001633

Guys, I’m a car audio enthusiast and customization expert and I love clear sound and clean installation. Plus, I have spent years helping people build their dream audio setups. And whenever I’m working on cars, I probably listen to music and thinks about the next big upgrade.
