Written By: Don Dodi
Fact Checked By: Kristen Brown
Reviewed By: Diego Rosenberg
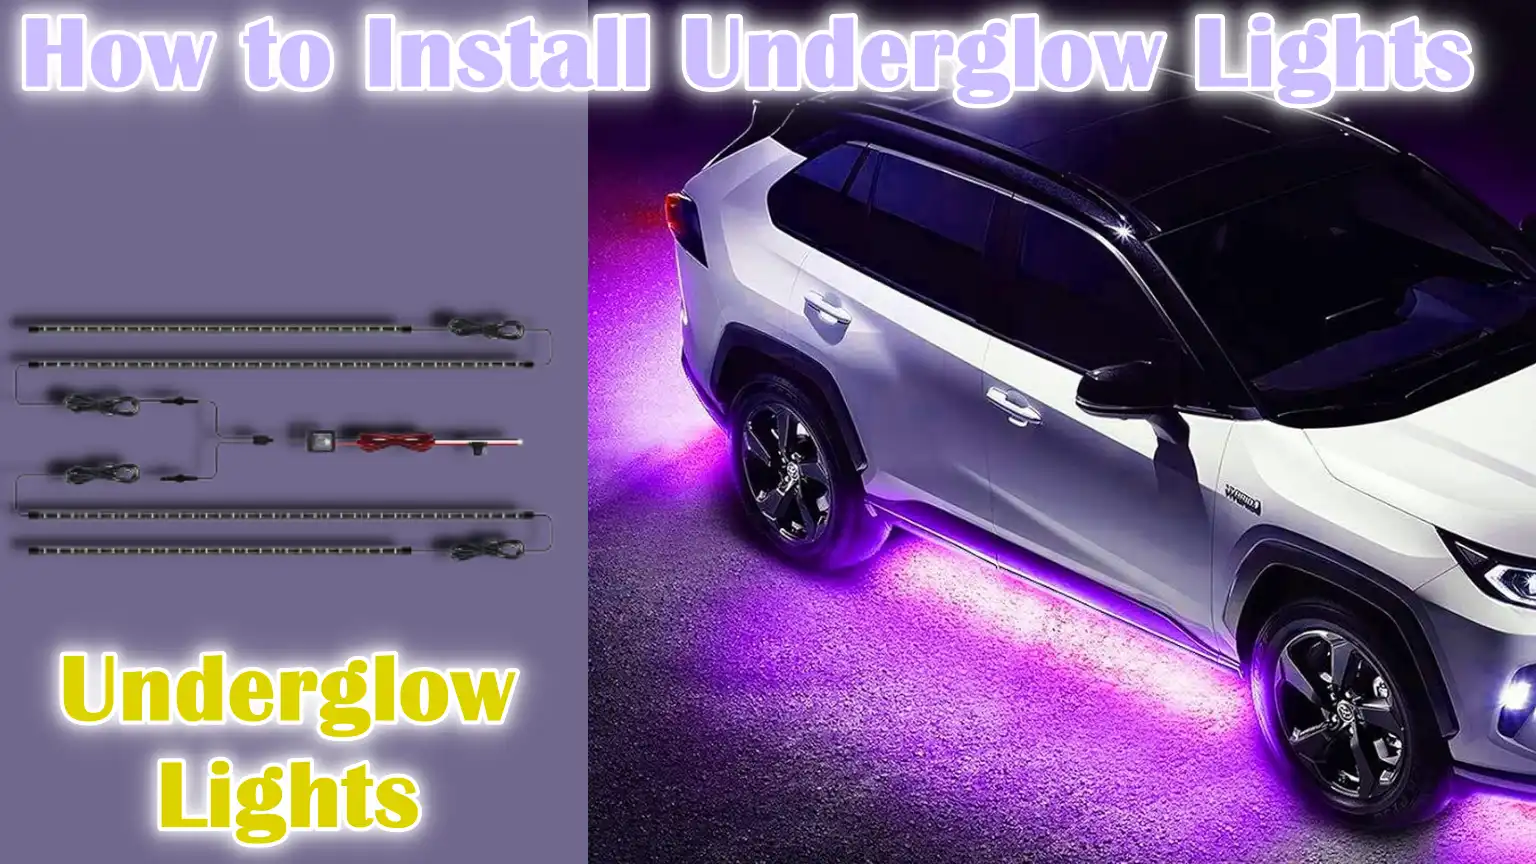
Basically the underglow lights are a type of exterior vehicle lighting which is installed underneath the car as to create a colorful glow that illuminates the ground below.
And they first gained popularity in the 1990s street racing scene and from that time it became widely known through car culture events and movies such as: The Fast and the Furious.
Also, there are the different between then and today’s modern underglow kits as now it uses energy-efficient LED technology, which can actually produce the millions of colors with the dynamic patterns and even it can sync with the music as well.
So, these lights not just about enhancing the visual appeal of your vehicle but it can also make your car stand out at the car shows and gatherings.
Yes, it is really important to note that some of the regions actually have the legal restrictions on underglow colors, specifically for red and blue lights, as these are often reserved for the emergency vehicles.
As well as, this guide on How to Install Underglow Lights tells you all kinds of things like: how you can securely mount it, how you can wire them safely routed away from the heat and moving parts and how you can give them power connections so that it can properly fused to avoid any electrical issues later on.
Tools
| Item | Purpose / Why It’s Needed | Extra Tips |
|---|---|---|
| Screwdrivers (Phillips & Flathead) | For removing panels and securing brackets or clips. | A set with a variety of sizes works best. |
| Drill with bits | To make holes if brackets need to be installed. | Only use this if adhesive or clips are not sufficient. |
| Wire strippers | Removing plastic coating from wires for clean connections. | Avoid cutting the fibers of the wire inside. |
| Electrical tape | To cover and protect wire connections. | Select high quality automotive grade tape. |
| Zip ties | Secure the wires under the car in a proper manner. | Black zip ties are more UV resistant and less visible. |
| Underglow light kit | Main LED light strips that create the glow. | Make sure it’s waterproof and designed for vehicles. |
| Controller (if included) | Lets you change the color, brightness and pattern of the lighting. | Wireless or Bluetooth controllers are easier to use. |
| Wiring harness | Pre-made wire that connects the lights to the power source. | Prevents tangled or messed up wires. |
| Fuse tap | Allows for a secure connection to the car’s fuse box. | Use a fuse with the same rating as the original fuse. |
| Heat shrink tubing | Protects and seals wire connections from water and dirt. | Apply heat evenly for a strong seal. |
| Adhesive clips | Helps keep wires organized without drilling. | Works best on clean, dry surfaces. |
Safety and Legal Preparations
1. Understanding local laws and regulations
Before installing underglow lights, it’s important to understand that not all colors or brightness levels are legal on public roads.
Many countries and states have strict rules to prevent confusion with emergency vehicles.
For example, in the United States, most states prohibit the installation of red or blue underglow lights on the front or rear because these colors are reserved for police, fire or ambulance vehicles.
Some places also limit brightness to avoid distracting other drivers.
Checking your local motor vehicle laws or transportation department guidelines can help you avoid fines or orders to remove the lights later.
If you plan to use bright or animated patterns, it may be safer and perfectly legal to use them only at car shows, private events or off-road locations.
2. Disconnecting the car battery for safety
Before you begin any electrical work on your car, you should disconnect the negative terminal of your car battery.
This step prevents electrical current from flowing through the system while you work, reducing the risk of a short circuit, electric shock or accidental damage to sensitive electronics.
Car electrical systems typically run on 12 volts, which is generally not dangerous to a healthy person, but a sudden spark can cause burns or damage wires and components.
Disconnecting the battery also prevents accidental activation of the airbag system or onboard electronics while installing lights.
3. Using the proper safety equipment
Wearing safety equipment is an easy but often overlooked step in DIY car projects.
A good pair of gloves will protect your hands from sharp edges, hot engine parts and accidental scratches that can occur under the car.
If drilling is required, safety glasses protect your eyes from falling dust, dirt and metal shavings.
As installing underglow lights often requires working underneath a vehicle, wearing long sleeves and using creepers or a thick mat can make the process safer and more comfortable.
Good safety habits not only prevent injuries but also help you work with more confidence and focus.
Planning the Installation
1. Selecting the Installation Location
The first and most important step in planning an underglow installation is deciding where each light strip will go.
Common locations include the front bumper area, both side skirts, the rear bumper and sometimes inside the wheel wells for extra coverage.
The goal is to place the lights where they are visible enough to maintain a consistent glow while also being protected from road debris, water splashes and moving parts.
Placing them slightly below the edges of the car not only conceals the light source so it is clearly visible, but also prevents accidental damage from curbs or bumps.
2. Measuring and Verifying Light Strip Length
Before installing anything, it is important to measure the locations where you plan to place the lights.
This ensures that the strips will fit properly without hanging or stretching too much.
Using a tape measure, check the length from one end of the installation point to the other and compare it to the length of the light strip provided in your kit.
If the strips are too long, you may need to reposition them or see if the manufacturer allows them to be safely cut to size.
Taking the correct measurements can prevent time wastage and make the installation look professional.
3. Planning the wiring route
A clean wiring route is important for both appearance and safety.
Wires should be run along the car’s frame or in hidden channels so they stay out of sight and away from heat sources such as exhaust or engine parts.
Planning the route in advance will help you avoid sharp edges that can cut wires over time.
You can also decide where zip ties, clips, or protective tubing will be used to keep the wires securely in place.
A well-planned wiring route prevents accidental interruptions while driving and gives the final setup a factory-finished look.
4. Choosing the Controller Location
The controller is the brain of the underglow system, allowing you to change colors, adjust brightness and set lighting effects.
Its location should be chosen for both convenience and safety.
Many people place it inside the cabin for easy access, specially if it has buttons or a display.
Some people place it in the engine bay or trunk if it connects via a remote control or smartphone app.
The important thing is to place the controller where it is protected from water, excessive heat and vibration and can be easily accessed when needed.
How to Install Underglow Lights – Simple Method
1. Cleaning and Preparing Mounting Surfaces
Before installing the light strips, it is important to make sure the surfaces are completely clean and free of dirt, grease or moisture.
Dust or oil on the surface can weaken the adhesive or make the mounting brackets less sturdy.
Wipe the area of the car where the lights will be installed with a clean cloth and mild automotive cleaner.
Allow the area to dry completely before proceeding.
Proper cleaning ensures maximum adhesion, prevents the strips from peeling over time and lasts longer even when exposed to rain, dirt or road vibrations.
2. Installing the Light Strips
Underglow light kits can be installed in a variety of ways, depending on the design and your preference.
Many kits have an adhesive backing that sticks directly to the cleaned surface, while others have plastic or metal brackets for additional support.
In some cases, you may need to drill small holes for the mounting screws if you want a more permanent hold.
When installing the strips, make sure they are in a straight and secure position so they don’t bend or move while driving.
If you are using adhesive tape, press firmly for at least 30 seconds along the entire length of the strip for better adhesion.
3. Suitable position for safety and uniform lighting
Light strips should be suitable not only for appearance, but also for safety and performance.
Light strips should be evenly spaced in the mounting area to maintain a consistent brightness from one end to the other.
Avoid placing them too close to moving parts such as suspension components, drive shafts or steering linkages, as this could damage the lights during operation.
You should also keep them away from hot areas such as the exhaust system, as excessive heat could melt the adhesive or damage the LEDs.
A well-planned position will provide a uniform, attractive glow without any bright spots or dark gaps.
Laying Wires
1. Laying Wires Along the Vehicle Frame or Under Panels
The safest and cleanest way to lay underbody wiring is to run the wires along the car’s frame or under protective panels.
This keeps the wires hidden from view and protected from road debris, water and dirt.
The frame provides strong support, while the plastic underbody panels provide a natural covering to prevent accidental bumps.
When laying wires, follow factory wiring paths as much as possible, as these are already designed for safety and minimum damage.
Keeping wires out of sight not only makes the installation look more professional, but also reduces the chance of them coming loose.
2. Securing Wires with Zip Ties
Once the wires are in place, it’s important to tie them tightly to prevent them from moving or hanging down.
High-quality, weather-resistant zip ties work well because they’re durable, inexpensive and easy to install.
Place zip ties every few inches along the wire path to keep the wires securely attached to the frame or panel.
Make sure you pull the wires firmly, but not so tight that they damage the wire insulation.
After tightening, cut off the excess ends to avoid sharp edges that can scratch nearby surfaces.
3. Avoid sharp edges and heat sources
When planning your wire route, always check for sharp metal edges that can cut the insulation over time.
If the wire must be passed near rough surfaces, use protective tubing or rubber grommets to protect it.
It is equally important to avoid heat sources such as exhaust pipes, catalytic converters or engine parts, as excessive heat can melt the insulation or cause electrical malfunction.
A safe wiring route should keep all cables away from both sharp and hot spots, ensuring long-term reliability and avoiding costly repairs later.
Connecting a Power Source
1. Finding the Proper Power Connection
Before you can power your underglow lights, you must choose the right power source.
The most common options are connecting directly to the car battery, tapping into a fuse box, or using an accessory power line that only turns on when the ignition is on.
Connecting to the battery provides continuous power, but it’s important to remember to turn the lights off manually.
Using a fuse box or accessory line is safer for everyday use because the lights turn off automatically when the car is turned off, so the battery doesn’t drain.
2. Installing an In-Line Fuse for Safety
An in-line fuse is a small but important safety device that protects the electrical system from overloads or short circuits.
Without a fuse, wiring problems can cause overheating, damage to the lights, or even a fire.
The fuse must conform to the recommended amperage provided in the underglow kit’s manual, which is typically between 5 and 15 amps for LED systems.
If you go for the LED underglow kits then it not only enhances your vehicle’s appearance but also it contributes to energy conservation as well. As LEDs consume significantly less power if we compared it to the traditional lighting and that makes them an eco-friendly choice as well.[¹]
Always place the fuse near the power source so the entire circuit is safe from the start.
3. Connecting the ground wire to the chassis
Every electrical circuit in a vehicle needs a proper ground connection to work properly.
The ground wire should be connected to a clean, unpainted metal part of the car’s chassis.
Paint, rust or dirt can weaken the connection, so it’s important to sand the contact point before installing the wire.
A secure ground wire ensures that the lights work at full brightness and reduces the risk of flickering or malfunctioning.
4. Using a fuse tap and choosing the right fuse slot
If you decide to use a fuse box for power, a fuse tap is the easiest and cleanest way to make the connection.
The fuse tap plugs into an existing fuse slot and provides an additional wire connection for your lights, while the original fuse remains in place.
It’s important to choose a slot that is connected to an auxiliary circuit rather than a vital system such as airbags or engine control.
This way, your lights will only come on when the ignition is on, protecting the battery and not interfering with essential car functions.
Installing the Controller (if applicable)
1. Place the Control Box in a Safe, Dry and Accessible Place
The controller, often called the control box, is the central unit that sends instructions to your underglow lights.
It should be installed in a place that is dry, safe and easily accessible for wiring and adjustment.
Common installation locations include inside the engine bay, away from heat sources, under the dashboard, or in the trunk.
Surfaces should be clean and level to ensure strong adhesion or sturdy bracket installation.
To avoid moisture damage, avoid places where water may be directly splashed, such as near wheel wells.
Choosing the right location ensures that the controller will last a long time and work reliably in a variety of weather conditions.
2. Pairing with a Remote Control or Smartphone App
Most modern underglow kits come with wireless control options, either via a handheld remote or a smartphone application.
If your kit has Bluetooth or Wi-Fi connectivity, follow the manufacturer’s instructions to pair your phone or remote with the controller.
Smartphone apps often offer advanced features like custom color selection, brightness control and syncing lights to music.
Ensuring correct pairing during installation prevents the need to redo wiring or reposition the controller later.
3. Check connectivity before finalizing installation
Before permanently securing the controller and arranging all the wires, it’s important to check the connections to make sure everything is working properly.
Turn the system on and change the color, pattern and brightness settings to see if the controller is sending signals to all the light strips.
If any lights don’t work, check the wiring connections and pairing process before completing the installation.
Checking at this stage saves time and eliminates the need to disassemble vehicle parts to fix problems later.
Read More:
How to Test the Lights
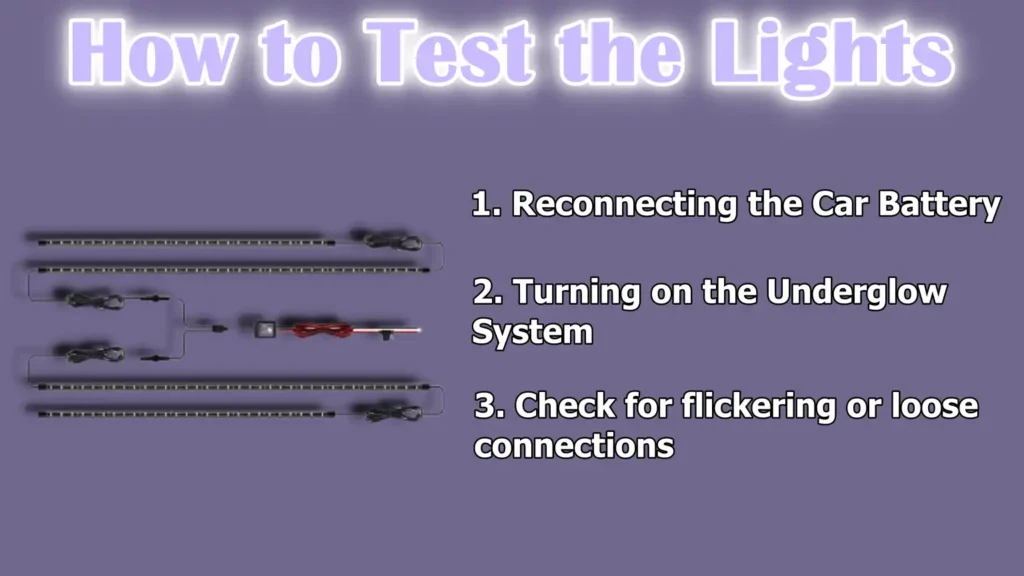
1. Reconnecting the Car Battery
After all wiring and mounting is complete, the first step in testing your underglow system is to reconnect the car battery.
Always connect the negative terminal last to reduce the chance of accidental sparks.
Reconnecting the battery restores power to the entire vehicle, including the newly installed lighting system.
To avoid short circuits or accidental damage, make sure all equipment is removed from the engine bay before restoring power.
2. Turning on the Underglow System
After power is restored, turn on the underglow lights to see if all strips are receiving power.
This initial power-up helps confirm that the connections are correct and that no wiring steps have been missed.
Carefully check that each light strip is shining evenly and that the colors match your settings.
If the system includes adjustable patterns or brightness levels, test them as well to confirm full functionality.
3. Check for flickering or loose connections
If you notice flickering lights, dim parts, or strips that won’t turn on, this could be a sign of a loose connection, damaged wire, or grounding problem.
Check each connection point to make sure it is secure and free of rust or dirt.
Loose wires should be tightened and any damaged parts should be repaired or replaced before finalizing the installation.
Addressing these issues during testing can prevent serious electrical problems later on and ensure that the lighting system remains reliable for a long time.
Final Safety and Cleanliness
1. Double-check all mounts, wiring and connections
Before considering the job complete, carefully inspect every mount, wire and connection.
Make sure all light strips are firmly attached and properly aligned and that the edges are not loose or frayed.
Check that wiring is secure and all connectors are fully seated, as even a slightly loose plug can cause lights to flicker or shut off completely.
Make sure fuses are properly installed and ground connections are strong and clean.
A thorough check at this stage can prevent problems that might otherwise appear after just a few days of use.
2. Fixing Loose Wires with Zip Ties or Clips
Once you know everything is working properly, properly align the wires for both safety and a professional finish.
Use high-quality, weather-resistant zip ties or adhesive clips to keep the wires level with the car’s frame or hidden by body panels.
This step isn’t just for show—secured wires are less likely to be damaged by road debris, vibration or movement over time.
Cut off the excess ends of zip ties so that their sharp ends don’t scratch surrounding surfaces.
3. Tool Storage and Work Area Cleanup
When installation is complete, return all tools to their proper location so that no important items are left behind.
Remove any leftover packaging, wire clippings or mounting debris from the work area.
If you worked under the car, check that no tools, clothing or materials were accidentally left near the underglow system or moving parts.
A clean work area not only demonstrates good manners, but also ensures that your car is ready for safe operation and that nothing has been left behind that could cause damage.
Longevity and maintenance tips
1. Avoid pressure washing directly on the light strips
Although most modern underglow lights are designed to be water resistant or waterproof, high pressure water can damage them over time.
Direct pressure washing can weaken the adhesive backing, cause water to penetrate electrical connections, or crack the protective coating of the LEDs.
When cleaning your car, it is best to wash the areas around the lights with a low pressure stream or by hand.
This helps maintain the seal and prevents water from entering the system, which can significantly extend the life of the lights.
2. Regular inspection for loose wires or water ingress
Underglow lights are exposed to road vibrations, weather changes and debris, which can affect their condition over time.
Regular inspection can help catch problems before they become serious.
Check that all wires are securely installed and have no signs of fraying or wear.
Check closely for moisture inside the light housing or near the connectors, as this may indicate a seal failure.
Addressing minor problems promptly can prevent a complete system failure later.
3. Replace damaged strips promptly to avoid electrical short circuits
A damaged LED strip isn’t just a cosmetic problem—it can also pose an electrical hazard.
Torn casings, broken wires, or open contacts can cause short circuits, blown fuses, or damage to the controller.
Replacing damaged strips promptly will keep the system running safely and prevent stress on the rest of the lights.
Using high-quality replacement parts designed for automotive use ensures that repairs last a long time and maintain the original brightness and color uniformity.
Conclusion – How to Install Underglow Lights
So, when you see that your car glowing smoothly against the dark night then you’ll know that every step of your hardwork and worth every penny.
Yes, underglow lights are more than just adding a decorative touch to your vehicle—it’s about combining creativity, technology and careful workmanship to achieve a professional, reliable result.
By methodically following every step, from checking local laws to safely installing the strips and correctly routing the wires, you ensure that your lighting system not only looks impressive but also lasts for years.
Proper electrical connections, thorough testing and careful cleaning are just as important as the visual design, as they directly impact safety and durability.
Regular maintenance, such as checking for loose wires and avoiding high-pressure water on the strips, keeps the system in top condition and prevents minor problems from turning into costly repairs.
Whether you choose a simple single-color glow light or a fully programmable RGB setup, the keys to success are patience, precision and a respect for both style and safety.
Underglow lighting done right can turn your car into a moving work of art that attracts attention on the road while also reflecting your personal taste and pride in your ride.
Now, you can comment down below for more information about it.
Frequently Asked Questions
Q1. Will I be stopped for underglow lights?
Answer: Whether or not you’ll be stopped for underglow lights depends entirely on the laws in your area and how you use your lights. In many places, certain colors, such as red, blue, or flashing patterns, are illegal on public roads because they could be mistaken for emergency vehicles. Even if your underglow lights are the legal color, some areas limit their brightness or require that the lights be positioned in a way that the actual bulbs or LED strips are not directly visible — only the light on the ground is visible. If you’re driving with lights that are too bright, distracting, or have prohibited colors, a police officer may stop you. On the other hand, if you use the legal color, keep the brightness within the allowed limit, and follow the rules, you’re less likely to get into trouble. The safest approach is to check your local traffic and vehicle equipment laws before installing underglow lights, and use them mostly at car shows, private events or off-road venues where there are no restrictions.
Q2. Do underglow lights drain your battery?
Answer: Underglow lights can drain your car’s battery if left on for long periods of time with the engine off. However, modern LED underglow systems consume much less power than older neon tube systems. A typical LED kit consumes just a few amps, which is minimal when the car is running because the alternator is supplying power. The real danger comes when the lights are connected directly to the battery without a switch or automatic shut-off. In this case, leaving them on overnight can drain the battery’s charge so much that it’s hard to start the engine. To prevent this, many installers connect the underglow to an auxiliary power source in the fuse box so that the lights turn off automatically when the ignition is turned off. Another good habit is to avoid using underglow for long periods of time while parking without starting the engine. With proper wiring and careful use, battery drain is not a serious problem.
References:
[1] LED Lighting
https://www.energy.gov/energysaver/led-lighting

Guys, I’m a car audio enthusiast and customization expert and I love clear sound and clean installation. Plus, I have spent years helping people build their dream audio setups. And whenever I’m working on cars, I probably listen to music and thinks about the next big upgrade.