 Skip to content
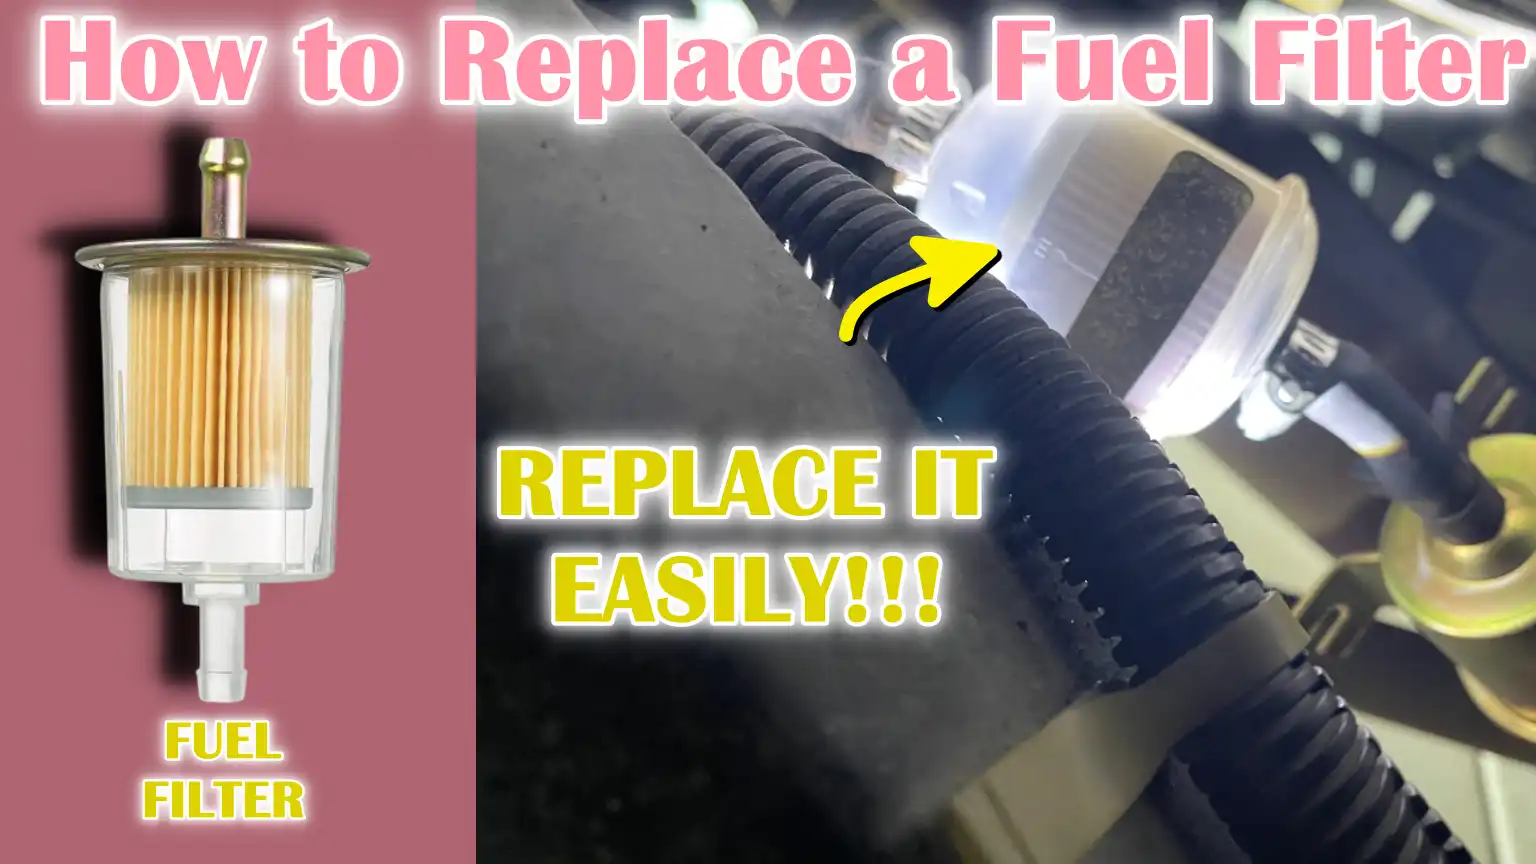
Written By: Don Dodi
Fact Checked By: Kristen Brown
Reviewed By: Diego Rosenberg
Yes, the fuel filter is a small but really crucial part of your vehicle’s engine system, as it is ideally responsible to keep the dirt, rust and other harmful particles completely out of your fuel and that is why it named after Filter.
So, it is the fact that without a clean fuel filter, these all contaminants actually can clog fuel injectors, that later reduce the engine efficiency as well and even they can cause long-term damage as well, which is why if you see that your fuel filter is worn-out or have issues then you have to replace them as soon as possible for the betterment of your vehicle’s engine and to maintain the efficiency as well.
As over the time it is the natural thing that fuel filters can also blocked and that may lead to the poor acceleration, stalling or unusual engine noises as well.
Which is why this guide specifically focuses on How to Replace a Fuel Filter, so that you can replace it and save money on other expensive repairs in the future.
And this guide also shows you how the fuel filter really works and you’ll know the correct way to replace it that can make your vehicle more reliable and of course fuel-efficient as well.
Tools
| Tool / Material | Purpose / Use | Notes / Tips |
|---|---|---|
| Replacement fuel filter | To replace an old, clogged filter. | Make sure it is correct for your car model; check the flow direction arrow. |
| Wrenches or socket set | To loosen and tighten fuel line connections and bolts. | A set with different sizes is helpful if the nuts and bolts vary. |
| Screwdrivers | To remove the clamp or cover that holds the fuel filter in place. | Both flathead and Phillips types may be needed depending on your car. |
| Line disconnect tool (optional) | To safely separate the fuel lines from the filter. | Some cars have special quick-connect fittings that require this tool. |
| Safety glasses | To protect your eyes from fuel splashes. | Always wear it when working underneath a car or near fuel lines. |
| Gloves | To protect your hands from fuel and sharp edges. | Nitrile or mechanic gloves are ideal. |
| Container for catching fuel | To collect any fuel spilled during removal. | Use sturdy, leak-proof containers to avoid mess and fire hazards. |
| Rags / Towels | To clean up spills and wipe parts. | Keep some nearby to catch drips and protect surfaces. |
What to Prepare First
1. Park the car on a level surface and turn off the engine
Before starting any work on your fuel system, it is very important to park your car on a level, stable surface.
This ensures that the vehicle will not roll or move while you are working under or around it.
Always make sure the engine is completely off and the keys are removed from the ignition.
Working on a running engine can be extremely dangerous because the fuel is under pressure and can easily catch fire if exposed to heat or sparks.
2. Disconnect the negative battery cable to avoid sparks
The next step is to disconnect the negative terminal of your car’s battery.
This is an important safety measure because fuel is highly flammable and even a small spark can cause a fire.
Disconnecting the battery stops the flow of electricity to the car’s system and keeps both you and the vehicle safe while you change the fuel filter.
Always use a wrench to loosen the battery terminal and keep it away from the battery post to avoid accidental contact.
3. Reduce fuel system pressure
Modern vehicles keep fuel at high pressure to deliver it efficiently to the engine.
Before removing the fuel filter, it is important to reduce this pressure to avoid fuel spillage.
This can usually be done by locating the fuel pump fuse or relay, removing it and turning on the ignition until the engine stops.
Some cars also have a dedicated fuel pressure relief valve near the fuel rail, which can be used to safely reduce the pressure.
Performing this step carefully helps avoid fuel leaks and potential injuries.
4. Locate the fuel filter
Finally, you will need to find the fuel filter in your vehicle.
Depending on the car model, it may be located in different locations.
Some cars have an in-line fuel filter installed along the fuel line underneath the car, while others install it near the fuel tank or inside the fuel pump module.
Knowing the exact location from your car’s manual will make the replacement process easier and safer.
Correctly identifying the filter ensures that you replace it without damaging any surrounding components or fuel lines.
How to Remove the Old Fuel Filter
1. Place a container or cloth underneath the filter to collect any spilled fuel
Before removing the fuel filter, it is important to be prepared for any fuel that may leak during this process.
Fuel is highly flammable and even a small leak can create a fire hazard or damage surfaces.
Placing a sturdy container or absorbent cloth underneath the filter ensures that dripping fuel is safely collected.
This step also helps keep your workspace clean and prevents fuel from getting on clothing or car parts, which can lead to slippage or rust later on.
2. Loosen the fuel lines from the filter using a wrench or disconnect tool
The fuel lines are connected to the fuel filter via threaded fittings or quick-connect fittings, depending on the car model.
It is important to loosen these connections carefully to avoid damaging the fuel lines or causing a leak.
The fittings can be safely removed using the correct size wrench or a special line disconnect tool.
Applying gentle pressure and making sure the lines are fully supported can prevent bending or breaking, which can require costly repairs.
3. Remove the filter carefully, paying attention to the direction of fuel flow
Fuel filters are designed to flow fuel in one direction, from the tank to the engine.
When removing the old filter, pay attention to the flow arrow marked on the main body of the filter.
This is important for correctly installing the new filter later.
Removing the filter slowly and carefully can prevent fuel leaks and avoid sudden pressure loss, which can cause fuel to spray.
Handling the filter carefully also reduces the risk of damaging surrounding components, such as brackets or hoses.
4. Dispose of the old filter properly
Used fuel filters contain residual fuel and contaminants, so they must be disposed of safely.
Pouring fuel down drains or into the environment is illegal and dangerous.
Most automotive shops, recycling centers, or hazardous waste centers accept old fuel filters for safe disposal.
Proper disposal protects the environment and ensures compliance with local safety regulations, keeping both you and the community safe from potential fire hazards or pollution.
How to Install the New Fuel Filter
1. Look for arrows or markings on the new filter for the direction of fuel flow
Before installing a new fuel filter, it is important to identify the correct direction of fuel flow.
Most filters have an arrow or marking on the body indicating which way the fuel should flow.
Installing the filter in the wrong direction can block fuel flow, impair engine performance, or even damage the fuel system.
Taking a little time to check the direction ensures that the engine is receiving fuel correctly and working efficiently.
2. Installing the Filter in the Right Direction
After determining the direction of flow, carefully install the new fuel filter in its mounting location.
Make sure it is firmly seated in the bracket or holder and that the fuel lines reach without being bent or stretched.
Proper installation reduces the risk of vibration or movement that can cause connections to come loose over time.
Proper installation ensures a consistent fuel supply and prevents damage to the filter or fuel lines.
3. Reconnect the fuel lines and tighten thoroughly
After installing the filter, reattach the fuel lines to the filter fittings.
Use the appropriate wrench or line disconnecting tool to tighten the connections firmly, making sure there are no gaps where fuel could leak.
Loose fittings can cause fuel leaks, engine misfires, or even a fire hazard.
Carefully checking the tightness ensures the safety and long-term reliability of your fuel system.
4. Double-check for leaks or loose connections
After installation, it is important to inspect the filter and fuel lines for any signs of leaks or loose fittings.
Turning the ignition key slowly to the “on” position (without starting the engine) causes the fuel pump to pressurize the system, allowing you to detect leaks before you start the car.
Double-checking the connections not only prevents dangerous fuel leaks, but also ensures smooth engine operation and prevents fuel system damage.
Final Step to Make Sure
1. Reconnect the Negative Battery Cable
After completing the installation of the new fuel filter, the first step is to reconnect the negative battery cable.
This returns power to your vehicle and ensures that all systems, including the fuel pump and engine sensors, are operational.
Carefully reconnecting the battery and using a wrench to secure the terminals prevents accidental sparks and ensures that the car’s electronics continue to function properly after repairs.
2. Turn the ignition key to “On” to prime the fuel system
Before starting the engine, it’s important to prime the fuel system.
Turn the ignition key to the “On” position without starting the engine for a few seconds.
Doing this allows the fuel pump to pressurize the new filter and fuel lines, ensuring that fuel is flowing properly to the engine.
Repeating this step a few times helps remove air pockets from the fuel system, which could otherwise cause poor starts or misfires.
3. Start the engine and check for leaks
After the fuel system is ready, start the engine and carefully inspect the area around the fuel filter for leaks.
Fuel leaks can be dangerous, posing a risk of fire or engine damage.
Check connections, hoses and fittings to make sure they are tight and secure.
A leak-free installation ensures that the vehicle operates safely and efficiently.
4. Test drive to ensure proper performance
After making sure there are no leaks, take the car for a short test drive to make sure everything is working properly.
Pay attention to engine response, acceleration and any unusual sounds.
A correctly installed fuel filter will improve engine performance, ensure a smooth fuel supply and prevent engine stalling or stalling.
This final check confirms that your fuel system is working reliably and that the replacement was successful.
What are The Safety and Maintenance Tips
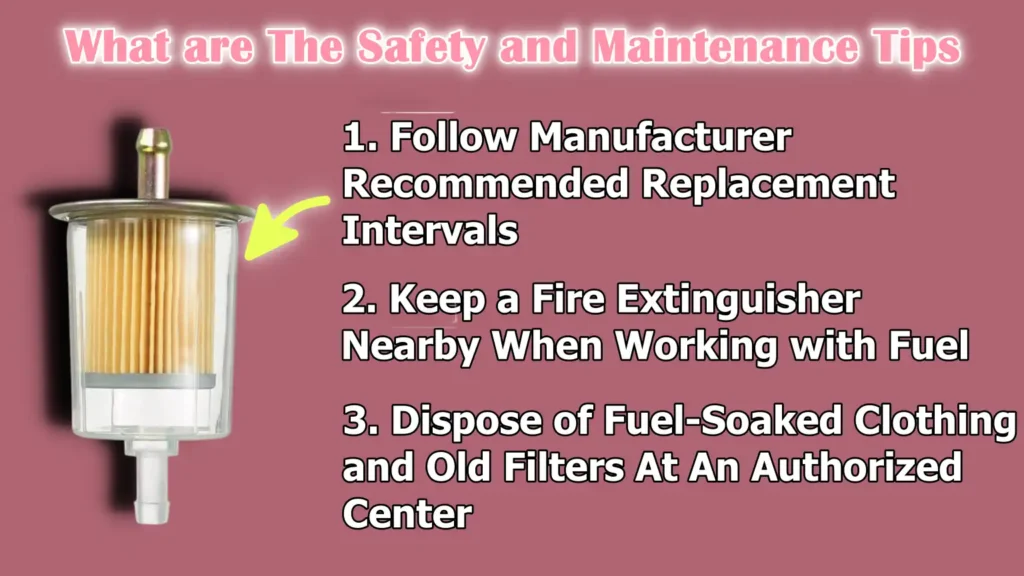
1. Follow Manufacturer-Recommended Replacement Intervals
To keep your vehicle running smoothly and avoid engine problems, it is important to change the fuel filter according to the manufacturer’s schedule.
For most in-line fuel filters, this interval is typically between 20,000 and 40,000 miles, although some modern vehicles may require longer intervals.
Changing the fuel filter on time ensures that dirt, rust and other contaminants do not reach the engine, helping to maintain fuel efficiency, avoid engine stalling and reduce the risk of costly repairs.
So, the SAE technical literature also shows that the fuel filter which is plugging from insoluble sediment and bio-contamination is actually real and this is actually growing problem for modern vehicles, as there are tiny particles and microbial growth can form gritty deposits that have the capability to block the filters and foul injectors and that could lead to the plugging to injector damage and field failures as well, which is why it is really important to check fuel-filter at the regular time interval so that you can prevent any expensive repairs later.[¹]
2. Keep a Fire Extinguisher Nearby When Working with Fuel
Working with fuel is inherently risky because gasoline is highly flammable.
Keeping a fire extinguisher within reach is an essential safety precaution.
It can quickly extinguish accidental sparks or small fuel fires, preventing injury and damage.
Always make sure the fire extinguisher is suitable for flammable liquids and that you know how to operate it before starting work on the fuel system.
3. Dispose of Fuel-Soaked Clothing and Old Filters At An Authorized Center
Old fuel filters and clothing soaked in gasoline contain hazardous substances that can be harmful to people, animals and the environment if not disposed of properly.
Never throw them in the trash or pour leftover fuel down the drain.
Take the old filter and any contaminated clothing to an authorized recycling or hazardous waste disposal center.
Proper disposal ensures environmental safety and compliance with local laws as well as reduces the risk of accidental fire or pollution.
Read More:
Conclusion – How to Replace a Fuel Filter
Actually fuel filter ensures that you’ll have clean fuel that keeps the engine and your pocket happy.
A clean fuel filter ensures that dirt, rust and other impurities do not reach the engine, which prevents engine jamming, improves fuel efficiency and extends the life of your car.
Taking the right steps such as safely preparing the work area, relieving fuel pressure, removing the old filter, installing the new filter and performing a final inspection reduces risks and ensures reliable vehicle operation.
Paying regular attention to your fuel filter not only improves performance but can also save you from costly repairs in the future.
By understanding the process and taking the necessary precautions, anyone can confidently maintain their fuel system and enjoy smoother, safer driving.
You can comment down below, if you still have questions related to this guide.
Frequently Asked Questions
Q1. What is a fuel filter and why is it important?
Answer: The fuel filter is a small but important part of your car’s fuel system. Its main job is to trap dirt, rust and other particles in the fuel before it reaches the engine. Without a clean fuel filter, these impurities can clog fuel injectors, reduce engine performance, stall the engine, or even damage the engine over time. Keeping the fuel filter clean ensures a smooth flow of fuel, which keeps your car running efficiently and reliably.
Q2. How often should I change my fuel filter?
Answer: The recommended interval for changing the fuel filter depends on your car model and the type of filter. Most in-line fuel filters should be replaced every 20,000 to 40,000 miles. Some modern vehicles with filters inside the fuel pump module may last longer. It’s best to check your car’s owner’s manual or maintenance guide for the exact time. Changing the fuel filter on time prevents engine problems, keeps fuel efficiency high and protects other parts of the fuel system.
Q3. Can I change the fuel filter myself?
Answer: Yes, fuel filters can be changed at home if you follow the right safety measures and have the right tools. You will need basic tools like a wrench, screwdriver, gloves and safety glasses. You will also need to relieve fuel system pressure before removing the old filter. By carefully following the instructions, observing safety precautions and paying attention to the direction of fuel flow, most car owners can change their fuel filter without any professional help. However, if you are not confident or the filter is difficult to reach, a professional mechanic is recommended.
Q4. What are the signs that my fuel filter is clogged?
Answer: A clogged fuel filter can cause a number of serious problems. You may experience poor acceleration, engine misfires, poor idling, stalling, or trouble starting the car. There may also be abnormal noises coming from the engine and reduced fuel efficiency. If your car exhibits these symptoms, it’s a good idea to check or replace the fuel filter, as ignoring it can lead to even more serious engine damage.
Q5. Is working with fuel filters dangerous?
Answer: Working with fuel filters involves handling gasoline, which is highly flammable. If safety precautions are not followed, it can be dangerous. It’s important to wear gloves and safety glasses, keep a fire extinguisher nearby, work in a well-ventilated area and avoid sparks or open flames. By taking these precautions, the fuel filter can be replaced safely without any risk.
Q6. How do I know the right fuel filter for my car?
Answer: The right fuel filter for your car depends on its brand, model, year and type of fuel system. You can find this information in your car’s owner’s manual or at an auto parts store. Some fuel filters are in-line and easy to replace, while others are inside the fuel pump module and may require more work. Always check the flow direction marked on the filter before installing it. Using the correct filter ensures proper fuel flow and protects your engine.
Q7. What should I do with old fuel filters?
Answer: Old fuel filters contain fuel residue and trapped contaminants, making them hazardous. They should never be thrown in the trash or poured down drains. The best way to dispose of old fuel filters is to take them to an authorised recycling center or hazardous waste disposal center. Proper disposal prevents environmental damage and keeps your workplace and community safe.
References:
[1] SAE, Sodium Contamination of Diesel Fuel, its Interaction with Fuel Additives and the Resultant Effects on Filter Plugging and Injector Fouling
https://innospec.com/wp-content/uploads/2020/09/SAE_13_01_2687.pdf

Guys, I’m a car audio enthusiast and customization expert and I love clear sound and clean installation. Plus, I have spent years helping people build their dream audio setups. And whenever I’m working on cars, I probably listen to music and thinks about the next big upgrade.
