Written By: Don Dodi
Fact Checked By: Kristen Brown
Reviewed By: Diego Rosenberg
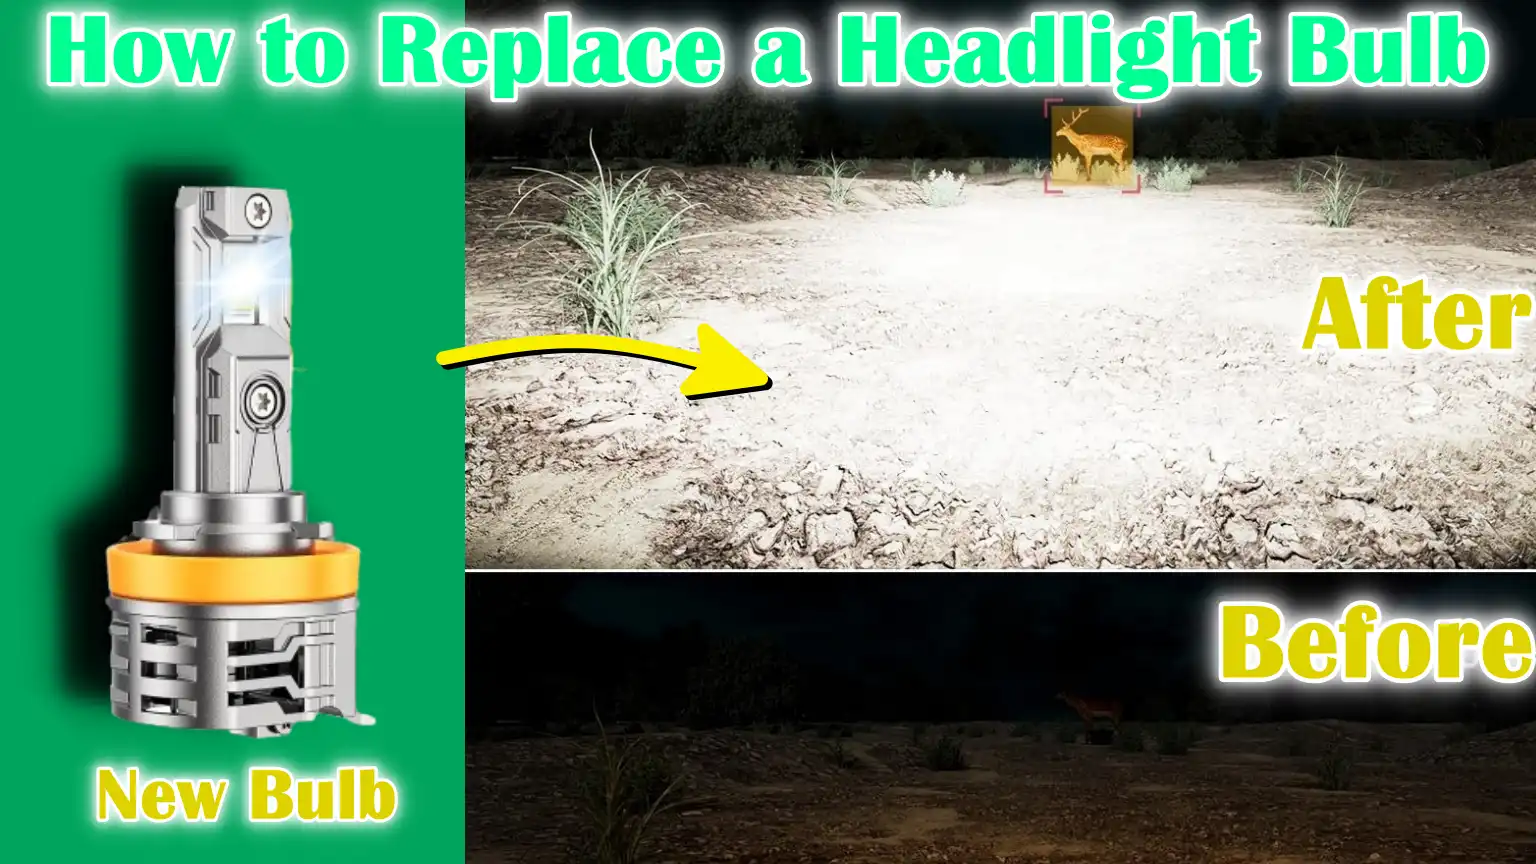
It is the interesting thing that more than 40% of the drivers actually don’t realise their headlight is out until someone else tells them.
But you have to keep the headlight bulbs properly working condition, as these are the one of the most important parts of your car’s safety system, as they literally helps you to see clearly at night and in bad weather as well.
Not only this, they also make sure that other drivers can see you as well which is again a safety feature.
Plus, National Highway Traffic Safety Administration actually reports that around 50% of all the nighttime driving accidents actually happens due to the poor visibility and these are often caused by the burnt-out or dim headlights.
So, it becomes really important and necessity to replace a headlight bulb whenever it gets dim or damaged and by doing this only takes you around 10 to 20 minutes.
The modern cars actually use halogen, HID which is the High-Intensity Discharge bulbs or LED bulbs and each type actually have their specific replacement method as well.
And this is the guide which tells you all about How to Replace a Headlight Bulb and also it ensures you’re driving safely and legally as driving with a broken headlight can actually lead to the traffic ine or even a failed vehicle inspection in many areas of U.S..
Tools
| Item | What It’s For | Tips / Notes |
|---|---|---|
| Replacement Bulb | This is a new bulb that will replace the burnt out one. | Always check your owner’s manual for the correct bulb type such as H11 and 9005. |
| Gloves | Protect your hands and prevent oil from touching the bulb. | Use latex or nitrile gloves; skin oils can shorten the life of the bulb. |
| Screwdriver | To remove screws or covers if necessary. | Usually Phillips or flat-head; depending on your car model. |
| Owner’s Manual | To know the type of bulb and instructions for location of the bulb. | See the “Lighting” or “Maintenance” section. |
| Flashlight (Optional) | This helps you see better in tight or dark spaces under the hood. | Use a small LED flashlight for hands-free use. |
| Socket Wrench (Optional) | The headlight housing or protective panel may need to be removed. | Some vehicles require the removal of a bolt to access the bulb. |
| Safety Glasses (Optional) | Protect your eyes from dust, debris or loose parts. | This is specially useful if you’re working underneath a car or around delicate plastic parts. |
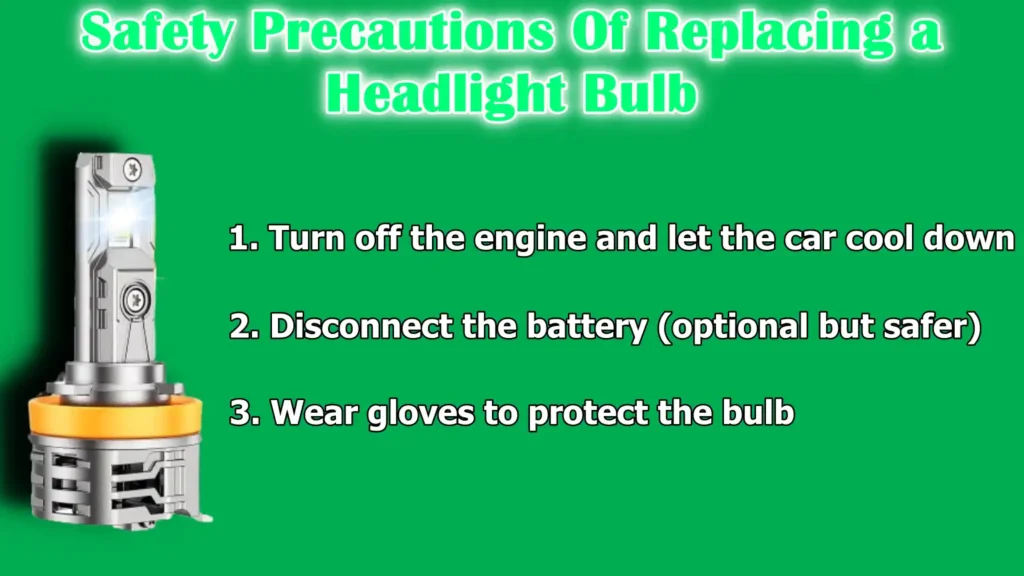
Safety Precautions Of Replacing a Headlight Bulb
Changing a headlight bulb may seem like a simple task, but taking the right safety precautions is extremely important.
This protects both you and your vehicle from accidental damage, electric shock, or burns. Here are some important safety steps—explained in simple terms and divided into useful headings for better understanding.
1. Turn off the engine and let the car cool down
Before starting work on any part of your car—specially under the hood—make sure the engine is off and has had time to cool down.
Hot engine parts, such as the radiator, engine block, or nearby wiring, can cause serious burns. It is best to wait at least 15-20 minutes after turning off the car before starting any work.
2. Disconnect the battery (optional but safer)
Although not always necessary, disconnecting the negative terminal of your car’s battery is a wise move, specially if you’re working near wires or connectors.
This prevents electrical short circuits, accidental shocks, or power fluctuations that could damage the new bulb or affect other systems in the car. Use a simple wrench or socket tool to loosen the negative (-) terminal and carefully set it aside.
3. Wear gloves to protect the bulb
When installing a new headlight bulb, always wear gloves—preferably latex or nitrile. Why? Because oil and dirt from your skin can stick to the glass part of the bulb.
When the bulb heats up during use, this oil can create a hot spot, which can cause the bulb to burn out quickly or even break. Wearing gloves keeps the bulb clean and ensures that it lasts longer.
Important: Headlight bulbs are fragile and can break easily if dropped or touched forcefully. Always hold them by the plastic base, not the glass. Also, have a clean surface nearby to place your tools and old bulbs while you work. If your car has automatic lights, make sure they are turned off before you begin working.
Identifying the Bulb Type and Access Point
Before you change your headlight bulb, it’s important to know what kind of bulb your car uses and how to use it. Not all vehicles are the same—some are designed for quick use, while others require a little more effort. This section explains it all clearly so you can avoid mistakes and save time.
1. Check Your Vehicle Manual or Look Online
The first and most important step is to find out what type of headlight bulb is used in your car. Car headlight bulbs come in different sizes and types—such as H11, 9005, 9006, or H7, etc. These codes indicate the size of the bulb, the voltage and the type of connector. Using the wrong type of bulb can result in reduced light, damaged socket, or complete failure.
- You can find this information in the owner’s manual, usually in the “Lighting” or “Maintenance” section.
- If you don’t have the manual, you can search online by entering your vehicle’s make, model and year into a bulb finder tool (e.g., on websites such as Sylvania or Philips Automotive).
- You can also remove the old bulb and look for the code printed on its base.
2. Locate the Access Point to the Headlight Bulb
Once you’ve located the correct bulb, the next step is to figure out how to access it. This largely depends on the design of your car.
Some vehicles have easy access from the engine bay, while others may require you to access it from the wheel well or even under the front bumper.
Here are the three most common access points:
- From the engine bay: Open the hood and look behind the headlight housing. In many cars, this is the quickest way.
- From the wheel well: Some cars, specially compact or newer model cars, may have plastic covers in the wheel well that need to be removed to access the headlight.
- From underneath the vehicle: In rare cases, specially in vehicles where the engine compartments are adjacent, it may be easiest to access from underneath. If necessary, use a jack and safety stands.
3. Pop the Hood and Locate the Headlight Assembly
Now, open the hood and find the headlight assembly—the large plastic housing that houses the headlight bulb.
It’s usually near the front corners of the engine bay and you’ll see a wiring connector on the back of the assembly.
Find a round plastic dust cover or bulb socket—this is where the bulb is located. If needed, use a flashlight to get a clear view. This is where you’ll remove the old bulb and install the new one.
How to Replace a Headlight Bulb – Best Method
Changing a headlight bulb is one of the easiest and most important maintenance tasks for your vehicle. Whether you’re dealing with a burned-out bulb or installing a brighter one, these simple steps will guide you through the process.
The process for changing a bulb is the same for most modern vehicles, although the process may vary slightly depending on your car’s make and model. Below is a complete description of each step using clear terms and helpful facts.
1. Access the Bulb Socket
Start by opening the hood and locating the back of the headlight assembly. On many cars, you’ll see a dust cover on the back of the headlight—this is usually a round rubber or plastic lid that protects the bulb from dirt and moisture. Gently remove the cover and set it aside.
Next, you’ll see a power connector, which supplies electricity to the bulb. Unplug it by pressing the small release tab and pulling back. Some connectors may be a little tight, so wiggle them gently if needed—don’t pull on the wires.
2. Remove the Old Bulb
After removing the connector, you can now remove the old bulb. Most headlight bulbs are held in place by a twist-lock mechanism—just turn the bulb anti-clockwise (left) and pull it straight out. On some cars, a metal retaining clip may be used instead of a twist lock.
If so, carefully unscrew it and remove the bulb.
Take special care in this step. Halogen bulbs, in particular, are brittle and can break easily. If the bulb breaks, wear gloves and use needle-nose pliers to remove the remaining pieces.
3. Install the New Bulb
Before touching the new bulb, wear gloves or use a clean paper towel. Oils from your skin can create hot spots on the glass, which can cause the bulb to burn out faster.
Hold the new bulb by its base and align it with the socket. Insert it into the hole and turn it clockwise (right) to lock it in place.
If your car has a retaining clip, put it back in place. Make sure the bulb is properly seated and not loose or crooked.
4. Put the Power Plug Back In
Now, put the power plug back into the back of the new bulb. Press the connector in until it clicks. This ensures that the bulb continues to receive power from the car’s electrical system. If your car has a dust cover, put it back in place by pressing or twisting it over the hole.
5. Test the New Bulb
Before closing the hood or driving off, it’s important to test the new headlight. Turn on your car’s lights and see if the new bulb is working.
Get in front of the car and check its brightness, color and beam alignment. If everything looks okay, you’re done! If the light doesn’t come on, recheck the connections or try the bulb in another headlight socket to see if there is any fault.
Read More:
Tips and Troubleshooting
Even after you replace a headlight bulb, things may not always go according to plan. That’s why it’s important to understand some common problems and their solutions.
This section presents practical tips and easy troubleshooting steps in simple terms so that even beginners can understand problems and solve them with confidence.
1. What to do if a new bulb doesn’t work
If you install a new bulb and it doesn’t light up when you turn on the headlight, don’t panic. First, check the electrical connector—it may not be fully seated. Remove the plug and insert it firmly until it clicks into place.
Also, make sure the bulb is seated correctly in the socket. If it’s not properly aligned or locked in place, it won’t work.
If the bulb still doesn’t light up, try replacing it with a different headlight (if it’s working). This will help you figure out whether the problem is with the bulb or the wiring. If the working bulb in that socket also goes out, you may have a problem with a fuse, headlight relay, or wiring harness.
2. When Both Headlights Go Out – Check the Fuse or Relay
If both headlights stop working at the same time, it’s very unlikely that both bulbs have gone out at the same time. Often the cause is a blown fuse or a bad headlight relay.
Open the fuse box (usually located under the hood or under the dashboard) and look for a fuse labeled “headlamp” or “low beam.” You can use the diagram on the fuse box cover or check your user manual for the exact location. If the metal wire inside the fuse is broken, it will need to be replaced.
For the relay, which acts like an automatic switch for your lights, you may need to consult a mechanic if you’re not experienced checking relays. Relays are inexpensive and easy to replace once identified.
3. Avoid mixing bulbs of different brightness or color
When replacing a headlight bulb, always use a bulb of the same type, brightness and color temperature as the one installed on the other side. Using mismatched bulbs can cause uneven lighting, reduced visibility and even glare to other drivers. For example, one bulb may appear bright white while the other may appear dim and yellow.
Also, mismatched headlights may fail vehicle safety inspections in some states or regions. Replacing both headlight bulbs at once is the best way to ensure uniform lighting and avoid having to repeat this process immediately afterwards.
When to Seek Professional Help
Although many headlight bulb replacement jobs can be done at home in less than 30 minutes, some vehicles are built in ways that make the job more complicated.
In such situations, it is often safer, faster and more economical to have a trained mechanic do the job. Below are some general signs that you should seek professional help.
1. If the bulb is hard to reach
In many newer vehicles—specially compact cars or luxury models—the headlight assembly may be tightly packed inside the engine bay. In some cases, parts such as the battery, air filter housing or coolant reservoir may block your access to the bulb.
If you have to disassemble large parts to reach the socket, it is a good idea to seek professional help. Mechanics have the right tools and training to prevent accidental damage to surrounding parts.
2. If the bumper needs to be removed to replace the bulb
Some cars are designed with headlight assemblies that are completely enclosed behind the front bumper. In these cases, you may need to partially or completely remove the bumper to access the headlight bulb.
This process can take more than an hour and may require disassembling sensors, clips and hidden screws. Without the proper knowledge, this can damage the panel, break clips or throw off alignment, which can be costly to fix. If your vehicle is designed this way, it’s safer to have the work done by a certified repair shop.
3. If electrical components look damaged or rusted
When working on the headlight system, it’s important to check the wiring, connectors and bulb sockets. If you see green or white corrosion, broken wires, melted plastic or signs of moisture inside the headlight housing, it means there may be electrical or water damage.
These problems can prevent the new bulb from working or cause it to fail repeatedly.
At this point, the problem is more than just replacing the bulb—it may involve replacing wiring, sealing a leak, or even replacing the entire headlight unit. A professional technician can properly diagnose and fix these problems without risking further electrical damage.
Read More:
Conclusion – How to Replace a Headlight Bulb
You should never ignore the burnt-out headlight as in the dark road it makes the difference between seeing clearly and driving blind.
Properly functioning headlights aren’t just about better visibility—they’re a legal requirement and a key component in preventing nighttime accidents.
Along with this, according to the Insurance Institute for Highway Safety (IIHS), nearly half of all road accidents occur in low light, where reliable headlights are vital. And the vehicles with “good” headlights have a 19% reduction in single-vehicle crashes and a 23% reduction in pedestrian crashes compared to vehicles with poor headlight systems. This actually shows that selecting and installing the right bulbs not only improves visibility, but can also reduce the risk of serious accidents.[¹]
Understanding your bulb type, using it safely, installing it correctly and knowing when to seek professional help helps you stay on top of your vehicle’s basic maintenance.
Taking a few extra minutes to check connections, wear gloves and match bulb types can extend the life of your bulbs and ensure even lighting. Replacing both headlight bulbs at the same time is always a smart choice to maintain balanced lighting and your visibility, specially in rain, fog, or low light.
If you ever run into a headlight problem that’s more serious than a simple bulb replacement—like a wiring problem, moisture inside the housing, or a loose bumper part—don’t hesitate to visit a certified mechanic. Sometimes professional help is not only faster, but also safer and more cost-effective in the long run.
Now, if you still have unsolved queries in mind then you are welcome in the comment box below.
Frequently Asked Questions
Q1. How much does it cost to replace a headlight bulb?
The cost of replacing a headlight bulb depends on the type of bulb your car uses and whether you do it yourself or go to a mechanic. On average, if you buy a standard halogen bulb yourself, it costs between ₹300 to ₹800 (or $5 to $15). LED or HID bulbs, which are more modern and last longer, can cost ₹2,000 to ₹5,000 (or $25 to $60) or even more for premium brands. If you get it replaced by a professional, the labor cost can range from ₹500 to ₹2,000 (or $10 to $30), depending on the vehicle and the service location. Some cars require the removal of parts such as bumpers, which increases the labor cost. Overall, changing the bulbs yourself can save you a lot of money, specially if your car has easily accessible headlights.
Q2. Can you replace just one headlight bulb?
Yes, you can replace just one headlight bulb if only one headlight bulb is burnt out. However, many experts and mechanics recommend replacing both headlight bulbs at the same time. This is because headlight bulbs lose their brightness over time and if one goes bad, the other may go bad soon as well. In addition, replacing both bulbs ensures that your headlights give out even and balanced light, improving visibility and keeping you safe, specially when driving at night or in bad weather. Mismatching the brightness of the left and right headlights can also distract you and other drivers. So, although it is possible to replace just one, replacing both is usually the more sensible and safer option.
Q3. Can I replace headlight bulbs myself?
Yes, you can absolutely change a headlight bulb yourself and for most people it’s one of the easiest car care jobs. In fact, many headlight bulbs can be changed in 15 to 30 minutes with only basic tools, or sometimes no tools at all. Usually all you have to do is open the hood, remove the power connector, remove the old bulb and install the new one. Just be sure to read your car’s manual so you know the correct bulb type and how to access the headlight area. Some cars are easier to install than others, but with a little patience, even beginners can do it without much trouble. Also, remember to wear gloves or use a clean cloth when handling the new bulb, as touching the glass part with your fingers can shorten its life. If the bulb is hard to reach or a part of your car, such as a bumper, needs to be removed, it’s best to consult a professional.
References:
[1] Insurance Institute for Highway Safety. “Headlights.” Overview of headlight performance and crash reduction data.
https://www.iihs.org/research-areas/headlights

Guys, I’m a car audio enthusiast and customization expert and I love clear sound and clean installation. Plus, I have spent years helping people build their dream audio setups. And whenever I’m working on cars, I probably listen to music and thinks about the next big upgrade.