 Skip to content
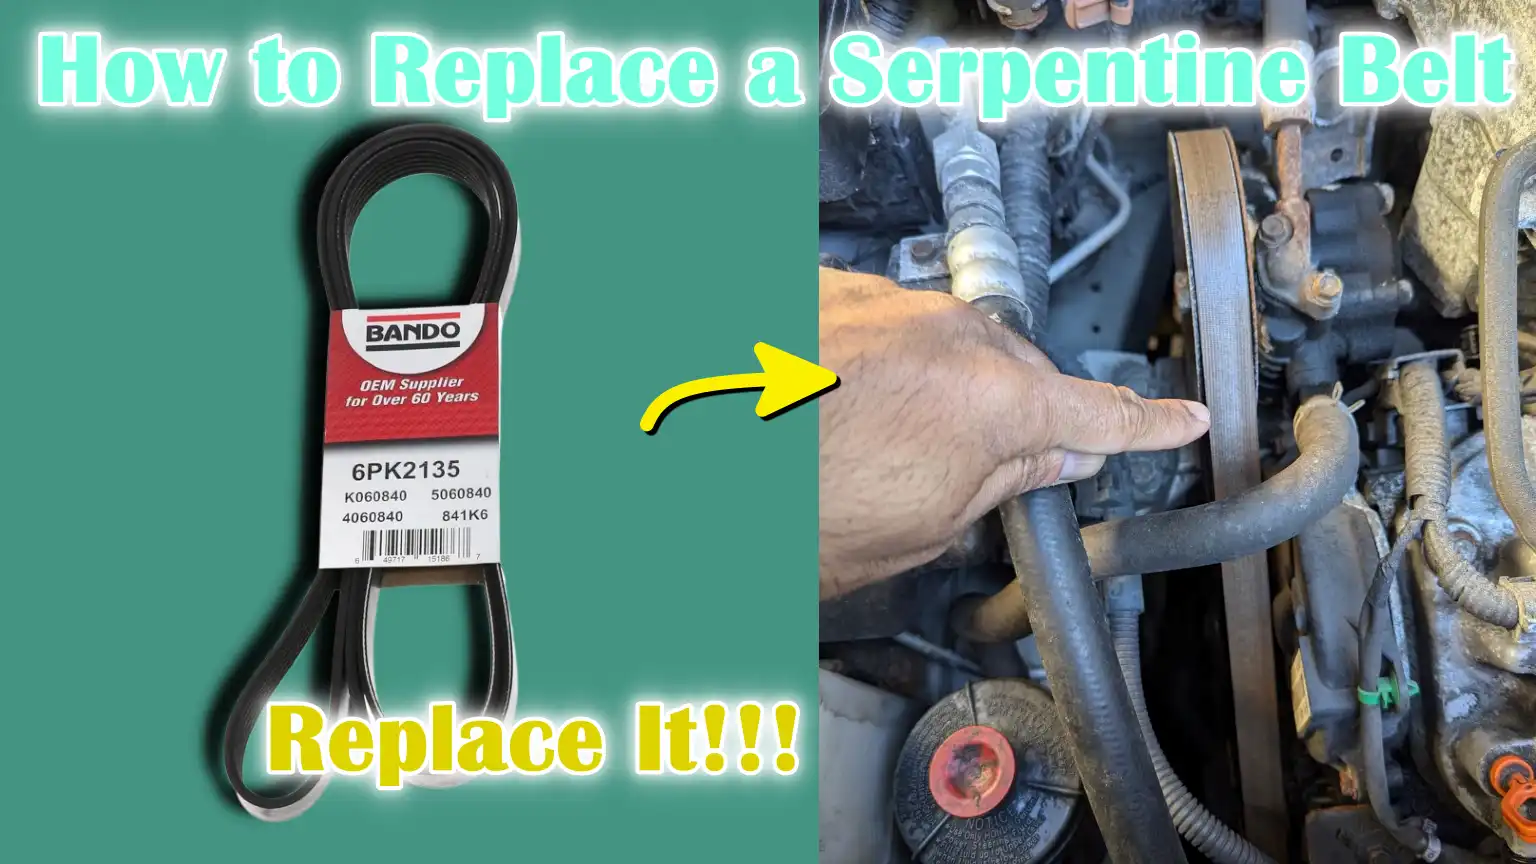
Written By: Don Dodi
Fact Checked By: Kristen Brown
Reviewed By: Diego Rosenberg
The serpentine belt is responsible for keeping your battery, steering and cooling all working at once and that’s why you can’t leave them worn-out.
Not only this, it is actually one of the most important yet often overlooked parts of your car and the serpentine belt is actually long, winding rubber belt that literally connects and powers the key components such as The Alternator, Power Steering Pump, Water Pump and Air Conditioning Compressor as well.
So, simply you can say that your car would lose electricity, steering support, cooling and climate control all at once because of the malfunction of it.
Additionally, it is very much possible that over the period of time, there is heat, friction and constant use actually cause the belt to wear, crack or stretch.
As well as, according to the Car Care Council: The most of the serpentine belts should be inspected every 60,000 miles and you have to replace them about every 90,000 to 100,000 miles and yes it also depends on the driving conditions as well.
If you still ignore a worn belt then it can leave you stranded with a dead battery, an overheated engine or unsafe steering as well.
And that’s why this guide shows you How to Replace a Serpentine Belt, so that you can clearly understand this simple maintenance task.
Tools
| Tool / Material | Purpose | Tips / Notes |
|---|---|---|
| New serpentine belt | Replaces worn or broken belts that drive engine components such as the alternator, water pump and power steering. | Make sure it matches your vehicle’s model and size. Check your car manual or parts store for the correct fitment. |
| Wrench or serpentine belt tool | Releases the tension from the belt tensioner so you can remove and install the belt. | A long-handled wrench or a special serpentine belt tool makes this easier. Some vehicles require a socket. |
| Gloves | Protect your hands from dirt, grease and sharp edges when working under the hood. | Choose comfortable gloves to maintain good grip and control. |
| Safety glasses | Protect your eyes from dust, debris and accidental slips when working near pulleys. | Always wear these when exerting stress to avoid injuries. |
| Socket set or ratchet (if required) | Needed to loosen or tighten bolts on tensioners or other components. | Check the type of tensioner your vehicle has; some require a specific socket size. |
| Belt routing diagram | Shows the correct path for the new belt around all engine pulleys. | Look under the hood or in the owner’s manual. Take a picture or sketch the old belt before removing it to avoid mistakes. |
How To Be Prepare To Replace a Serpentine Belt
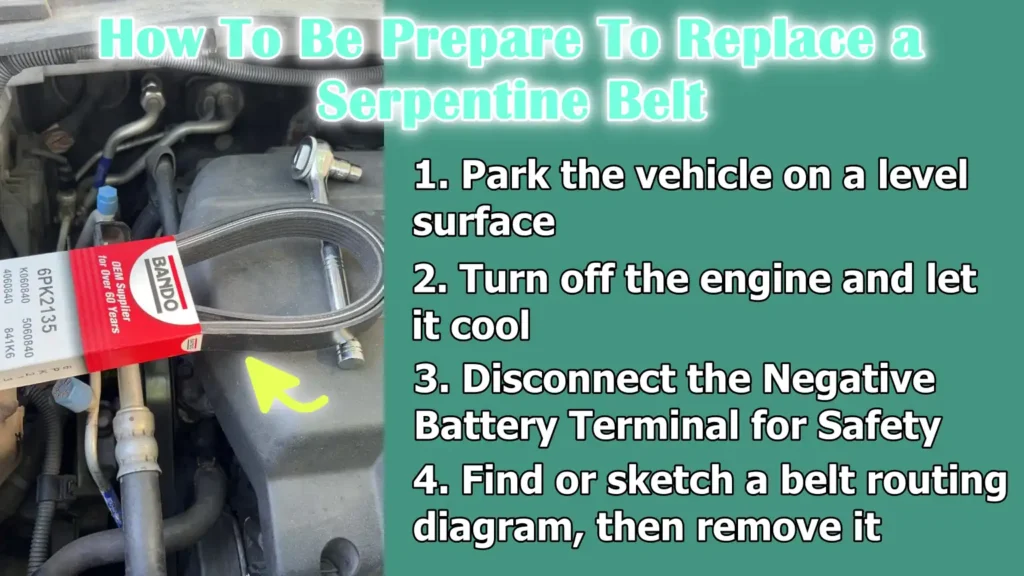
1. Park the vehicle on a level surface
Before you begin any work on your car, it’s important to park it on a flat, level surface.
This keeps the vehicle stable and reduces the risk of it tipping over or moving suddenly while you’re working under the hood.
Avoid parking on a slope or uneven ground, as this can be dangerous if the belt tensioner or other engine parts are under pressure.
Applying the parking brake adds an extra layer of safety.
2. Turn off the engine and let it cool
Always turn off the engine and let it cool completely before touching any parts.
Engine parts, specially the serpentine belt, pulleys and surrounding metal surfaces, can get very hot when running.
Working on a hot engine increases the risk of burns and injury.
Waiting at least 15 to 30 minutes after turning off the car usually ensures that the engine has cooled enough to work safely.
3. Disconnect the Negative Battery Terminal for Safety
Disconnecting the negative terminal of your car’s battery is an essential safety step.
It prevents accidental short circuits or sparks that can occur when working around electrical equipment.
It also ensures that the car doesn’t start suddenly while you’re handling the belt or tensioner.
Using a wrench, loosen the negative terminal and move the cable away from the battery post.
4. Find or sketch a belt routing diagram, then remove it
Before removing the old serpentine belt, locate the belt routing diagram, usually found under the hood or in the user manual.
If a diagram isn’t available, take a clear photo or sketch of the belt’s route around the pulleys.
The serpentine belt follows a specific route and installing it incorrectly can damage engine parts or cause the car to not run properly.
Having an accurate reference ensures that the new belt is installed correctly the first time.
How to Remove the Old Belt
1. Locate the Tensioner Pulley
The first step in removing a serpentine belt is to locate the tensioner pulley.
This pulley is spring-loaded and keeps the belt taut as it moves between engine parts.
Its location varies by vehicle model, but it is usually marked on the belt routing diagram.
Correctly identifying the tensioner is important because this is the point where you can safely loosen the belt tension without damaging other engine parts.
2. Use a Wrench or Belt Tool to Loosen the Tension
Once the tensioner pulley is located, you will need to loosen the belt tension.
This is done using a long-handled wrench or a special serpentine belt tool.
Applying the correct leverage will move the tensioner pulley, loosening the belt enough to allow it to be easily removed.
It is important to apply steady and controlled pressure because the tensioner is spring-loaded and can bounce back if released suddenly.
3. Carefully slide the belt off the pulley
After the tension is released, gently slide the old belt off the pulley, rotating in the opposite direction of the belt.
Be careful not to force it onto the pulley, as this can damage the belt, pulley, or surrounding parts.
Careful belt removal ensures that the pulley and tensioner remain aligned and intact, which is important for the new belt to work properly.
4. Check for wear or damage to the pulley and tensioner
After removing the belt, inspect the pulley and tensioner closely.
Look for signs of wear, cracks, rust, or vibration on the pulley and check that the tensioner spring is working properly.
Damaged or worn parts can shorten the life of the new belt or cause it to slip, creak, or break prematurely.
Replacing any worn parts at this time ensures smooth operation and prevents engine problems in the future.
How to Install the New Belt
1. Compare the old and new belts to confirm the correct size
Before installing the new serpentine belt, it is important to compare it to the old belt to make sure it is the correct size.
The length, width and groove structure of the belt may vary depending on the vehicle model and engine type.
Using the wrong belt can cause slippage, excessive wear or damage to engine parts.
Checking the size beforehand ensures that the new belt will fit well and work efficiently.
2. Place the new belt around the pulleys as shown
Carefully follow the belt routing diagram to place the new belt in the correct order around each pulley.
The belt drives many components, including the alternator, water pump, power steering pump and air conditioning compressor and incorrect routing can prevent these systems from working properly.
Referring to the diagram or a photo of the original routing ensures accurate installation and avoids mistakes that could damage the engine.
3. Install the tensioner pulley last
When installing the belt, install the tensioner pulley last.
This is because the tensioner is spring-loaded and it is easier to install the belt on all the other pulleys first.
Installing the tensioner last allows you to apply controlled pressure and slide the belt smoothly without straining or damaging it.
4. Apply pressure to the tensioner and slide the belt into place
Use a wrench or serpentine belt tool to apply pressure to the tensioner pulley, turning it enough to seat the new belt.
Once the belt is seated correctly, slowly release the tensioner, allowing the belt to tighten on its own.
After installation, double-check that the belt is seated correctly in all pulley grooves, is properly aligned and has no twist.
A properly installed belt ensures smooth operation of engine parts and prevents slipping, creaking, or premature wear.
Let’s Do Final Checks
1. Make sure the belt is seated properly in all pulley slots
After installing the new serpentine belt, it is important to carefully check that the belt is seated properly in each pulley slot.
A belt that is not fully seated can slip, make noise or jump while driving, which can cause the engine to overheat or the power steering to stop working.
Make sure each slot is holding the belt snugly and that there are no bends or overlaps along the entire path.
2. Double-check routing according to diagram
Before proceeding, compare the belt’s routing to the original diagram or photo taken before removal.
Even a small mistake in the belt’s routing can prevent engine parts from working properly or cause the belt to wear out faster.
Checking the routing ensures that the alternator, water pump, power steering and air conditioning compressor are all receiving the proper amount of power.
3. Reconnect the Battery Terminal
After the belt has been installed and checked correctly, reconnect the negative battery terminal.
This restores electrical power to the vehicle and ensures that the car can start safely.
Make sure the connection is tight to avoid sparks or electrical problems during engine operation.
4. Start the Engine and Observe the Belt’s Operation
Finally, start the engine and watch the belt carefully as it moves around the pulley.
Listen for any unusual sounds, such as creaking or grinding and note any movement or misalignment.
A properly installed belt should run smoothly and quietly, without slipping.
Inspecting the belt the first time is an important step to catch any installation errors early and ensure that the vehicle operates safely and efficiently.
Basic Maintenance Tips
Also, a technical study shows that the energy loss can happen if there’s a internal belt hysteresis, bearing friction or if there’s misalignment actually losses and that shows that worn components and poor tensioning increases the load on the belt and that’s why if there’s crack or misalignment happens then you can consider replacing it.[¹]
1. Signs of Belt Wear
It’s important to inspect your serpentine belt regularly for signs of wear and damage.
Common signs of belt wear include visible cracks on the surface, frayed edges, missing parts, glazing that makes the belt look shiny and unusual squeaking or chirping noises while the engine is running.
Ignoring these signs can cause the belt to wear out, resulting in power steering failure, battery charging problems, or engine overheating.
2. Routine Inspection During Oil Changes
The easiest way to maintain your serpentine belt is to inspect it during regular oil changes.
As oil changes typically occur every 3,000 to 7,500 miles, depending on your vehicle and oil type, this schedule provides a convenient opportunity to check the condition of the belt without any extra effort.
Pay attention to wear, tension, alignment and any debris stuck in the pulley grooves to spot potential problems early.
3. Replacing at Recommended Intervals
Even if the belt looks fine, it’s important to follow the manufacturer’s recommended replacement intervals, which are typically between 60,000 and 100,000 miles.
Over time, the belt’s material naturally wears down due to heat, friction and engine pressure.
Replacing the belt on time prevents unexpected failures, ensures smooth operation of all engine accessories and avoids costly repairs caused by sudden belt failure.
Read More:
Conclusion – How to Replace a Serpentine Belt
The serpentine belt just doesn’t keep the engine turning, but it actually ensures that every connected system, from steering to cooling and when you maintain it correctly gives your vehicle really good working without any kind of interruption.
Replacing a serpentine belt may seem a little tricky at first glance, but with the right tools, clear instructions and attention to safety, it’s a job most car owners can perform confidently.
Understanding the belt’s purpose and following the proper installation steps ensures that essential engine components such as the alternator, power steering and water pump continue to function smoothly.
Regular inspection and timely replacement not only prevents unexpected malfunctions, but also extends the life of other engine parts.
By taking the time to maintain the serpentine belt, you save money on costly repairs, reduce the risk of roadside emergencies and gain valuable information about your vehicle.
This simple maintenance task highlights the importance of proactive car care and demonstrates how small efforts can make a significant difference in reliability and safety.
Now, you can ask the questions in the comment box.
Frequently Asked Questions
Q1. What is a serpentine belt and why is it important?
Answer: The serpentine belt is a long, continuous rubber belt that runs through several pulleys in your car’s engine. It powers vital components such as the alternator that charges the battery, the water pump that cools the engine, the power steering pump and the air conditioning compressor. If the serpentine belt isn’t working properly, these systems will stop working, which can lead to overheating of the engine, difficult steering and a quick battery drain. This belt is vital to the smooth operation and safety of your vehicle.
Q2. How do I know if my serpentine belt needs to be replaced?
Answer: There can be several signs that a serpentine belt is wearing out. You may notice cracks, worn edges or missing parts on the belt. It may also look shiny or glazed, which is a sign of excessive wear. Another common sign is unusual noises coming from the engine, such as squealing or chirping. If you’re having steering, battery or overheating problems, a worn belt may be the culprit. Inspecting your belt regularly can help you spot these problems before they cause serious damage.
Q3. How often should a serpentine belt be replaced?
Answer: Most car manufacturers recommend inspecting the serpentine belt every 60,000 miles and replacing it between 60,000 and 100,000 miles, depending on your vehicle and driving conditions. Factors such as extreme heat, frequent short trips and high engine loads can cause the belt to wear faster. Adhering to these intervals can prevent sudden belt failure and avoid costly repairs. Even if the belt looks fine, replacing it on time is a good way to ensure the engine runs reliably.
Q4. Can I replace the serpentine belt myself?
Answer: Yes, replacing a serpentine belt is a job that many car owners can do themselves by carefully following basic tools and instructions. You will need a new belt, a wrench or serpentine belt tool, gloves and a socket set if needed. It is important to follow the belt routing diagram and properly loosen the tension using the tensioner pulley. Although this process is simple, working carefully and following safety precautions such as disconnecting the battery is important to prevent injury or engine damage.
Q5. What tools do I need to replace a serpentine belt?
Answer: To replace a serpentine belt, you will typically need a new belt for your car model, a wrench or serpentine belt tool to open the tensioner, gloves and safety glasses for protection and a socket set or ratchet to bolt the tensioner if needed. You will also need a belt routing diagram or a photo/sketch of the belt’s original path to ensure the new belt is installed correctly. Having the right tools and a clear plan ensures that the replacement process goes smoothly and safely.
Q6. What should I check after installing a new serpentine belt?
Answer: After installing the new belt, it is important to make sure it is seated properly in all the grooves on the pulley and that there are no bends or misalignments. Double-check the routing with the diagram or photos taken earlier. Reattach the negative battery terminal and start the engine. Pay attention to the speed of the belt, listen for unusual sounds such as creaking or rubbing and watch for any movement or slippage. A properly installed belt should run smoothly and quietly, delivering equal power to all engine parts.
Q7. Can a worn serpentine belt damage my car?
Answer: Yes, a worn or broken serpentine belt can cause serious damage. If the belt breaks while you are driving, parts such as the alternator, water pump or power steering pump may stop working immediately. This can cause the engine to overheat, damage the power steering, drain the battery and damage the engine if the water pump stops circulating coolant. Replacing a worn belt before it wears out is much safer and cheaper than dealing with the consequences of a broken belt later on.
Q8. How can I make my serpentine belt last longer?
Answer: To increase the life of your serpentine belt, inspect it regularly for cracks, nicks, or other wear. Keep the belt and pulley clean of oil, dirt and debris, as these can cause slippage or accelerated wear. Make sure the tensioner and pulley are in good condition, as worn or misaligned parts can shorten the belt’s life. Following manufacturer-provided replacement intervals and performing inspections during routine maintenance, such as oil changes, also help prevent premature wear.
References:
[1] Failure Analysis of Serpentine V-ribbed Belt Drive System
https://www.researchgate.net/publication/289719401_Failure_Analysis_of_Serpentine_V-ribbed_Belt_Drive_System

Guys, I’m a car audio enthusiast and customization expert and I love clear sound and clean installation. Plus, I have spent years helping people build their dream audio setups. And whenever I’m working on cars, I probably listen to music and thinks about the next big upgrade.
