Written By: Don Dodi
Fact Checked By: Kristen Brown
Reviewed By: Diego Rosenberg
It is the fact that car floor mats catches almost 4 Pounds of dirt and debris every month and it is on average, which is why if you have worn-out mats then they won’t keep that kind of stock in them and naturally they will spill off all the bad things underneath pedals as well.
Which is why, you should not see car floor mats as a just a small accessory as it plays a very big role to keep your vehicle’s interior clean, comfortable and safe as well.
And according to the automotive care experts: the floor mats ideally collects nearly 80% of the dirt, mud, debris and water that enters a car and that is the actual accessory that prevent it from damaging the carpet underneath.
As well as, it is also true that over the time, mats wear out, lose their grip or even they start to curl at the edges: which is really dangerous, as on the driver’s side loose mats can slide under the pedals and affect the braking capability as well.
Now, you may have understand that replacing the car floor mats is just just about style or cleanliness either, as it is more about having safe driving throughout the journey.
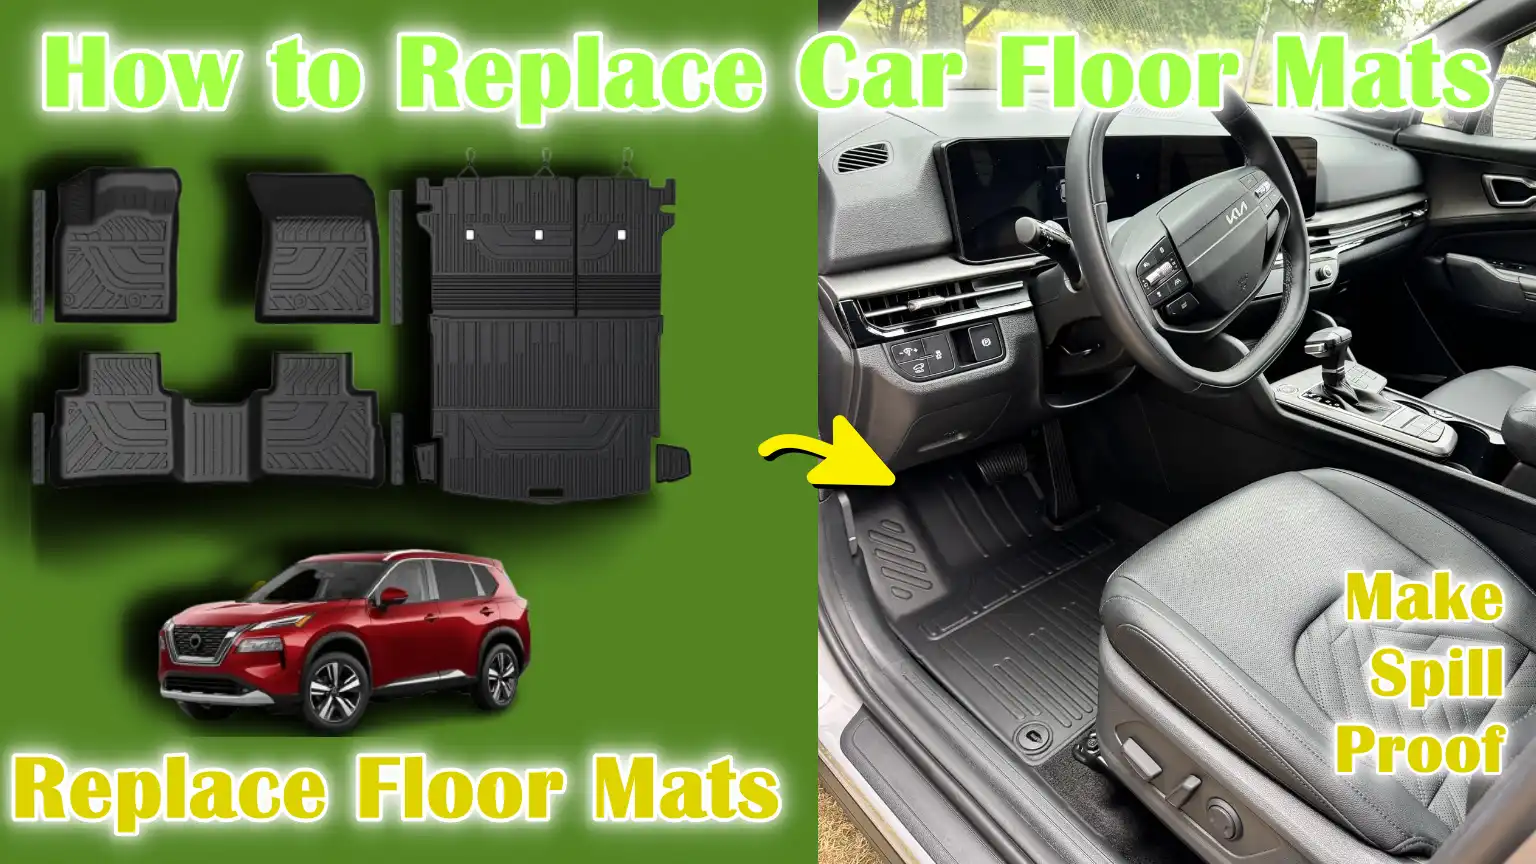
So, this is the guide that shows you the correct way on How to Replace Car Floor Mats, so that you can instantly refresh the look of your car and protect the flooring.
Tools
| Tools/Materials | Purpose/Use | Selection/Usage Suggestions |
|---|---|---|
| New Floor Mats (OEM or Universal Fit) | Protects the car floor from dirt, mud, water and abrasion. OEM mats fit perfectly; universal mats may require trimming. | Choose mats made from durable materials (rubber, carpet, or hybrid). Check if they have anti-slip backing and anchor clips. |
| Vacuum Cleaner or Brush | Cleans dirt, dust and debris from the car floor before installing new mats. | Use a vacuum with a narrow nozzle for tight spaces. A soft-bristled brush can remove stubborn dirt. |
| Cleaning Cloth | Wipes the floor to remove dust or stains before installing the mats. | Use a microfiber cloth for better absorption and to avoid scratching surfaces. |
| Mild Cleaner (optional) | Helps remove stains or spills from car floors. | Avoid harsh chemicals; a mixture of water and mild dish soap works well. Test on a small area first. |
| Utility Knife (optional) | Cut the universal mat to fit the car floor perfectly. | Cut slowly along the contours of the floor. Always wear gloves for safety. |
How to Be Fully Prepare for Replacement
1. Park the Car on Level Ground
Before beginning the process of replacing floor mats, always ensure your car is parked on a flat and level surface.
This simple step is crucial for safety as it prevents the car from rolling or moving while working inside.
Parking on a stable surface keeps the mats naturally flat, allowing you to see how they fit and align with the contours of the car’s floor.
Experts recommend applying the parking brake during this process for the car’s safety.
2. Remove Any Loose Items from the Floor
Next, remove any loose items from the car’s floor, such as bags, shoes, or small debris.
Removing these items not only makes room for the new mats, but also ensures that dirt or hidden particles don’t get trapped underneath, which can damage the carpet over time.
According to automotive cleaning studies, even small particles left under the mats can wear down the carpet fibers and shorten the lifespan of both the mats and the floor.
Removing everything in just a few minutes ensures a clean, safe and smooth installation.
3. Check the compatibility of the new mats
Before installing new mats, it’s important to check that they are compatible with your car’s make and model.
Original Equipment Manufacturer (OEM) mats are designed to fit perfectly, while universal mats may require trimming to match your car’s floor shape.
Ensuring a proper fit isn’t just a matter of appearance; a poorly fitting mat can slip or bunch up, posing a risk to the driver’s feet or pedals.
Professionals recommend that if using a universal mat, measure the floor area and ensure that any clips or anchors align with the car’s existing holders to ensure a secure and secure installation.
How to Remove Old Floor Mats
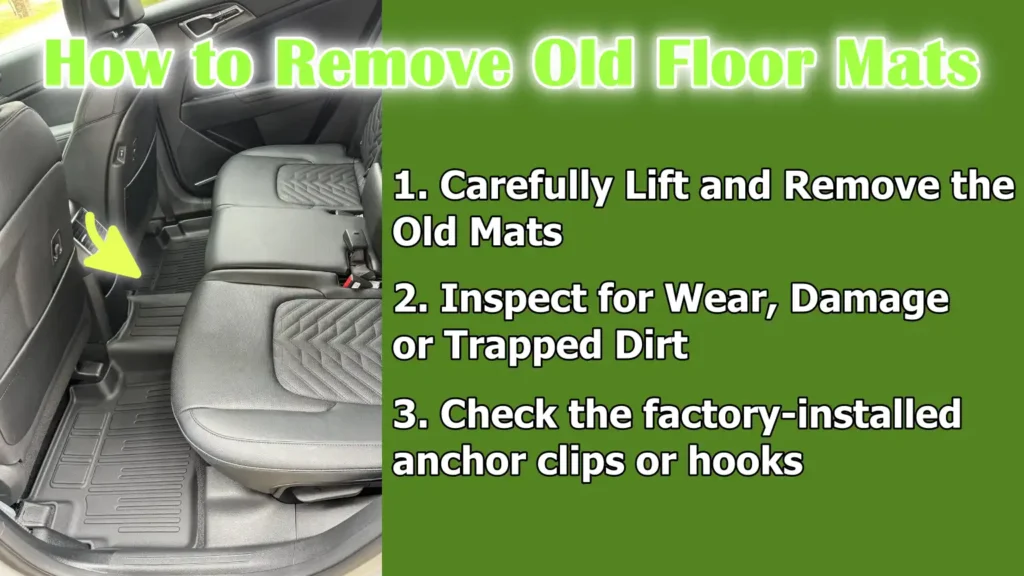
1. Carefully Lift and Remove the Old Mats
The first step in replacing car floor mats is to carefully lift and remove the old mats.
Pulling them out gently ensures you don’t damage the carpet underneath or remove any clips or fasteners.
Floor mats, specially rubber or heavy-duty ones, can accumulate dirt, moisture and debris over time, so handling them carefully can also prevent dirt from spreading inside the car.
Automotive experts say that removing the mats slowly prevents worn mats from tearing and leaving behind pieces that can be difficult to clean.
2. Inspect for Wear, Damage, or Trapped Dirt
After removing the mat, it’s important to inspect both the mat and the carpet underneath.
Check for signs of wear, such as thin sections, holes, or bent edges.
Also, look for accumulated dirt, stones, or moisture underneath, as these can cause unpleasant odors or damage the carpet over time.
Automotive maintenance studies show that regular inspection of the mats and flooring can significantly extend the life of both, preventing the need for costly carpet replacement.
Evaluating old mats also helps you decide whether you need more durable mats or mats with better grip.
3. Check the factory-installed anchor clips or hooks
Finally, check the floor for factory-installed anchor clips or hooks that secure the mats in place.
Many cars have these anchors installed to prevent the mats from sliding, specially under the driver’s feet.
It’s important to ensure these clips are intact and clean, as sudden movement of the mats can interfere with the pedals and pose a safety hazard.
Car maintenance experts recommend cleaning or lightly lubricating new mats before installing them if they are hard or dirty, as this ensures a firmer and more secure fit.
How to Clean the Car Floor
1. Vacuum thoroughly to remove dust, dirt and debris
After removing the old mats, the first step is to thoroughly vacuum the car floor.
Vacuuming removes dust, dirt, small stones and debris that can become trapped in carpet fibers over time.
According to automotive cleaning studies, accumulated dirt not only affects the car’s cleanliness but can also wear down carpet fibers, shortening the floor’s lifespan.
Using a vacuum with a narrow nozzle or crevice tool allows you to reach tight corners and under seats, ensuring all hidden dirt is removed before installing new mats.
2. If necessary, wipe with a damp cloth or mild cleaner
After vacuuming, it’s often helpful to wipe the floor with a damp cloth or mild cleaner to remove any remaining dust, stains, or sticky residue.
Mild cleaning solutions, such as a mixture of water and mild soap, are effective for caring for carpet without damaging it.
Experts recommend avoiding the use of harsh chemicals, as these can discolor or weaken the carpet fibers.
Taking the time to thoroughly clean the floor ensures that new mats are installed on a fresh and clean surface, making them last longer and preventing odors underneath.
3. Ensure the Floor is Completely Dry Before Installing New Mats
Before installing new mats, it’s important to ensure the car floor is completely dry.
Moisture left on the carpet can cause mold, mildew, or unpleasant odors, which can damage both the floor and the new mats over time.
Automotive care studies have shown that a dry floor helps mats adhere properly and lay flat, preventing slippage or lumps that can interfere with driving safety.
Waiting a few minutes for the floor to air dry or using a dry cloth to blot up any moisture ensures that new mats are installed in the best possible condition.
How to Install New Floor Mats
1. Place the Mats in the Right Place
The first step in installing new floor mats is placing each mat in its correct position.
The driver’s side mat should be in front of the pedals, the passenger’s side mat on the front seat and the rear mat behind the front seats.
Proper placement provides maximum protection and coverage for the car’s floor.
Automotive experts emphasize that mats should fit snugly in their designated positions to prevent uneven wear and maintain a clean and professional look for the interior.
Proper placement also ensures that the mats are fully protected from dirt, moisture and debris that accumulate during daily use.
2. Align with Anchor Clips or Hooks
Once installed, it’s important to align the mats with any factory anchor clips or hooks.
Many vehicles, specially those under the driver’s feet, have these anchors to keep the mats securely in place and prevent slipping.
If the mat suddenly moves, it can interfere with pedal operation, posing a safety hazard.
According to vehicle safety studies, properly fitted mats reduce the risk of foot slippage and maintain consistent contact with the pedals, leading to a safer driving position.
Firmly securing the clips allows the mats to lie flat and prevent warping at the edges.
3. Adjust and trim if using universal mats
Universal mats that aren’t pre-cut for a specific car model may require some adjustment.
Trimming the mat to the floor size ensures a proper fit and prevents overlapping or bunching.
Experts recommend taking careful measurements and trimming slowly to avoid mistakes.
A well-fitted universal mat will provide the same protection and stability as an OEM mat, while maintaining a clean appearance.
Adjusting the mats correctly allows them to cover high-traffic areas of the floor without obstructing doors or seats.
4. Check the fitting to ensure the mats don’t obstruct the pedals
After installing and adjusting the mats, always check the fitting to ensure they don’t obstruct the accelerator, brake, or clutch pedals.
Even the slightest obstruction can be dangerous and compromise driving safety.
Automotive safety guidelines recommend pressing each pedal when installing the mats to ensure there is adequate space and no slippage.
Ensuring proper fitting and pedal clearance is a simple but important step that protects both the driver and passengers, as well as maintaining the longevity and effectiveness of the new mats.
Read More:
Basic Safety and Final Checks
It is seen that if you doesn’t install the floor mats properly then it can interfere with vehicle pedals and that leads to the unintended acceleration or there can be braking issues as well and the National Highway Traffic Safety Administration also recommends that you should install specifically designed floor mats according to your vehicle’s design and model. As floor mats should be securely anchored by the help of appropriate retainer clips so that movement can be prevented otherwise it could obstruct pedal operation.[¹]
1. Recheck that the mats are level and securely fitted
After installing new floor mats, it’s important to carefully inspect them to ensure they are level and securely fixed to the floor.
Uneven or bunched mats can wear out quickly and allow dirt or moisture to reach the carpet underneath.
According to automotive maintenance research, properly fitted mats not only look better but also provide better protection, prevent movement and extend the life of both the mat and the vehicle’s floor.
Taking a few extra minutes to adjust and level the mat ensures it is clean, secure and has a functional fit.
2. Ensure the Driver’s Side Mat is Properly Clipped or Anchored
The driver’s side mat is most critical for safety, so it must be securely clipped or anchored.
Many vehicles have factory-installed hooks or clips to prevent the mat from sliding under the pedals.
If the mat is not properly anchored, it may move while driving, posing a serious safety hazard.
Vehicle safety studies emphasize that mats secured with clips reduce the risk of pedal interference and provide a stable driver position.
Always ensure the mat is firmly attached to the clips and does not move when pressure is applied.
3. Sit in the driver’s seat and test pedal movement
Before completing the installation, sit in the driver’s seat and carefully test the movement of the accelerator, brake and clutch pedals.
Ensure the mat does not interfere with pedal operation or cause them to become stuck.
Even the slightest misalignment can impact driving safety, specially during emergency braking.
Automotive safety experts recommend this step as a final verification to ensure the mats are in the correct position, stable and safe for everyday driving.
Checking pedal clearance provides peace of mind and helps maintain a safe driving environment by ensuring the correct position of the mats.
How to Maintain Them for Long-Lasting Life
1. Regularly Vacuum Mats to Prevent Dirt Accumulation
To keep floor mats effective and long-lasting, it’s important to vacuum them regularly.
Over time, dirt, sand and small debris can accumulate and wear down the mat’s fibers or rubber surface.
According to automotive care studies, regular cleaning not only maintains the mat’s beauty but also prevents particles from scratching or damaging the carpet underneath.
Vacuuming once every few weeks or more keeps the mats clean, hygienic and completely safe.
2. Wash Rubber Mats with Water and Mild Soap
For rubber or heavy-duty mats, washing with a solution of water and mild soap is recommended to remove stains, salt, mud and grime.
Rubber mats are more prone to accumulations of mud and liquids, which, if not cleaned, can cause unpleasant odors or make the mats slippery.
Experts recommend gently scrubbing with a soft brush and mild soap, followed by a thorough rinsing with clean water.
This method keeps the mats clean, maintains their grip on the car’s floor and extends their life.
3. Replace the mats if they show signs of wear or damage
Despite proper maintenance, mats eventually become worn or damaged.
Signs of wear include thinning, holes, bent edges, or broken clips.
Automotive safety experts emphasize that mats with these problems should be replaced immediately, specially those on the driver’s side, to avoid safety hazards such as slipping under the pedals.
Timely replacement not only ensures safety but also protects the car’s interior from dirt, water and everyday wear, maintaining both comfort and vehicle value over time.
Conclusion – How to Replace Car Floor Mats
You should keep this in mind that a clean car interior actually begins from the floor up and if you have well-fitted floor mats then it can provide the protection in all-weather condition.
Properly fitted mats prevent dirt, moisture and debris from reaching the car’s carpet, preventing damage and unpleasant odors.
Ensuring that the mats are securely fitted, flat and compatible with your car’s model and brand reduces the risk of pedal interference and increases driving safety.
Regular maintenance, including vacuuming, washing and timely replacement, extends the lifespan of both the mats and the car’s floor.
By carefully following these steps, you not only maintain the car’s appearance and value, but also create a safer, more comfortable and more enjoyable driving experience.
Now, you can ask the unsolved questions in the comment.
Frequently Asked Questions
Q1. How often should car floor mats be replaced?
Answer: Replacement frequency depends on the type, use and condition of the mat. Generally, mats should be replaced every two to three years, or sooner if you notice signs of wear, such as thinning, holes, bent edges, or broken clips. Mats that are very dirty or difficult to clean should also be replaced. Regular inspection is important, especially on the driver’s side, as worn mats can slip under the pedals and pose a safety hazard.
Q2. What is the difference between OEM and universal floor mats?
Answer: OEM (Original Equipment Manufacturer) mats are designed specifically for your car’s make and model. They fit perfectly and often come with anchor clips for secure placement. Universal mats are designed to fit a variety of vehicles and may require trimming to match the exact dimensions of the floor. While OEM mats provide a precise fit and better protection, universal mats are generally more affordable and versatile, but require careful adjustment to ensure they don’t obstruct pedal or seat movement.
Q3. Can replacing floor mats improve driving safety?
Answer: Yes, replacing old or worn mats can significantly improve safety. Bent, loose, or damaged mats can slip under the accelerator, brake, or clutch pedals, causing accidents. Properly fitted and secure mats provide a stable surface for the driver’s feet, reducing the risk of slipping. Many vehicle safety experts recommend checking the fit and clips of the mats every few months to maintain safe driving conditions.
Q4. How should I clean my new car’s floor mats to make them last longer?
Answer: Maintenance is essential for the longevity of new mats. Regular vacuuming can prevent dirt and debris from accumulating and damaging the surface. Rubber mats can be cleaned with mild soap and water to remove mud, spills and stains, then allowed to air dry completely before returning them to the car. Fabric mats can be gently cleaned with a soft brush and mild cleaner. Avoid harsh chemicals, as they can weaken or discolor the fibers. Proper care keeps the mats clean, safe and functional for a long time.
Q5. What should I do if universal mats don’t fit properly?
Answer: If universal mats are too large or don’t align with the car floor, it’s recommended to trim them carefully. Measure the floor area and carefully trim the edges to ensure they fit. Ensure the trimmed mat covers all high-traffic areas and doesn’t obstruct the movement of the pedals or seat. After trimming, ensure it fits snugly and secures the mat using the provided anchor clips or anti-slip backing to prevent movement during driving.
Q6. Are there special mats available for extreme weather conditions?
Answer: Yes, there are mats specifically designed for extreme weather conditions, such as rugged rubber mats for snow, rain, or mud. These mats have deep grooves and raised edges that trap water and debris, preventing them from reaching the carpet. Some mats also have an anti-slip backing and reinforced surface for added durability. Using weather-specific mats during winter or rainy seasons helps maintain cleanliness, prevent slipping and protect the car’s interior from moisture damage.
References:
[1] 2007 through certain 2010 Model Year [model] Potential Floor Mat Interference with Accelerator Pedal Safety Recall Campaign – 90
https://static.nhtsa.gov/nhtsa/downloads/TQ10-001/TQ10-001%20Post%20NHTSA%20Confidentiality%20Reviews/Toyota%20Submissions/TOY-TQ001-00006944-TOY-TQ00….pdf

Guys, I’m a car audio enthusiast and customization expert and I love clear sound and clean installation. Plus, I have spent years helping people build their dream audio setups. And whenever I’m working on cars, I probably listen to music and thinks about the next big upgrade.