Written By: Don Dodi
Fact Checked By: Kristen Brown
Reviewed By: Diego Rosenberg
You should focus on the car waxing time by time as it is the fact that the car’s paint can actually fade by up to 20% in just about a year time, that shows the importance of it.
And because of the high protective quality the WAXING a car is one of the most important steps that literally preserve its paint and keeps it’s look shiny and new.
Yes, there are hundreds of things that a car’s exterior has to face all kinds of harsh conditions such as: sunlight, rain, pollution, road salt and bird droppings as well.
And all of these things have the ability to damage the paint and that make it fade or peel as well.
Plus, the car wax actually creates a thin protective layer that really shields the paint from any kind of harmful UV rays and environmental contaminants as well and that’s how it reduces the oxidation and color fading as well.
Not only this, according to the International Carwash Association: when you wax at the regular time interval then it can drastically increase a vehicle’s paint longevity by up to 50%, as it also makes the surface much smoother, which literally means dirt and water slide off more easily that that makes it much easy to clean as well.
Basically paint scientists uses accelerated weathering tests to model that how sunlight, heat and moisture actually harm the paint over the period of time: and the factory clearcoats also it includes UV blockers, which is why a wax layer actually acts like a sacrificial shield to the slow down the degradation and that keeps the finish looking newer for longer period of time.[¹]
As well as, many modern waxes also has polymers or ceramic ingredients in them, which is why they can offer even longer-lasting protection and deeper shine as well.
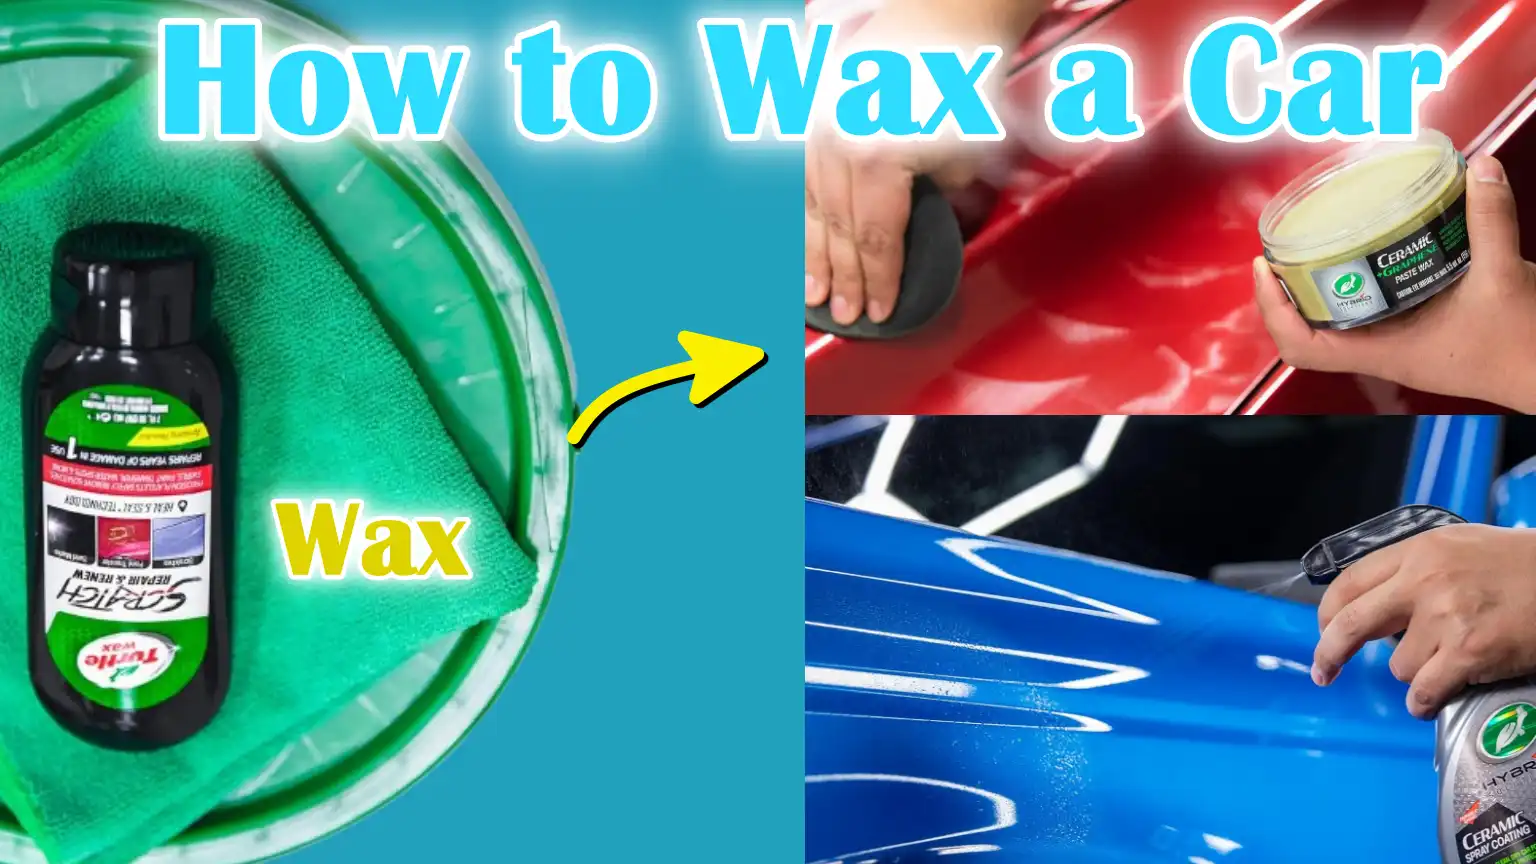
So, basically waxing a car is really simple, affordable and effective way to protect your lovely car and that’s basically you’ll know everything about: How to Wax a Car.
Tools
| Tool/Material | Simple Description | Why It’s Important |
|---|---|---|
| Car Wax (paste, liquid, or spray) | A special cream or liquid that protects and adds shine to your car’s paint. | The wax forms a shield over the paint, protecting it from sun, dirt and rain. |
| Microfiber Towels | A soft, non-scratch cloth is used to apply and remove the wax. | Gentle on paint and great at picking up leftover wax without leaving any marks. |
| Applicator Pads | Small foam or microfiber pads are used to spread the wax on the car. | Helps to apply wax evenly in small circular motions. |
| Car Wash Soap | This soap is made for car washing only. | Removes dirt without damaging paint or removing old wax. |
| Bucket and Water Supply | A large bucket filled with clean water for washing clothes. | Essential for washing and cleaning with soap before waxing. |
| Clay Bar (optional) | A clay-like block that lifts out any dirt hidden behind paint. | Makes surface extra clean and smooth before waxing. |
| Polisher or Buffer (optional) | A machine tool that rotates to rapidly apply or remove wax. | This saves time and gives a more even, professional-looking glow. |
How to Wax a Car – Step-By-Step
1. Wash the Car Thoroughly
The first and most important step before applying wax is to clean your car thoroughly.
Always use a special car shampoo, not dish soap or household cleaners, as these can strip off old wax and damage the paint.
Car wash soaps are specially formulated to remove dirt, grease and traffic film without damaging the surface.
It is important to wash every part of the car thoroughly to remove soap and loose debris.
After washing, use a clean microfiber drying towel to dry the car completely.
Applying wax on a wet surface can reduce the effect of the wax and make it difficult to apply evenly.
2. Optional: Use a Clay Bar
Using a clay bar is not always necessary, but it is a wise move for those who want the smoothest and cleanest surface possible.
Clay bars remove stuck-on particles that regular washing can’t reach, such as brake dust, road tar and tree sap.
Although the car looks clean, it may still feel rough when scrubbed.
This roughness means there are contaminants in the paint.
By using a clay bar with a lubricant spray, you can remove them, leaving the surface extremely smooth and allowing the wax to adhere better and last longer.
3. Choose the right wax
There are three main types of wax and choosing the right one depends on the age of your car, the condition of the paint and how much time you want to spend.
Paste wax is the most traditional type.
It lasts the longest and gives a deep, rich shine, but it can be difficult to apply.
Liquid wax spreads easily and often contains cleaning agents, making it ideal for older paint that needs a light polishing.
Spray wax is the fastest to use and works best as a maintenance layer between full wax jobs.
This is ideal for newer cars with clean paint.
Whichever you choose, always read the product label to make sure it’s compatible with your car’s finish.
4. Apply the wax correctly
Waxing should always be done in a shaded area and on a cool surface for best results.
Use a foam applicator pad or soft microfiber cloth to apply the wax.
Start by putting a little wax on the pad and spread it using small, circular motions.
It’s best to apply the wax to small areas at a time, such as a door or half of the hood.
This creates an even layer and makes it easier to remove later.
Don’t apply wax to plastic trims, rubber seals, or unpainted areas, as this can leave white stains that are difficult to remove.
Take your time to apply the wax evenly to the paint.
5. Let the wax dry
After you apply wax to an area, let it sit for the amount of time indicated on the product label, usually about five to ten minutes.
This waiting period allows the wax to adhere to the paint surface and form a protective layer.
You’ll know the wax is ready when the wax turns from shiny to a dull or dingy color.
Avoid doing this step in direct sunlight or on a hot surface, as the wax may dry too quickly or be difficult to remove cleanly.
6. Polish the Wax
When the wax has become cloudy, wipe it off with a clean, dry microfiber towel.
Wipe the wax off in light, circular motions until the surface looks shiny and clean.
This process is called polishing.
You may need to turn the towel over or use another clean towel for the final wipe to ensure no residue is left.
Polishing not only brings out the shiny finish but also removes any uneven spots, giving your car a smooth, polished look.
A good polishing is what really brings out the shine and makes the paint look fresh and beautiful.
How You Have to Care Your Car
1. Do not wash the car for at least 24 hours after waxing
After you have completed waxing your car, it is very important not to wash it for at least 24 hours.
During this time, the wax fully adheres to the paint surface and hardens.
If you wash the car too soon, there is a risk of the protective layer being removed before it has properly set.
If the car looks dusty or a little dirty, it is better to wipe it gently with a dry microfiber towel instead of using water or soap on the first day.
Allowing the wax to dry properly makes it last longer and improves its ability to protect the paint.
2. Use pH-balanced soap for maintenance washing
Always use a pH-balanced car wash soap to clean your car after waxing.
These soaps are specially formulated to clean without being too acidic or too alkaline, so they do not damage or remove the wax.
Household cleaners or dishwashing liquids can be too harsh and can quickly strip away your hard-earned wax layer.
Using the right type of soap helps maintain shine and make the protective layer last longer.
Most automotive care experts recommend using a mild, pH-neutral soap for regular washing after waxing.
3. Reapply wax every 1 to 3 months, depending on the type of car and driving conditions.
How often you need to reapply wax depends on the type of wax you used and how often the car is exposed to the weather.
Paste wax usually lasts the longest and can protect the car for three months or more.
Liquid wax can last about one to two months, while spray wax usually only provides protection for a few weeks.
You may need to wax more often if you drive daily, park outside, or live in an area with strong sunlight, heavy rain or snowfall.
On the other hand, if the car is mostly kept in the garage and driven only occasionally, waxing every two to three months may be sufficient.
An easy way to know is the effect water has on the surface – if the water no longer forms droplets or rolls off easily, it’s time to reapply the wax.
Read More:
Common Mistakes To Avoid
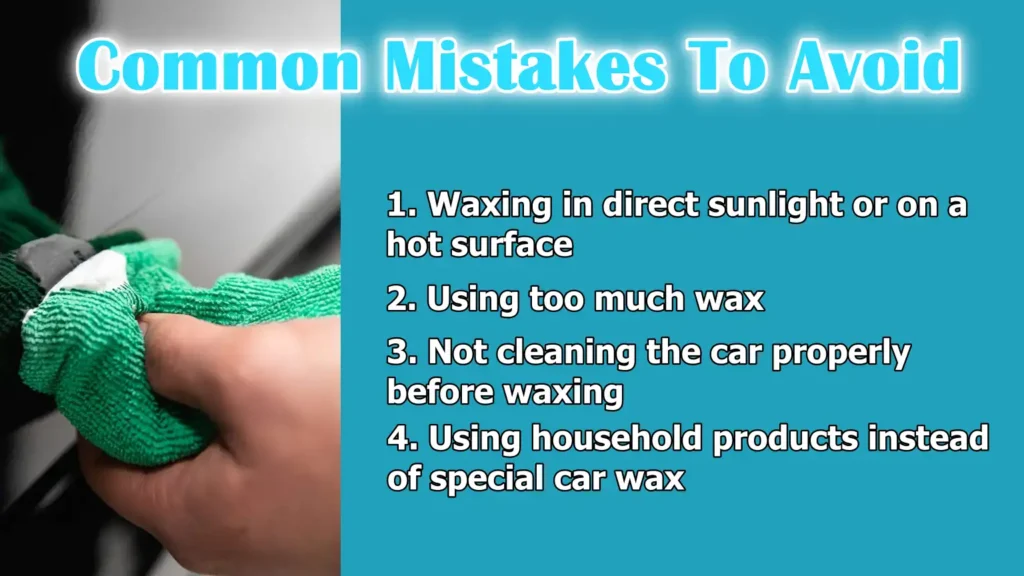
1. Waxing in direct sunlight or on a hot surface
One of the most common mistakes people make when waxing their car is waxing in direct sunlight or on a hot surface.
When the car’s paint is too hot, the wax can dry too quickly, making it difficult to spread and remove evenly.
This can lead to streaks, hazy spots, or an uneven shine.
Experts recommend waxing your car in a shady spot, such as under a tree, inside a garage, or at a cooler time of day, such as early in the morning or late in the afternoon.
Waxing on a cooler surface gives you more control and better results.
2. Using too much wax
Another mistake is applying too much wax at once, thinking it will provide better protection or a deeper shine.
In reality, a thin and even layer of wax is all that’s needed.
Applying too much wax does not improve protection, but instead makes the removal process more difficult and time-consuming.
This can also leave residue or streaks that are difficult to remove with polishing.
Most wax products are designed to work in small amounts, so always follow the instructions and use only the minimum amount per section for best results.
3. Not cleaning the car properly before waxing
Waxing a dirty or poorly cleaned car is a big mistake that can scratch the paint instead of protecting it.
Even small particles of dust or dirt left on the surface can get trapped under the wax and cause swirl marks or fine scratches when you wax or polish it.
Always start by washing the car thoroughly with a special car soap and drying it completely.
For even better results, many professionals recommend using a clay bar to remove hidden contaminants before applying the wax.
4. Using household products instead of special car wax
Some people try to save money or time by using household products like furniture polish, cooking oil or dish soap on their car’s paint.
This is not only ineffective, but also potentially harmful.
Household products are not made for automotive surfaces and can peel, discolor the paint, or leave a sticky residue that attracts more dirt.
Always use waxes and cleaners that are specifically made for cars.
These products are tested and designed to protect automotive paint, enhance its shine and last longer in outdoor conditions.
Conclusion – How to Wax a Car
It is really great to take the time to wax your car as it can actually saves your pocket from costly paint damage later on: as it is not just about the shine itself but it has the long term effect.
Waxing done correctly can extend the life of your car’s paint by many years and help maintain its resale value.
Studies conducted by car detailing professionals and automotive care organizations confirm that regular waxing reduces the effects of UV rays, slows oxidation and makes cleaning your car much easier.
Whether you use paste, liquid or spray wax, the process is more efficient and enjoyable if you follow the right techniques and avoid common mistakes.
From washing and surface preparation to polishing and aftercare, each step plays a vital role in achieving great results.
The bottom line is simple: waxing your car isn’t just a cosmetic step – it’s smart vehicle maintenance.
Now, it is time to answer your questions and you can ask them by the help of the comment section below.
Frequently Asked Questions
Q1. Do you wax your car dry or wet?
Answer: You should always wax your car when it is completely dry. Wax does not adhere well to a wet surface and applying it to a wet car can cause it to spread unevenly or not adhere well to the paint. Water can also dilute the wax and reduce its effectiveness. Before waxing, wash the car thoroughly with a special car shampoo and rinse thoroughly to remove all dirt and soap. Then, dry the car completely with a clean microfiber towel. After towel drying, allow the car to air dry for a few more minutes to ensure that no moisture remains in any corners or edges. Waxing on a dry car allows the wax to be applied easily, adhere well and provide better protection and shine to your paint.
Q2. How to wax a car without leaving swirl marks?
Answer: To wax a car without leaving swirl marks, it is important to follow the right steps right from the beginning. First, always start with a clean car. Wash it with a high-quality car shampoo and a soft microfiber wash mitt to avoid scratching the paint. Rinse and dry it thoroughly with a soft microfiber towel. If small bumps appear on the paint after it dries, use a clay bar to remove any remaining dirt or contamination. When applying the wax, use a clean, soft applicator pad and spread the wax in small, slightly circular or straight lines. Never press too hard and don’t use a dirty cloth or sponge. Apply wax to only a small area at a time, such as half of a door or hood, to keep the wax layer even. Avoid using too much wax, as thick layers are difficult to polish and can cause streaks. When it’s time to remove the wax, use a separate clean and dry microfiber towel. Gently polish the surface in a straight or circular motion with light pressure. Make sure your towel is always clean, as leftover dirt can cause swirl marks. Also, never apply wax to your car in direct sunlight or when the surface is hot, as the wax can dry too quickly and be difficult to wipe off, increasing the risk of marks. Following these simple but important steps will give you a smooth, streak-free finish that will look professionally done.
References:
[1] Principles of Accelerated Weathering: Evaluations of Coatings
https://docs.paint.org/Ct-Analytical-Series/Analytical-Series_Jan2020.pdf

Guys, I’m a car audio enthusiast and customization expert and I love clear sound and clean installation. Plus, I have spent years helping people build their dream audio setups. And whenever I’m working on cars, I probably listen to music and thinks about the next big upgrade.