Written By: Don Dodi
Fact Checked By: Kristen Brown
Reviewed By: Diego Rosenberg
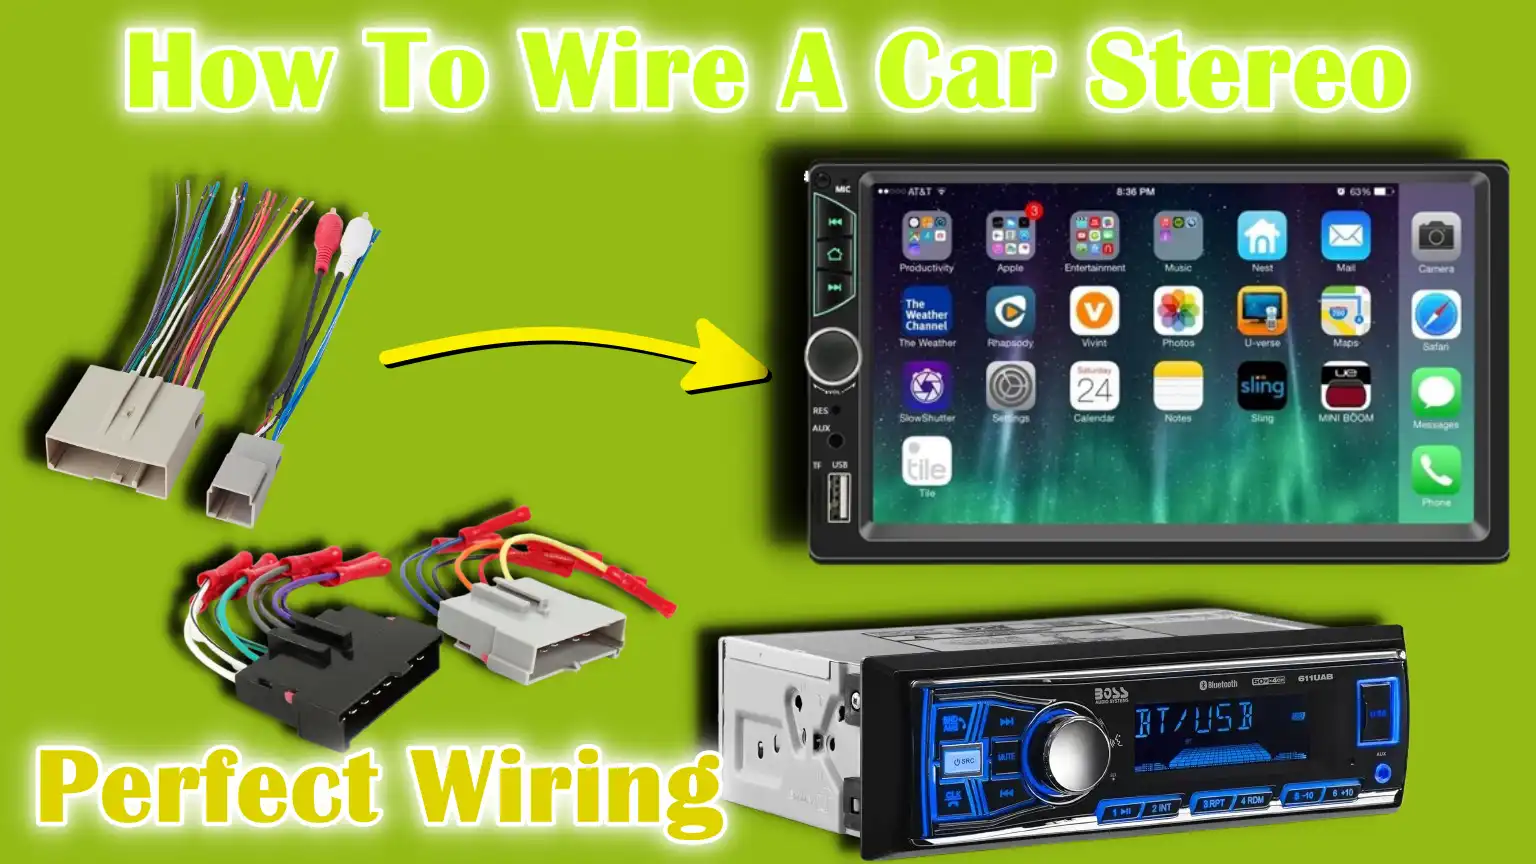
You can easily wire a car stereo in just few minutes, but it is really important to join them in the correct way otherwise they can blow a fuse or it won’t give you that level of sound.
Not only this, according to the data from the MECP program, they have seen that over 60^ of the aftermarket car stereo suffering from issues like poor wiring or installation and it is not about the fault stereo itself.
Which is why this guide properly shows you How To Wire A Car Stereo so that it gives you lot better sound quality and that will be safe, reliable and long-term performance.
Tools
| Tool / Material | What are They | Why You Need It |
|---|---|---|
| Flathead and Phillips Screwdrivers | The two basic types of screwdrivers—flat tip and cross (+) tip. | To remove the dashboard panel, screws holding the stereo in place and mounting brackets. |
| Wire Stripper / Crimper Tool | A tool used for removing plastic covering (insulation) from wires and joining them tightly. | Helps you neaten wire ends and crimp connectors for safer wiring. |
| Electrical Tape or Heat Shrink Tubing | Tape or plastic sleeve that insulates the wires once joined. | To safely cover and protect wire connections from short circuits or wear and tear. |
| Wiring Harness Adapter (Vehicle-Specific) | A plug that matches your car’s factory wiring. | Makes wiring quicker and cleaner by saving you from having to cut factory wires. |
| Soldering Iron and Solder (Optional but Recommended) | A device that melts solder to permanently join wires. | Provides a stronger, longer-lasting connection for wires than just twisting or taping. |
| Multimeter | A device that checks voltage, power, ground and continuity. | This ensures that the wires are on (power), properly grounded and helps identify unknown wires. |
| Panel Removal Tool (Plastic Pry Tool) | A plastic tool used to gently remove dashboard panels. | Protects dashboard trim from scratching or breaking during disassembly. |
| Zip Ties (Cable Ties) | Small plastic straps that hold wires together. | Keeps wires inside your dashboard neat, safe and unobstructed. |
| New Stereo Unit | The head unit you are installing. | This is your advanced stereo—it includes the head unit, faceplate and sometimes a remote or microphone. |
| Stereo User Manual | The instruction manual that came with the stereo. | Helps identify wire colors, settings and additional installation notes for your specific stereo model. |
Understanding the Basics of Car Stereo Wiring
1. Factory Wiring vs. Aftermarket Wiring
When it comes to wiring a car stereo, it’s important to understand the difference between factory wiring and aftermarket wiring.
Factory wiring refers to the original electrical connections and plugs that the manufacturer provides with your car.
These wires are usually bundled together and designed specifically for your car’s make and model.
Aftermarket wiring, on the other hand, comes with your new stereo system. These wires follow a standardized color code and are made to fit many different types of vehicles.
Although factory wiring is neat, it often requires a special harness or adapter to properly connect it to a new stereo. Using the right harness or learning how to match wires correctly can prevent electrical problems and make installation much easier and safer.
2. Color Coding for Stereo Wires
Most aftermarket car stereos use a universal wire color code to make installation easier. The yellow wire is used for constant 12-volt power, which means it is always receiving power from the battery, even if the car is off.
This wire is responsible for saving your radio settings and clock. The red wire is the switched 12-volt wire, which only receives power when the ignition is on.
This controls when the stereo turns on. The black wire is the ground wire, which connects to the vehicle’s chassis and completes the electrical circuit.
The blue wire is often used to power an antenna or amplifier, which means it sends a signal to activate other devices when the stereo is turned on.
Finally, speaker wires come in white, gray, purple and green. Each color represents a specific corner of the car, with one wire for the positive speaker connection and one for the negative speaker connection.
It is important to understand and correctly solder these wires to get clear sound and avoid electrical damage.
3. The Importance of Using a Wiring Diagram
Using a proper wiring diagram is one of the most important steps when installing a new stereo. A wiring diagram shows which wire connects to which function in both the car and the new stereo.
Without a diagram, it is easy to make mistakes that can lead to blown fuses, poor sound quality, or even short circuits.
Vehicle-specific wiring diagrams can usually be found in the car’s service manual, on the manufacturer’s website, or on reliable online sources such as car audio forums or repair databases.
These diagrams clearly show the colour and purpose of each wire in your specific vehicle, helping you connect all the wires accurately and safely.
Having the right wiring guide can make even a confusing job easier, specially for those doing it for the first time.
Make Sure About The Safety First: Vehicle Preparation
1. Disconnect the Negative Battery Terminal
Before doing any electrical work on your car, the first step is to disconnect the negative battery terminal.
This is an important safety measure that helps protect both you and your vehicle’s electrical system. The negative terminal usually has a minus sign and a black cable on it.
Disconnecting it stops the flow of electricity to the car, reducing the risk of short circuits, blown fuses, or accidental shocks. It also prevents the stereo or any other electrical device from turning on during the installation.
Although this may seem like a small step, skipping this step can cause serious electrical damage or even injury.
2. Wait a Few Minutes to Avoid Airbag Deployment
After disconnecting the battery, it’s very important to wait at least five to ten minutes before starting any work inside the car.
This is because many modern vehicles have backup power stored in their safety systems, including the airbags.
If you start removing panels or work too quickly near airbag sensors, there’s a slight chance the airbag will accidentally deploy. Waiting a few extra minutes allows all the stored energy to fully dissipate, keeping you safe when working in sensitive areas like the dashboard or steering wheel.
3. Protect the trim and dashboard with a cloth or cover.
When removing interior panels or working near the dashboard, it’s easy to accidentally scratch or damage the trim, specially if you’re using metal tools.
So it’s a good idea to protect these areas by covering them with a soft cloth, towel or painter’s tape. This extra layer acts as a barrier that prevents chips, scratches or dents from forming on your dashboard and surrounding parts.
Taking the time to protect your interior doesn’t just make your car look nice—it also makes the entire process look more professional and reduces the chance of costly cosmetic damage.
How to Remove the Old Stereo
1. Remove the Trim Panels with a Trim Removal Tool
To remove the old stereo, you’ll first need to remove the trim panels that surround the stereo unit on your dashboard.
These panels are often held in place with clips and can be fragile, specially in older vehicles.
It’s important to use a plastic trim removal tool because it allows you to gently remove these panels without damaging the dashboard or scratching the surface.
Avoid using metal tools because they can leave permanent marks. The size and position of these panels vary by car model, so it’s helpful to check your vehicle’s service manual or an online video to see how they come off.
2. Unlocking and Removing the Factory Stereo Unit
After removing the trim panels, you’ll usually see screws or bolts that hold the factory stereo in place.
These will need to be carefully unscrewed to remove the unit from the dashboard. Some vehicles use mounting brackets or clips that may also need to be loosened.
Gently slide the stereo out of the dashboard, taking care not to pull too hard as the wires behind it are still connected.
Factory stereos can sometimes be tight, so a slight shake can help them come out easily without force and without causing any damage.
3. Disconnect the Harness and Antenna Cable
After pulling the stereo forward, you’ll see several wires attached to the back of the unit.
These include the main wiring harness, which powers the stereo and sends signals to the speakers and the antenna cable, which is responsible for receiving radio signals.
Both of these connectors can usually be removed by pressing a clip and pulling gently. Some cars may also have additional plugs for steering wheel controls or a backup camera feed, depending on the model. Make sure you keep the connectors organised and avoid bending any pins or wires.
4. Label the factory wires (optional if not using a harness adapter)
If you are not using a vehicle-specific wiring harness adapter, it is a good idea to label each factory wire before disconnecting them.
This can be done by using masking tape and a pen to mark each wire with what it is connected to, such as power, ground, or a specific speaker.
Doing this greatly helps you match the wires with your new stereo, specially if your car does not follow any standard color code.
However, if you are using a wiring harness adapter, you will not need to label the wires because the adapter is designed to plug directly into the factory harness and match the colors of your new stereo’s wires.
How to Wire the New Stereo
A. Using a Wiring Harness Adapter (Recommended Method)
Now, by using a vehicle-specific harness adapter you can actually prevents tampering with factory cabling and that really reduces the installation time as well as it helps to avoid electrical faults and integration erros as well.[²]
1. Match the Color-Coded Wires from the Stereo to the Adapter
The most recommended and easiest way to wire a new car stereo is to use a wiring harness adapter that matches your vehicle’s factory harness.
Aftermarket stereos follow a standard wire color system and these colors usually match on the harness adapter as well.
For example, the yellow wire on both the stereo and the adapter is for constant 12V power, red is for switched power from the ignition and black is for ground.
The speaker wires—white, gray, green and purple—are also colour-coded for each corner of the car. By matching these coloured wires one by one, you can easily connect your stereo without confusion or cutting into your vehicle’s original wiring.
2. Crimp or solder the connections securely
Once the wires are color matched, they must be physically joined. The most reliable way to do this is to solder them together, which creates a strong, permanent bond that resists vibration and heat.
If soldering is not available, you can use crimp connectors that clamp the wires together by applying pressure.
Crimping is fast and still provides a strong connection, but it must be done properly using a good crimp tool. Avoid simply twisting the wires, as this can lead to loose connections or electrical problems over time.
3. Use electrical tape or heat shrink tubing
After connecting the wires, it is important to properly insulate them. Exposed wires can cause short circuits or interference to other parts of the vehicle.
Electrical tape is commonly used and provides immediate protection. However, heat shrink tubing is a more professional option.
This tubing shrinks tightly around the connection when heated, producing a cleaner and more durable result.
Whichever method you use, make sure each connection is well covered to avoid short circuits and maintain the stereo’s long-lasting performance.
B. Direct wiring (if adapter not available)
1. Use a vehicle wiring diagram
If a harness adapter is not available for your car model, you will need to connect the stereo directly to the vehicle’s factory wires.
This method is more advanced and requires careful planning. The first step is to obtain an accurate wiring diagram for your vehicle’s specific make, model and year.
This diagram shows which factory wire does what—such as which one is for power, ground, or a specific speaker. These diagrams can be found in vehicle repair manuals, online forums, or on reliable automotive websites.
2. Identify the power, ground and speaker wires
Once you have a diagram, you’ll need to physically identify and verify each wire in your car’s wiring bundle.
The constant power wire usually has 12 volts all the time, while the ignition wire only has power when the key is turned to the accessory or start position. The ground wire usually connects to the vehicle’s metal chassis.
Speaker wires come in pairs—positive and negative—for each speaker in the vehicle. Correctly matching all of these wires is vital to avoid sound problems or damage to the stereo system.
Plus, according to the OEM wiring documentation from Clarion and aftermarket harness which shows that, the wire colors are standardised across most car stereos. As yellow is always constant battery power, the red is ignition-switched power and the black is ground and at last blue actually provides antenna or amplifier-on signal.[¹]
3. Double-check with a multimeter
A multimeter is an essential tool when direct wiring because it allows you to double-check each wire to make sure it’s working properly.
For example, you can use it to check which wire is connected when the ignition is on, or to verify that a wire is fully grounded.
Even if the colors match the diagram, checking with a multimeter ensures accuracy and prevents mistakes. This step is specially important in older vehicles or when the wires have faded or changed color.
4. Carefully connect the wires and insulate the connections
After identifying the wires, you must connect them—cut them and connect them to the matching stereo wires.
Use soldering or high-quality crimp connectors to connect them securely. Make sure the connections are strong and will not come loose from vehicle vibrations. After connecting the wires, they should be properly insulated using electrical tape or heat shrink tubing.
Keeping wires organised and secure also improves air flow and reduces the risk of future electrical problems behind the dashboard.
How to Install & Assemble the New Stereo
1. Connect the Wiring Harness to the Car and Stereo
After properly connecting and insulating the wires, the next step is to connect the harness to the car’s factory harness and the back of the new stereo unit.
If you used a wiring harness adapter, this step is quick and easy because the two ends are designed to match perfectly. It’s important to make sure each plug fits snugly in place, indicating a secure electrical connection.
Loose or half-screwed plugs can cause problems such as power flickering, poor sound, or complete system failure. Double-check all connections before proceeding, because accessing these wires later usually means removing the stereo completely.
2. Connect the Antenna Lead
The antenna lead is a thick cable that connects the stereo to the car’s antenna system, allowing it to receive AM/FM radio signals.
This wire is usually round and plugs into a special port on the back of the stereo unit. Without it, your radio reception will either be very weak or not work at all.
Some vehicles use standard antenna plugs, while other newer stereo models may require an adapter.
If your car has a powered antenna or amplifier, this connection may also require the blue wire from your stereo, as it sends the “power on” signal when the stereo is turned on.
3. Install any RCA cables, microphones, or steering wheel control modules
Before you mount the stereo to the dashboard, it’s important to install additional accessories that enhance the stereo’s functionality.
RCA cables are used to connect external amplifiers or subwoofers and these usually plug into labeled outputs on the back of the stereo.
If your stereo includes hands-free calling or voice commands, you’ll also need to install an external microphone and route its wire to the driver’s side to hear clear sound.
In some cars, you may also want to install a steering wheel control interface, which allows you to control the stereo using buttons on the steering wheel.
These modules often come with a small harness or box that plugs into both the stereo and the car’s control system, making maintenance of factory features easier.
4. Test the stereo on the dashboard
Before fully installing the stereo, it’s wise to do a test fit to make sure everything is aligned correctly.
Gently insert the stereo unit into the hole in the dashboard, without fully inserting it and check that there is enough room for all the wires and that they are not pinched.
Make sure the stereo fits snugly on the dashboard and that no cables are bent or pinched behind it.
If you’re using a dashboard kit or trim adapter to install an aftermarket stereo in the factory hole, this is the time to make sure all the mounting tabs and brackets are aligned correctly.
A proper test fit ensures that the stereo won’t rattle, overheat, or disconnect during use, helping to create a cleaner and more professional installation.
Read More:
How to Test the System Before Final Installation
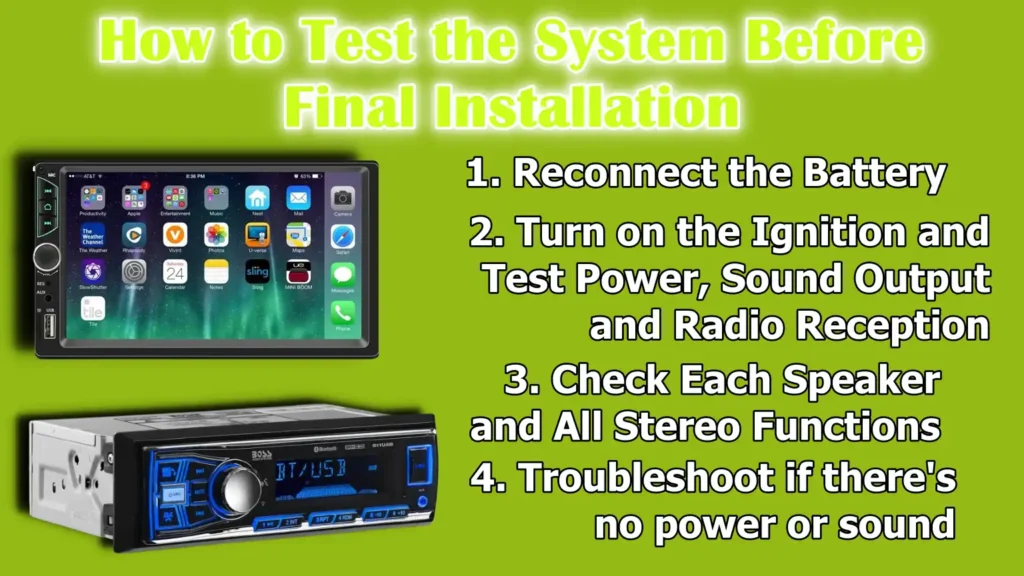
1. Reconnect the Battery
After all wiring and connections are complete and securely insulated, the next important step is to reconnect the negative terminal of the car battery.
This returns power to the vehicle’s electrical system, allowing you to test the stereo and other connected features. Reconnecting the battery must be done carefully to avoid sparks or sudden power fluctuations.
Make sure all devices and wires are away from the engine bay and that the negative terminal clamp is properly seated.
After reconnecting the battery, wait a few seconds for the vehicle’s electronic systems to stabilize before turning the ignition key.
2. Turn on the Ignition and Test Power, Sound Output and Radio Reception
After reconnecting the battery, insert the key and turn the ignition to the accessory or on position. At this point, your stereo should start up.
A successful startup means your main power, ignition and ground connections are all wired correctly. You should see a light blink on the display and the system should boot up or the radio should turn on by default.
Tune in to a few radio stations to make sure the antenna is properly connected and receiving a signal. Poor reception may indicate a loose antenna cable or a lack of a powered antenna connection.
Also, make sure the stereo’s interface is responding normally and that the menu buttons, volume controls and input options are working as expected.
3. Check Each Speaker and All Stereo Functions
Now that the stereo is powered on, check the sound output coming from each of the vehicle’s speakers.
You can isolate each speaker one by one—left, right, front and rear—by using the balance and fade settings in the stereo’s audio menu. Make sure each speaker is producing clear sound without any distortion, buzzing, or crackling.
This helps ensure that the speaker wires are properly matched and not reversed, which can affect audio quality or even damage the speakers over time.
This is also a good time to check other features like Bluetooth pairing, USB input, microphone function and a connected amplifier or subwoofer to make sure they’re getting power and responding correctly.
4. Troubleshoot if there’s no power or sound
If the stereo doesn’t turn on at all, first check your wiring connections—specifically the red ignition wire, yellow constant power wire and ground wire.
Use a multimeter to make sure each wire is delivering the correct voltage.
Also, check that the car radio’s fuse hasn’t blown, which can happen during installation. If the stereo turns on but you don’t hear any sound, make sure the speaker wires are connected correctly and aren’t short-circuiting together.
Double-check the polarity of the speakers to make sure the positive and negative terminals are not reversed.
If you are using an external amplifier, make sure the blue remote turn-on wire is connected, as this tells the amplifier when to turn on the power.
Checking each function before final installation can save the trouble of having to take the stereo apart later to find a problem that could have been easily fixed.
Read More:
How to Secure and Finalize the Installation
1. Organise the Wires with Zip Ties
After all connections have been checked and confirmed to be working properly, it is important to clean up the wires behind the stereo before installing it.
Use zip ties to bind the wires together and prevent them from moving around inside the dashboard. This step not only helps with air flow and cooling, but also prevents wires from becoming pinched, damaged, or tangled over time.
Keeping wires organised also makes future upgrades or repairs easier. Make sure that no wires hit sharp edges or metal brackets, as this can damage the insulation and cause a short circuit.
2. Insert the Stereo into the Dashboard and Secure with Screws
After securing the wires, gently slide the stereo unit into the opening in the dashboard. Move slowly to ensure that no wires are pinched or trapped behind the stereo.
If your installation includes a mounting bracket or dash kit, align the stereo with the pre-marked slots or screw holes.
Use the screws provided with the stereo or installation kit to secure the stereo. Properly positioning the stereo prevents vibrations while driving and secures internal connections.
Make sure the stereo is level with the dashboard surface, as trim pieces can get caught or make rattling noises if it is misplaced.
3. Replace the trim panels carefully
After the stereo is securely in place, reinstall the dashboard trim panels you removed earlier.
Align the clips or tabs with their corresponding slots and press them down gently but firmly until you hear a click.
Take your time with this step, specially if your car has older or weak plastic panels, as pressing hard on them can crack them or break the clips.
If any screws were stripped during removal, make sure they are firmly tightened to hold the trim in place.
Properly installed trim not only makes the installation look clean and factory-finished, but also helps keep everything stable while driving.
4. Perform a final test to make sure everything is working properly.
Before considering the installation complete, it’s important to perform one final test of the entire system. Turn on the ignition and check that the stereo turns on without any delay.
Check the main functions one by one, such as the radio, Bluetooth, USB and auxiliary input. Adjust the volume, check the balance and fade settings and make sure each speaker is working properly.
Also, make sure that accessories, such as the backup camera, external amplifier, or steering wheel controls, if they were connected, are working as expected.
A complete final test allows you to spot any last-minute problems before you completely close the dashboard, saving time and not having to open everything up again later.
Troubleshooting Common Problems
1. No Power: Check Fuses, Ignition Wires, Ground Connections
If the new stereo does not turn on after installation, the most common cause is power supply problems. First, check the car radio or accessory fuses in the fuse box.
The fuse may have blown during installation, specially if the wires accidentally touched metal.
If the fuse is intact, check the wires again. The red ignition wire should be connected to a switched 12-volt power source that receives voltage only when the key is turned to the accessory or on position.
Also, make sure the yellow wire is connected to a constant 12-volt power source that maintains memory settings such as time and presets.
Finally, the ground wire, which is usually black, should be firmly attached to a clean metal surface free of rust or paint. Without a solid ground, the stereo will not work properly even when there is power.
2. No sound: Check speaker wiring, fade/balance settings
If the stereo turns on but no sound comes from the speakers, it’s usually related to the speaker wiring or audio settings.
First, make sure all the speaker wires are connected properly and that the positive and negative terminals aren’t confused.
Swapping the poles can cause phase cancellation, making the sound very soft or sound like nothing is playing at all. =
Also, check the fade and balance settings in the stereo’s menu—if they’re adjusted all the way to the left, right, forward, or back, it can mute the sound coming from some speakers.
If an amplifier is connected, make sure the remote turn-on wire is sending power to it; otherwise, the amplifier may stay off and there won’t be any sound.
3. Static or distortion: Check the antenna or speaker grounding
If you hear static, humming or distorted sound, the problem may lie in poor grounding or interference. For radio static, first check the antenna connection.
If it is loose or not fully reinserted, the stereo may not be receiving a clear signal.
For any disturbances in music playback, check the speaker wires to make sure they are not inadvertently touching any metal parts or grounded surfaces.
Bare speaker wires can cause partial short circuits, causing buzzing or popping sounds. In systems with an amplifier, make sure the ground wire is connected to a bare metal point that is as short and as direct as possible from the location of the amplifier.
One of the most common sources of electrical noise in car audio systems is improper grounding.
4. Stereo Doesn’t Fit: Dash Kit May Be Needed for Compatibility
If your new stereo doesn’t physically fit into the dashboard opening, it’s probably due to size differences between the aftermarket unit and your vehicle’s factory dash layout.
Many cars are designed for a specific size called “DIN” or “double DIN”. If the new stereo is smaller or larger than the original unit, you’ll need a vehicle-specific dash kit.
These kits include mounting brackets, faceplates and trim pieces that fit the new stereo into the existing dashboard opening while maintaining a clean, factory-like look.
Dashboard kits can be purchased online or from car audio retailers and are usually labeled with the car’s brand, model and year.
Using the right kit not only ensures a comfortable and stable fit, but also prevents the stereo from rattling or being damaged while driving.
What are The Tips and Best Practices
1. Always use a wiring harness, if available
The wisest move during stereo installation is to use a vehicle-specific wiring harness.
The wiring harness serves as a bridge between the stereo and the car’s factory wiring, allowing you to connect everything without cutting or replacing the original wires.
This not only makes the job faster and cleaner, but also prevents damage to your vehicle’s electrical system. Many harnesses are designed to plug directly into your car’s existing connectors and follow the universal color code used by aftermarket stereos.
Using a harness makes it easier to replace the stereo in the future and prevents common wiring errors that can cause blown fuses or system failure.
2. Never twist and tape wires without protection
Although twisting wires together and wrapping them with electrical tape may seem like a quick fix, it is not a safe or long-lasting solution.
Over time, vibrations from driving can loosen connections, causing intermittent power outages, distorted sound, or even electrical short circuits. The best way to connect wires is to solder them together or use the correct size crimp connector.
These methods ensure a strong and reliable connection that will remain strong over time and prevent safety hazards.
Once connected, insulate all wires with electrical tape or, preferably, heat shrink tubing so they do not come into contact with moisture or metal surfaces.
3. Use a multimeter to check for power and grounding
Before taking apart your stereo or any wires, it’s always a good idea to use a multimeter to check for power and proper grounding.
The multimeter helps you confirm that the red ignition wire only receives 12 volts when the key is on and that the yellow constant power wire always has 12 volts.
It also helps you verify that the ground wire is actually connected to a solid, clean metal surface.
Even if the wire color matches the stereo manual, using a multimeter ensures that you’re connecting to the correct sources.
This extra step can prevent serious problems, such as a blown fuse or the stereo system not working.
4. Label wires when taking them apart for future upgrades
When removing a factory stereo and wiring, it’s helpful to label the wires that are taken apart—even if you’re using a harness adapter.
Labeling helps you keep track of the functions of wires and can reduce confusion if you ever decide to upgrade the stereo or add components like an amplifier, backup camera or Bluetooth microphone.
You can use small strips of masking tape and a pen to mark wires like power, ground, left speaker or antenna. This simple habit makes future maintenance or upgrades much easier and ensures that you never have to re-trace wires.
Conclusion – How To Wire A Car Stereo
Yes, i agree that there’s something really incredible and satisfying about when you turn the key and then hear your new stereo power up and you knows that every wire and screw behind it was actually placed and set up by your own hands.
Understanding how your vehicle’s wiring works, following color codes and using the correct wiring harness not only ensures a clean and safe connection, but also prevents unnecessary damage to your car’s electrical system.
Taking the time to check your work, secure all wires and install the stereo correctly can greatly improve both sound performance and system reliability.
Doing it yourself can save you money, give you a sense of satisfaction and allow you to customize your car’s audio to your liking.
But more importantly, it helps you develop a basic understanding of how your vehicle’s electronics operate—a skill that often comes in handy for future upgrades, repairs or troubleshooting. Just remember, patience is key.
Don’t rush this process. Even something as simple as missing a wire label or ignoring a loose connection can cause problems later on.
Whether you are upgrading to a touchscreen unit, installing better speakers, or simply replacing a bad stereo, a well-installed system not only improves your everyday driving but also increases the value of your vehicle.
So, now you can comment down below your thoughts about this guide or questions if there’s any.
Frequently Asked Questions
Q1. What color wires go together in a car stereo?
Answer: In most aftermarket car stereos, the wire colors follow a standard pattern that makes installation easier. It’s important to understand these color codes because each color represents a specific function. For example, the yellow wire is used for constant 12V power, which saves your radio settings even when the car is off. The red wire connects to switched 12V power, meaning it only receives power when the ignition is on. The black wire is always the ground wire, which completes the electrical circuit. The blue wire is usually used to power the antenna or turn on an amplifier if your system has one. Speaker wires are usually grouped into pairs of colors. The white wire is for the front left speaker, the gray wire is for the front right speaker, the green wire is for the rear left speaker and the purple wire is for the rear right speaker. Every speaker has a positive and a negative wire, so you’ll find solid colors for positive and solid colors with a black stripe for negative. For example, white is for the front left positive and white with a black stripe is for the front left negative. It’s always a good idea to match each wire on your new stereo to a wire on your car’s harness based on this color system. However, in some cases, particularly with factory car stereos, the wire colors may vary. So it’s helpful to use a vehicle-specific wiring diagram to double-check wire functions before making connections.
Q2. What happens if you wire a car stereo incorrectly?
Answer: Wiring a car stereo incorrectly can cause a number of serious problems and even minor mistakes can lead to major problems. A common mistake is connecting power wires incorrectly, such as mixing up the red (ignition) and yellow (continuous power) wires. If this happens, the stereo may not turn on at all or it may lose all settings every time you turn the car off. Another problem is grounding the stereo incorrectly, which can cause the stereo to not turn on, make strange noises, or even cause an electrical short circuit that can blow fuses. If you connect the speaker wires incorrectly, you may hear distorted or weak sound, or the speakers may go silent altogether. Connecting the positive and negative wires of the speakers reversely will not damage the stereo, but it will affect sound quality and may cause phase cancellation, making music sound fuzzy or hollow. Even worse, if you mix up power wires with the speaker wires or short-circuit the system, this can damage the stereo’s internal components or cause it to overheat and shut down. In the worst case scenario, if a fuse is not installed, incorrect wiring could cause sparks or melted wires, posing a fire hazard. So it’s important to double-check all connections, use a multimeter to check power and ground wires and follow the correct wiring guide or manual. Taking time during installation can prevent mistakes and ensure that your stereo continues to function safely and properly for a long time.
References:
[1] Clarion Standard Source Unit Wiring Guide. Clarion Standard Wiring, Clarion, Scribd.
https://www.scribd.com/doc/62950783/Clarion-Standard-Wiring
[2] Car Stereo Wiring Guide: Warning. Scribd.
https://www.scribd.com/document/476162023/car-stereo-wiring-diagram

Guys, I’m a car audio enthusiast and customization expert and I love clear sound and clean installation. Plus, I have spent years helping people build their dream audio setups. And whenever I’m working on cars, I probably listen to music and thinks about the next big upgrade.